Block Party: Friends, Food & Hullabaloo
As kids, the neighborhood hung out at the "green box." It was one of those big green electrical boxes. It was planted right in the middle of the Ramey's yard. Thinking back, I am not sure how safe it was to sit on top of those electrical boxes, but at the time that was our hangout. The adults would have grown up conversations , a few drinks and watch us kids cause a ruckus in the streets. The "green box" was such a destination that my sister made a T-shirt for my dad denoting the "green box" as "the place" everyone must go when in the neighborhood, like the Hard Rock Cafe.
Today, we have one of those "green boxes" in our yard, but we refrain from using it as patio furniture. We also have fun neighbors with children who are roughly the same age. We get together occasionally to have adult conversation and tasty beverages while our kids torment the streets.
For this gathering, I devised a menu that could be prepared in advance, prevent a headache the day of the clambake and inspire a social affair that evening. There were 8 adults and 9 children attending our back yard soiree.
The Menu:
Children's Mocktail: Strawberry Key Limeade
Adult Cocktails: Strawberry Key Lime Fizz
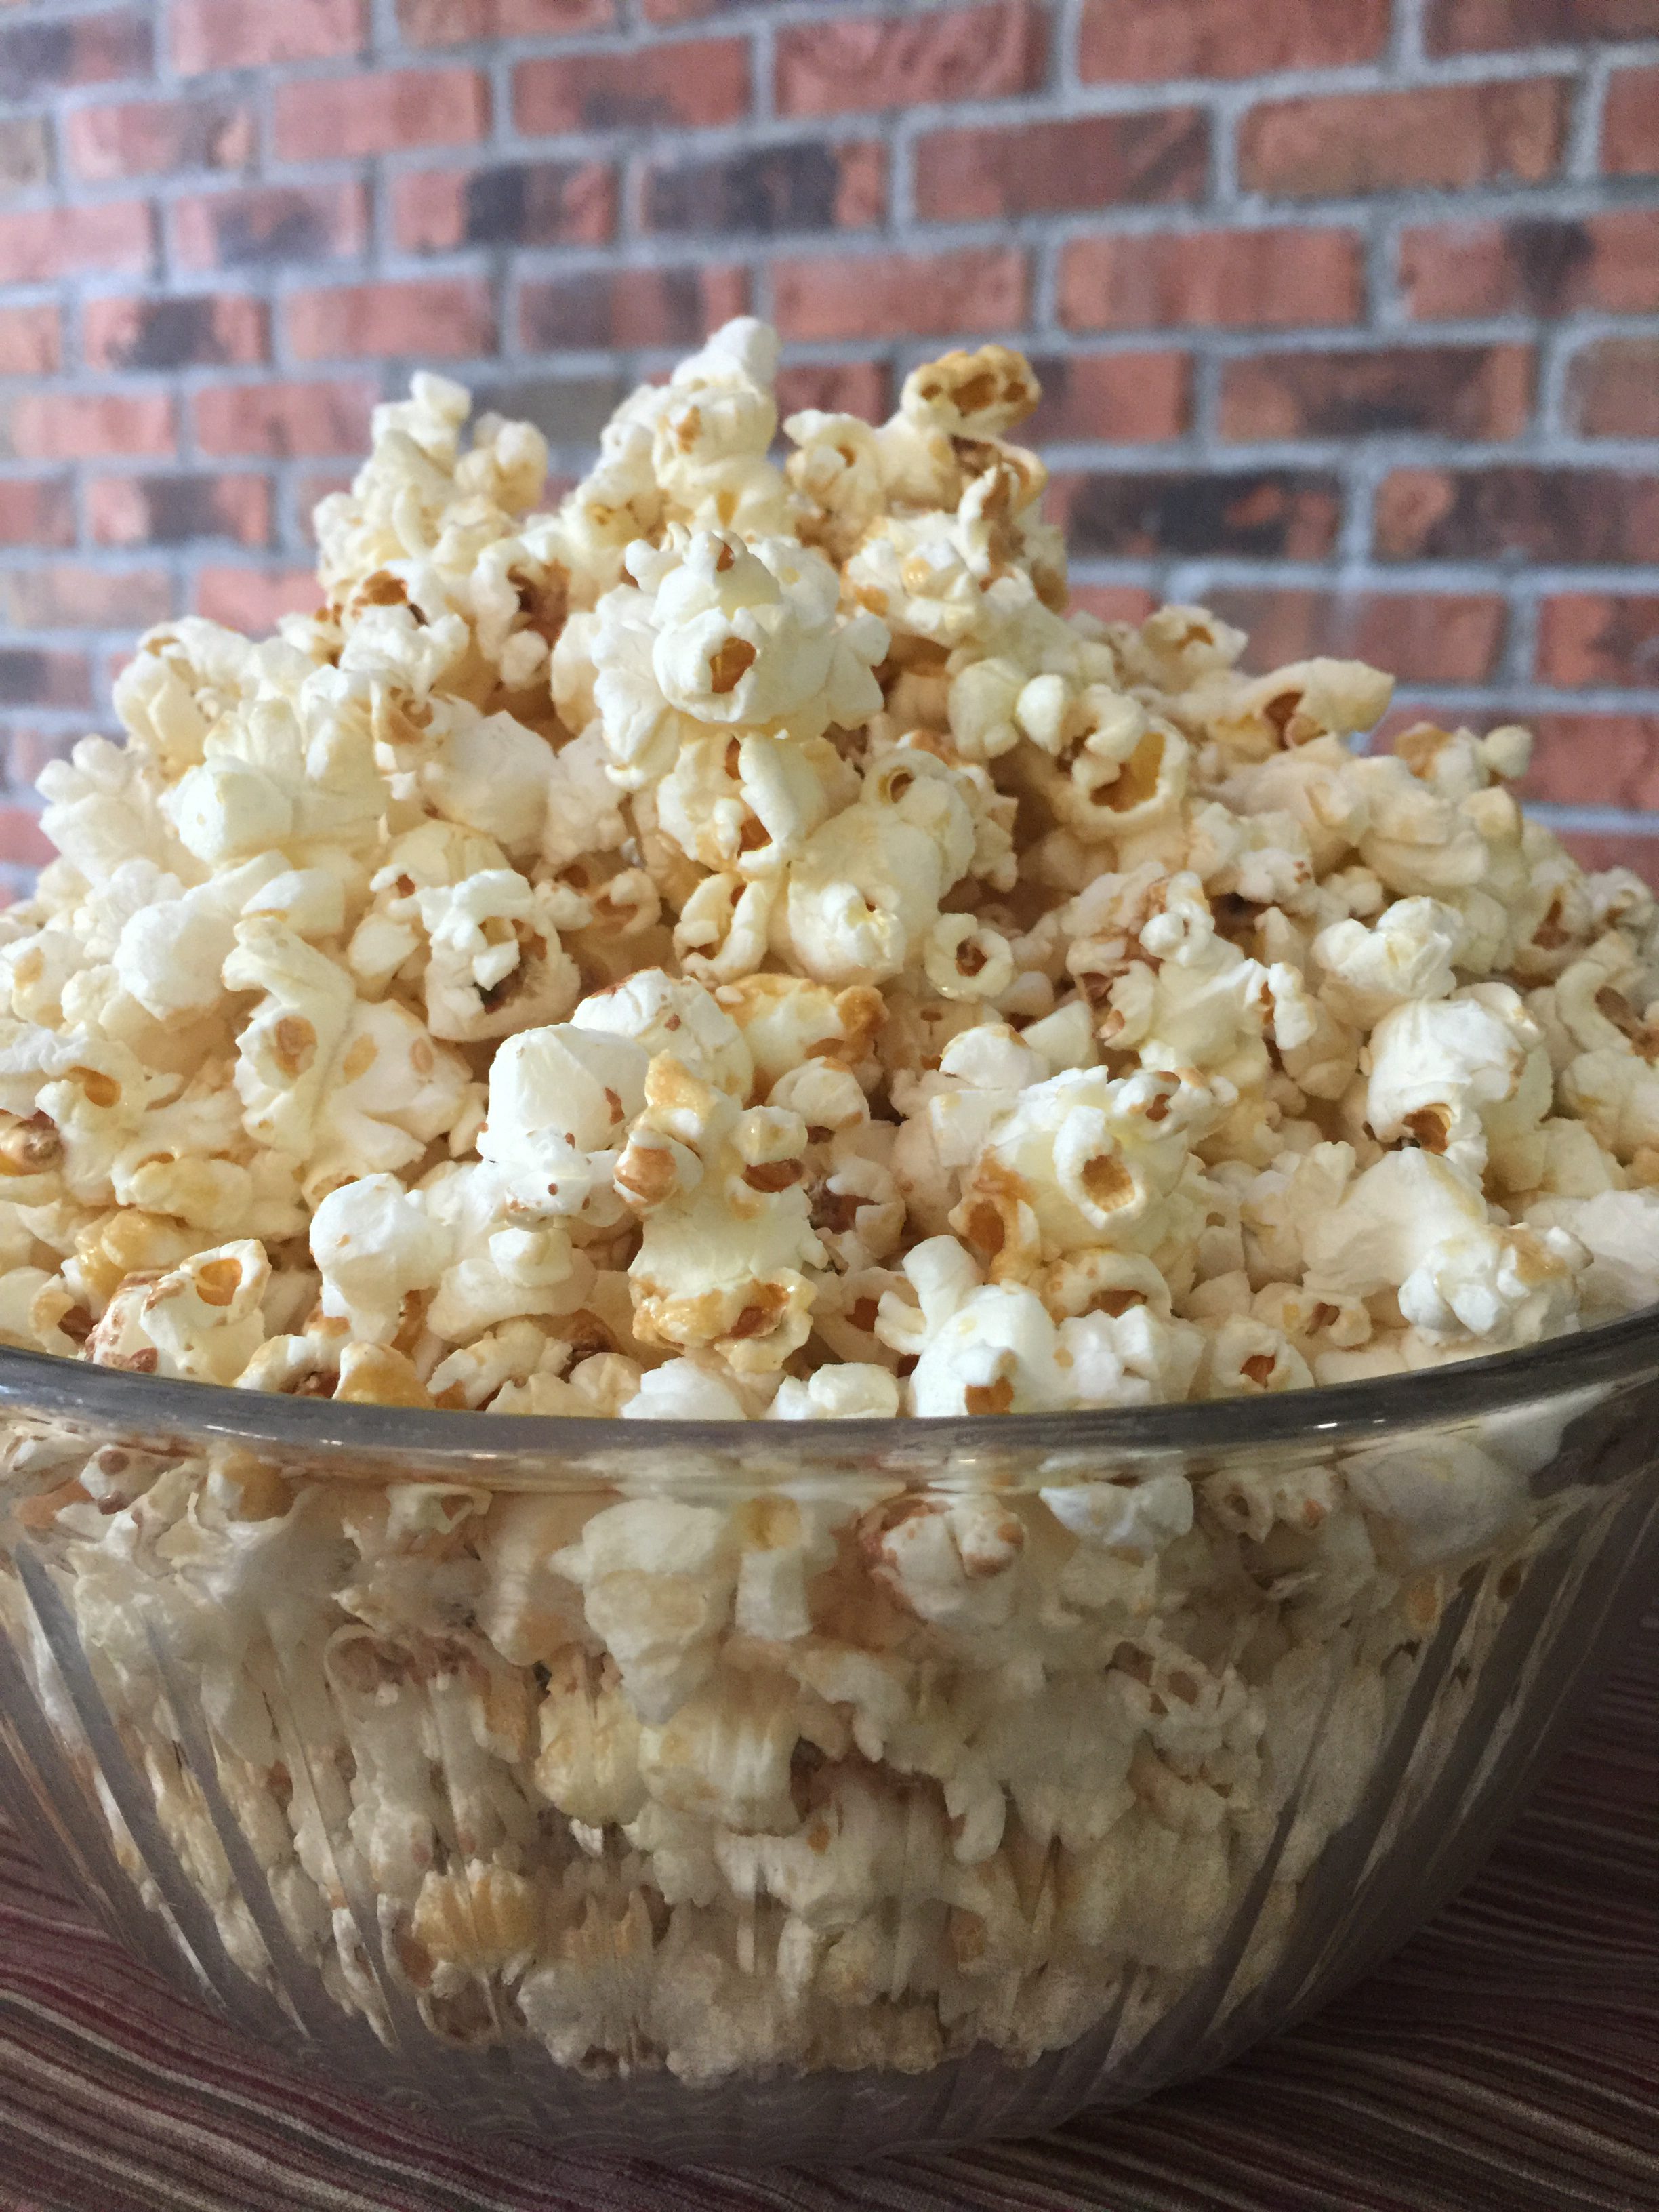
Appetizer: Sesame Popcorn and Black Bean & Corn Salad
Dinner:Granny Annie's Sloppy Joes served with a Greek Pasta Salad
Dessert: The Extra Mile S'mores
Creating a Timeline for Food Preparation:
I am a huge fan of the impromptu neighborhood party which happens more so than the planned "block parties." Since this was a planned event for me to blog about my neighborhood peeps, I needed to create a timeline to prepare for my guests.
Planning is one of my top ten loves. Well, maybe more like one of my top five quirks. I have provided preparation tips in the recipes to help you build a timeline that will best fit your schedule.
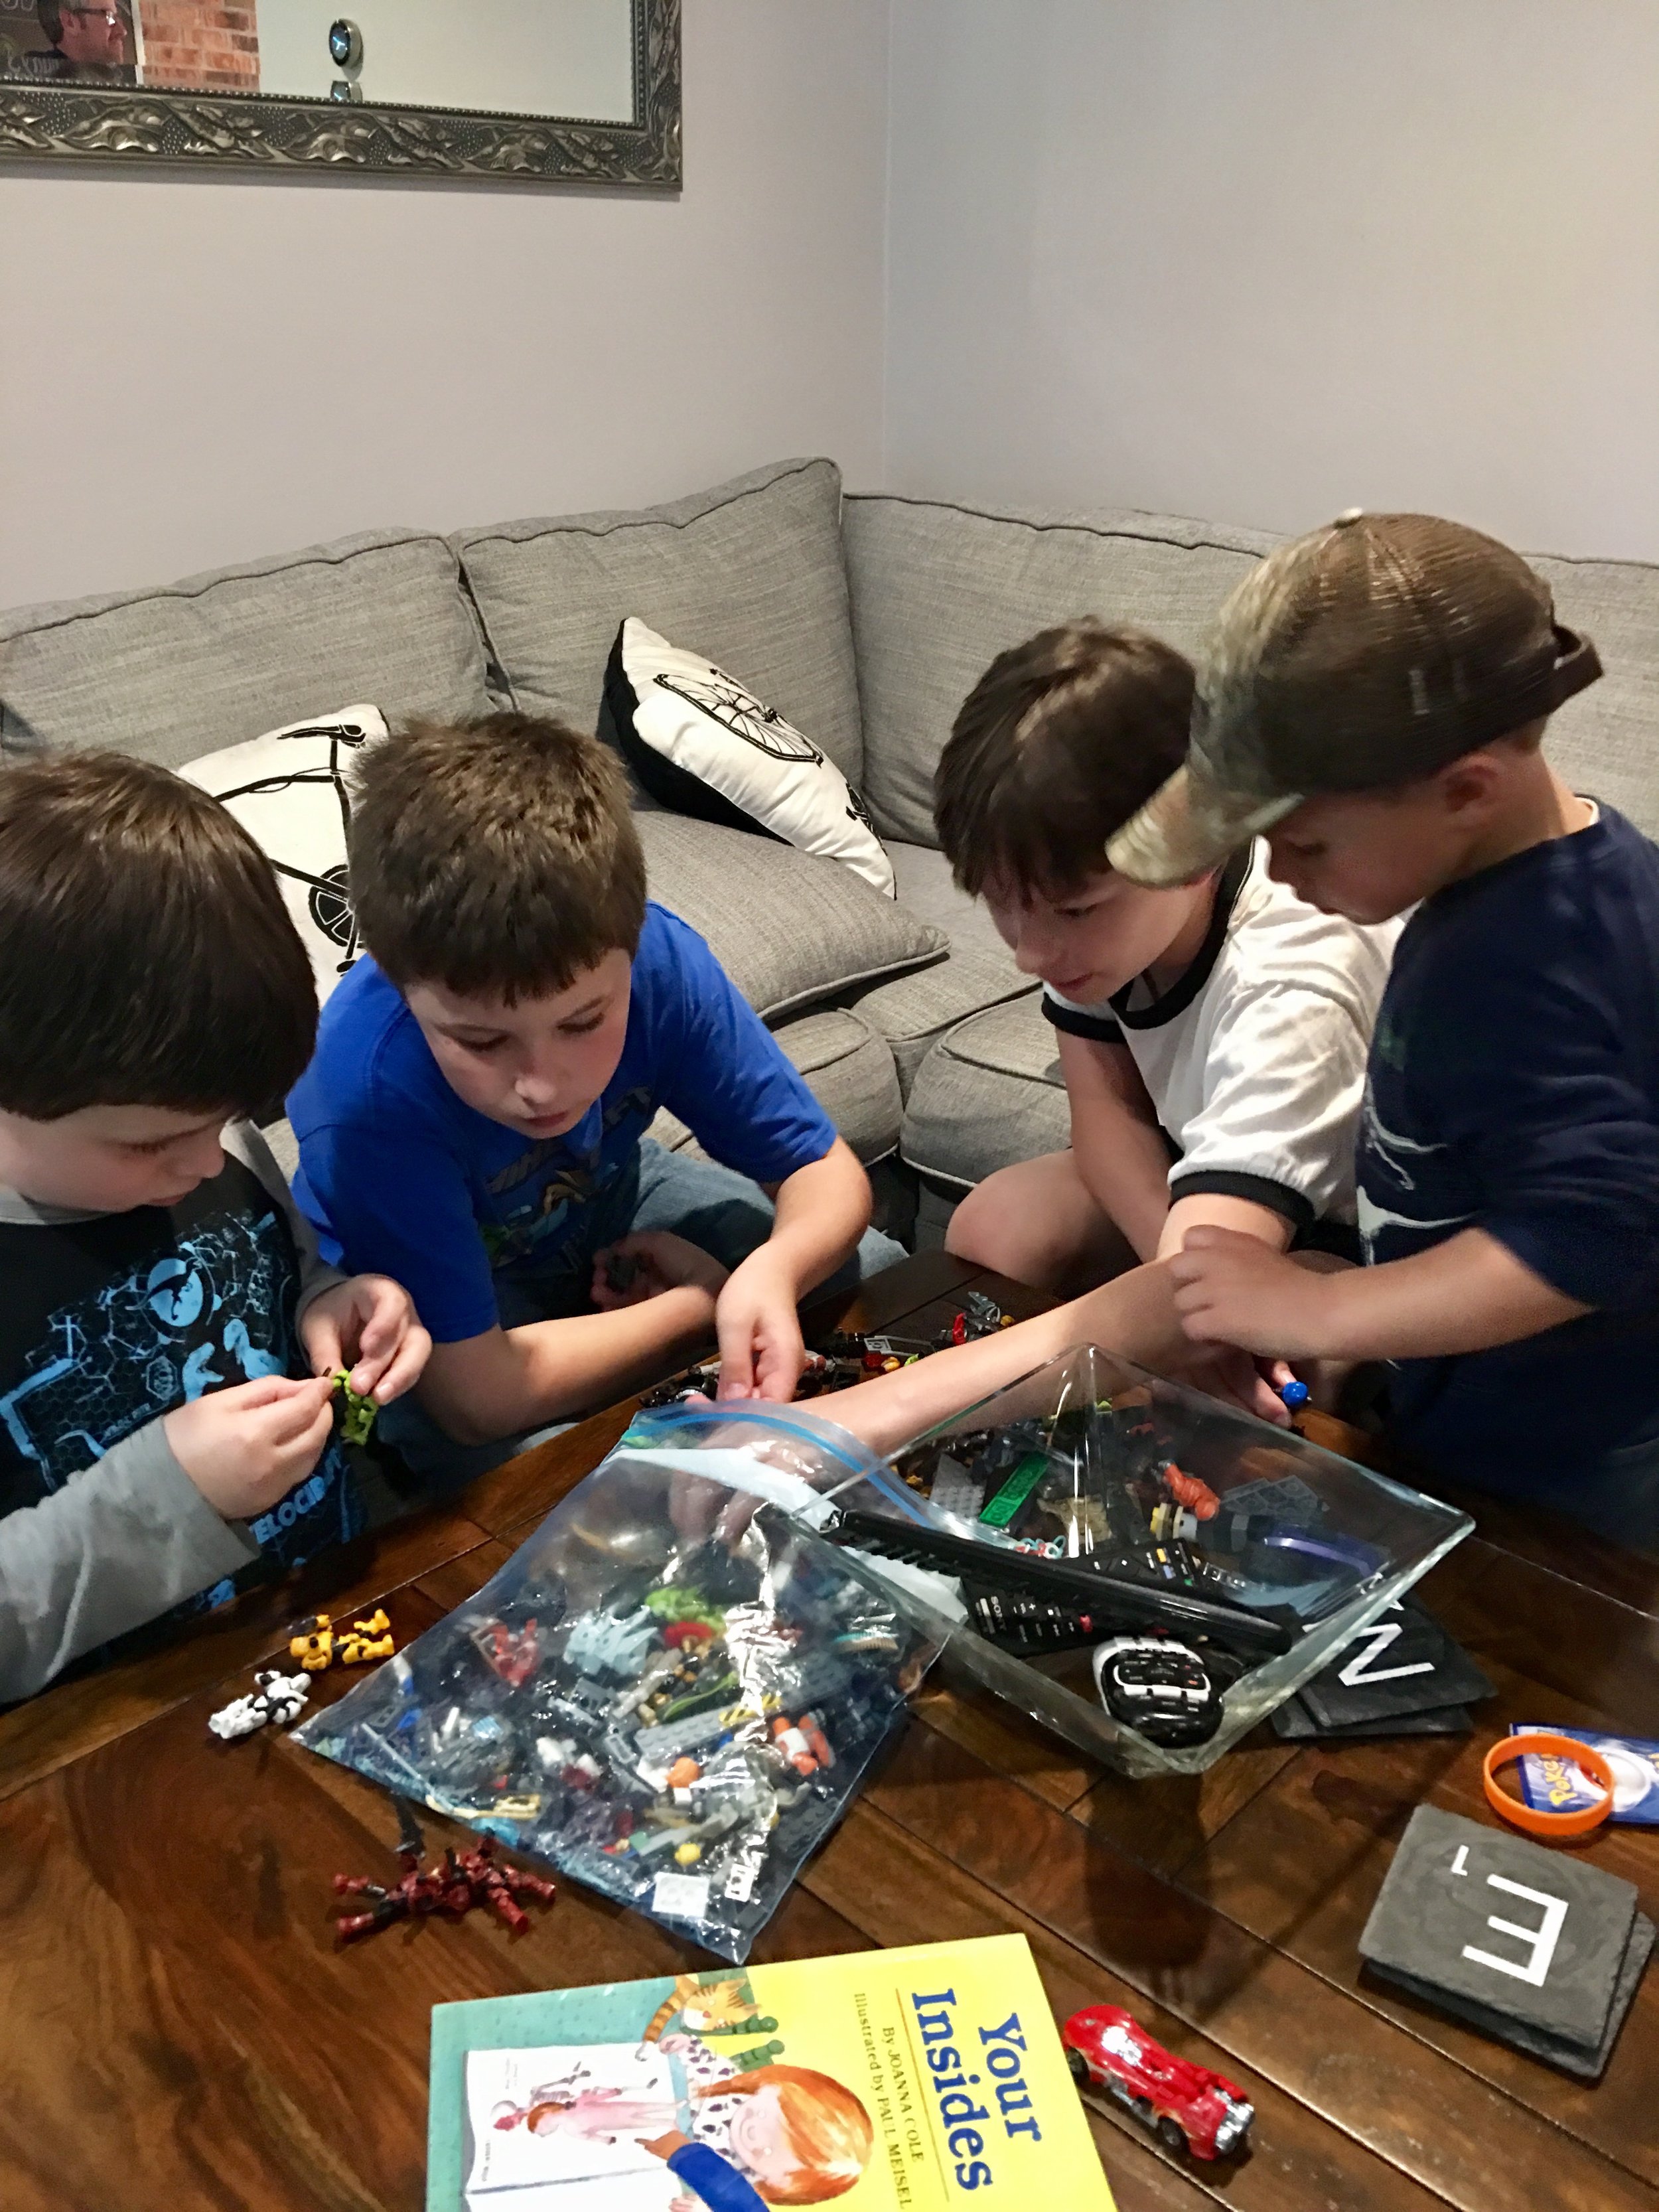
On party day I want to be in the moment, making those "green box" kind of memories. This is where my quirky planning comes in handy. However, even the best laid plans can be derailed. For instance, Mother Nature decided to make it rain. That's how the party went from a back yard soiree to an indoor hullabaloo. I have a tiny house!
PARTY DAY:
At 4:00 o'clock the day of the party, the guests started their descent down the streets of our neighborhood. They were greeted with beverages and light fare.
STRAWBERRY KEY LIMEADE:
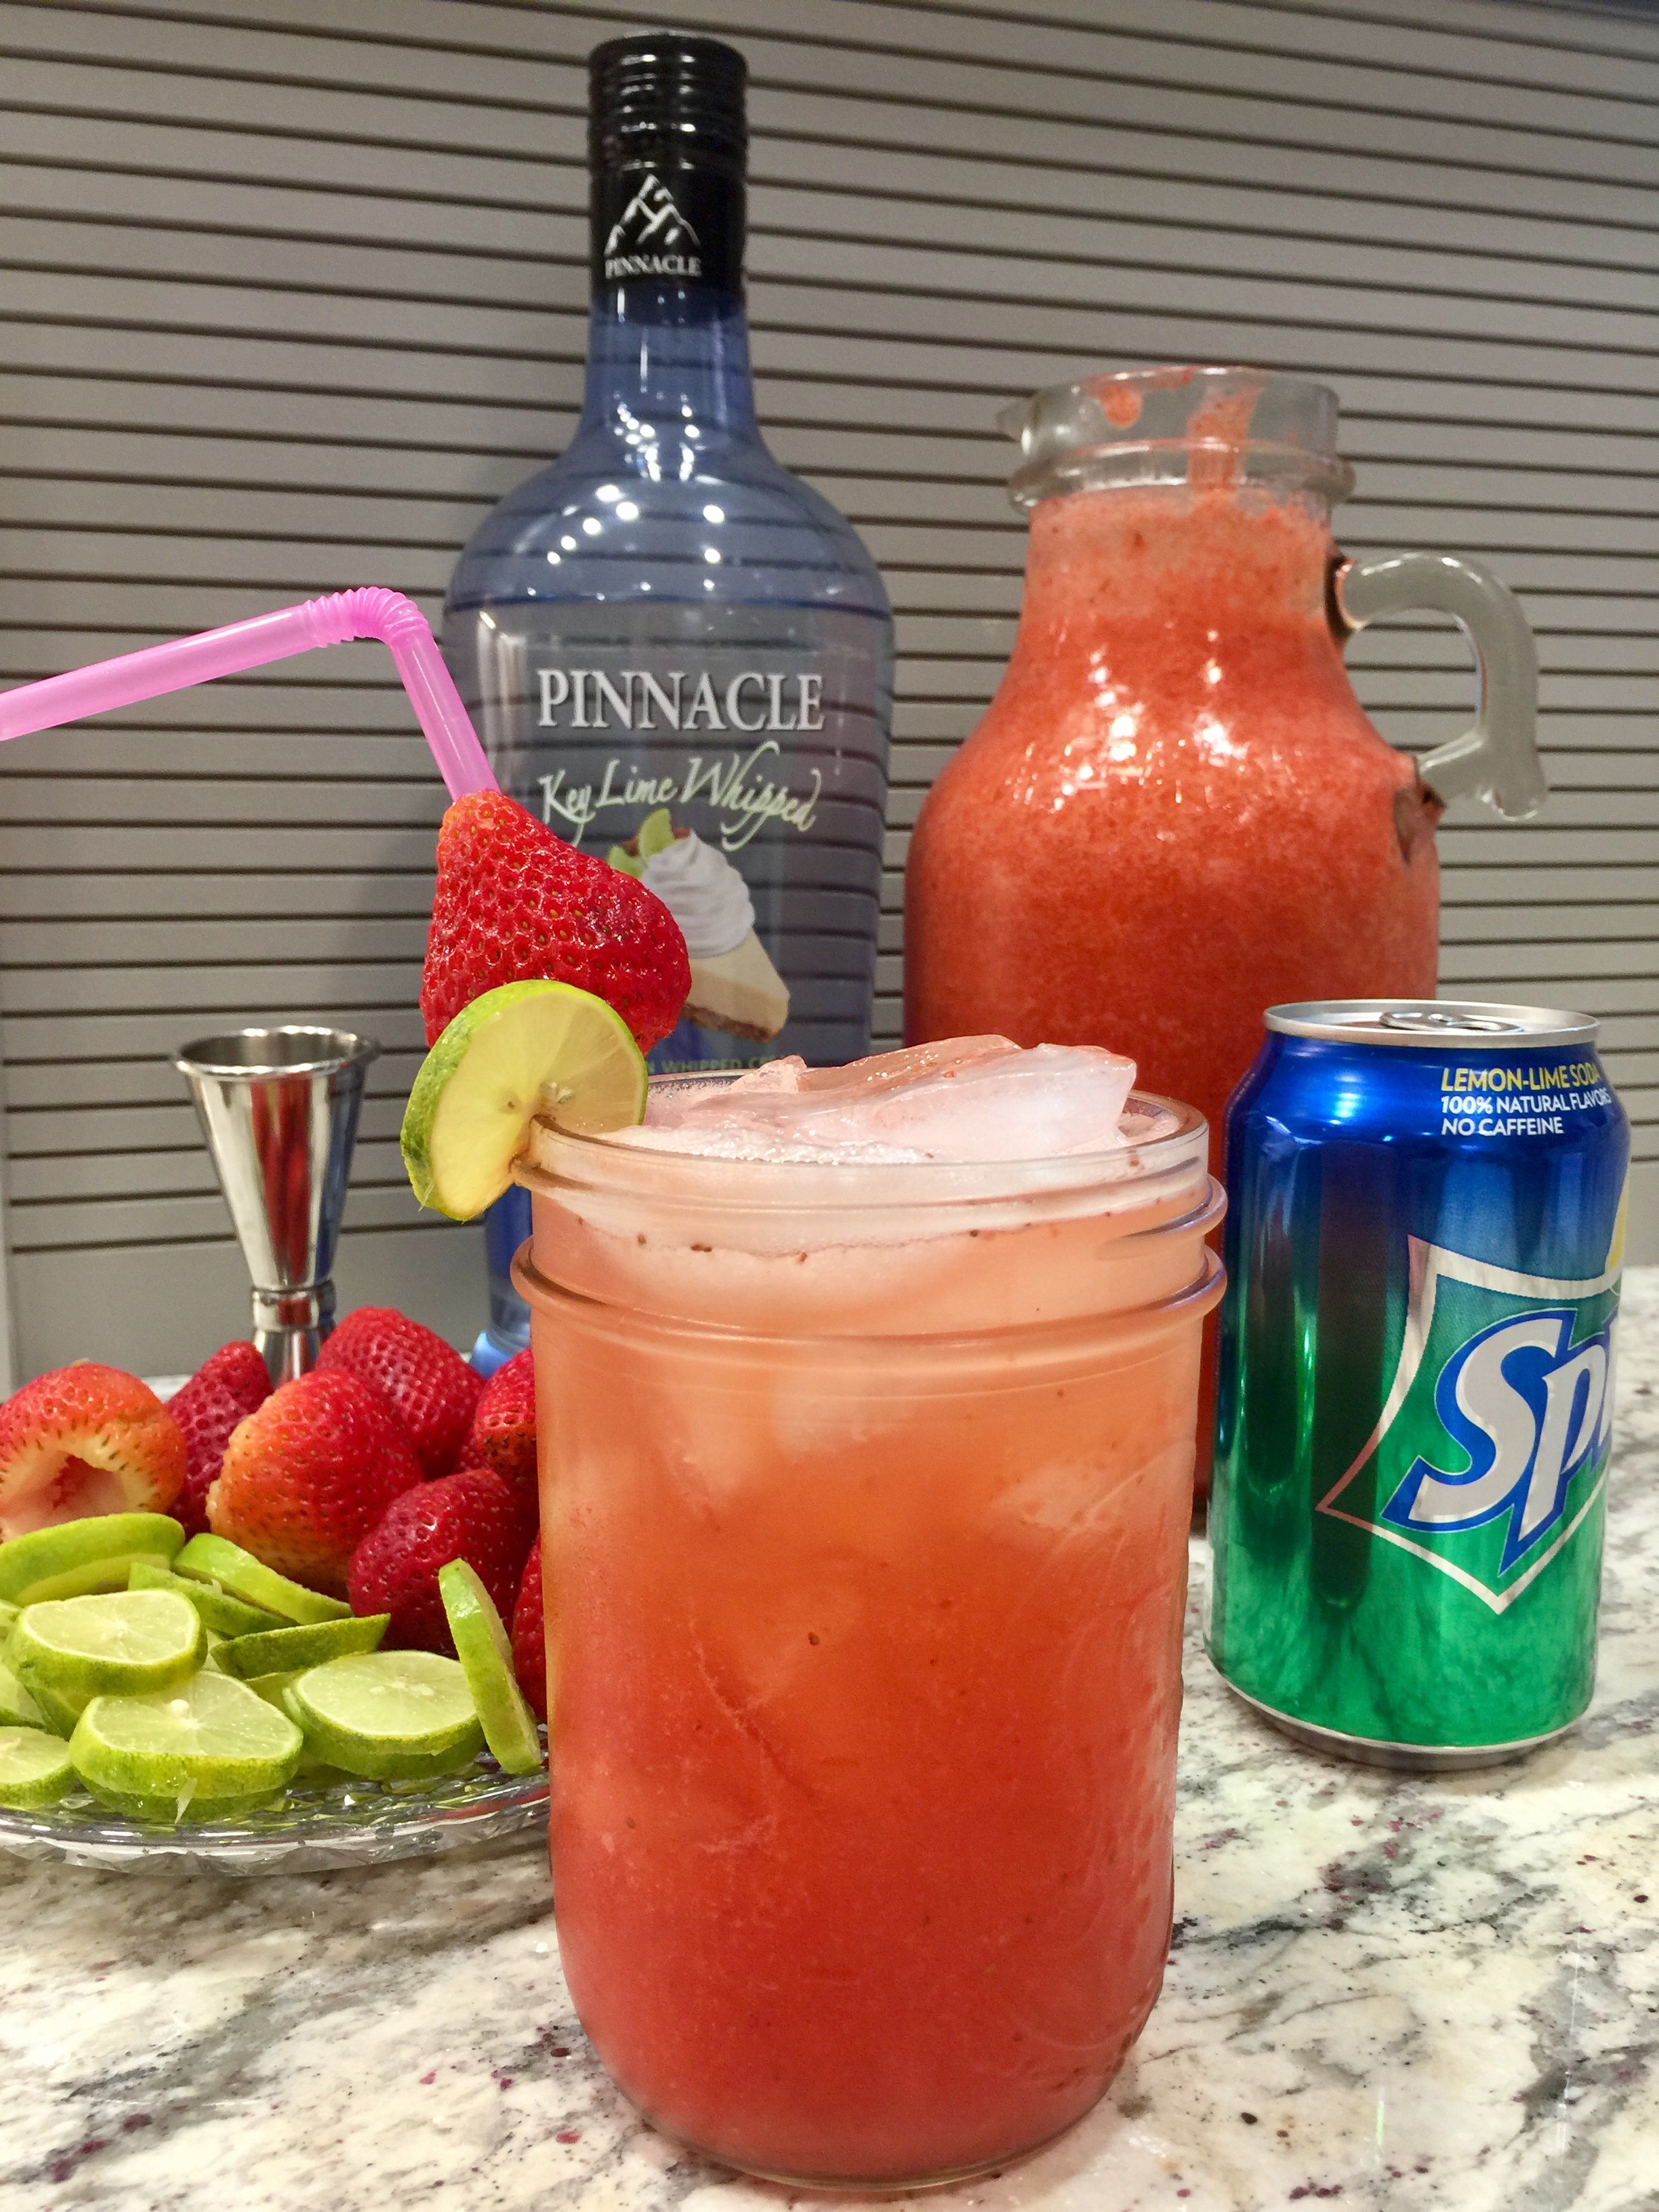
For the base of the kid's mocktail and the adult's cocktail, I whipped up a strawberry key limeade, super easy and wonderfully refreshing. I made 1 1/2 times this recipe below for the 17 people we had in attendance. We drank all but a cup of it.
1/2 cup of sugar
1/2 cup of water
1 cup key lime juice (fresh squeezed or from the Nellie and Joe's Bottle)
3 cups of frozen strawberries
About 2 more cups of water
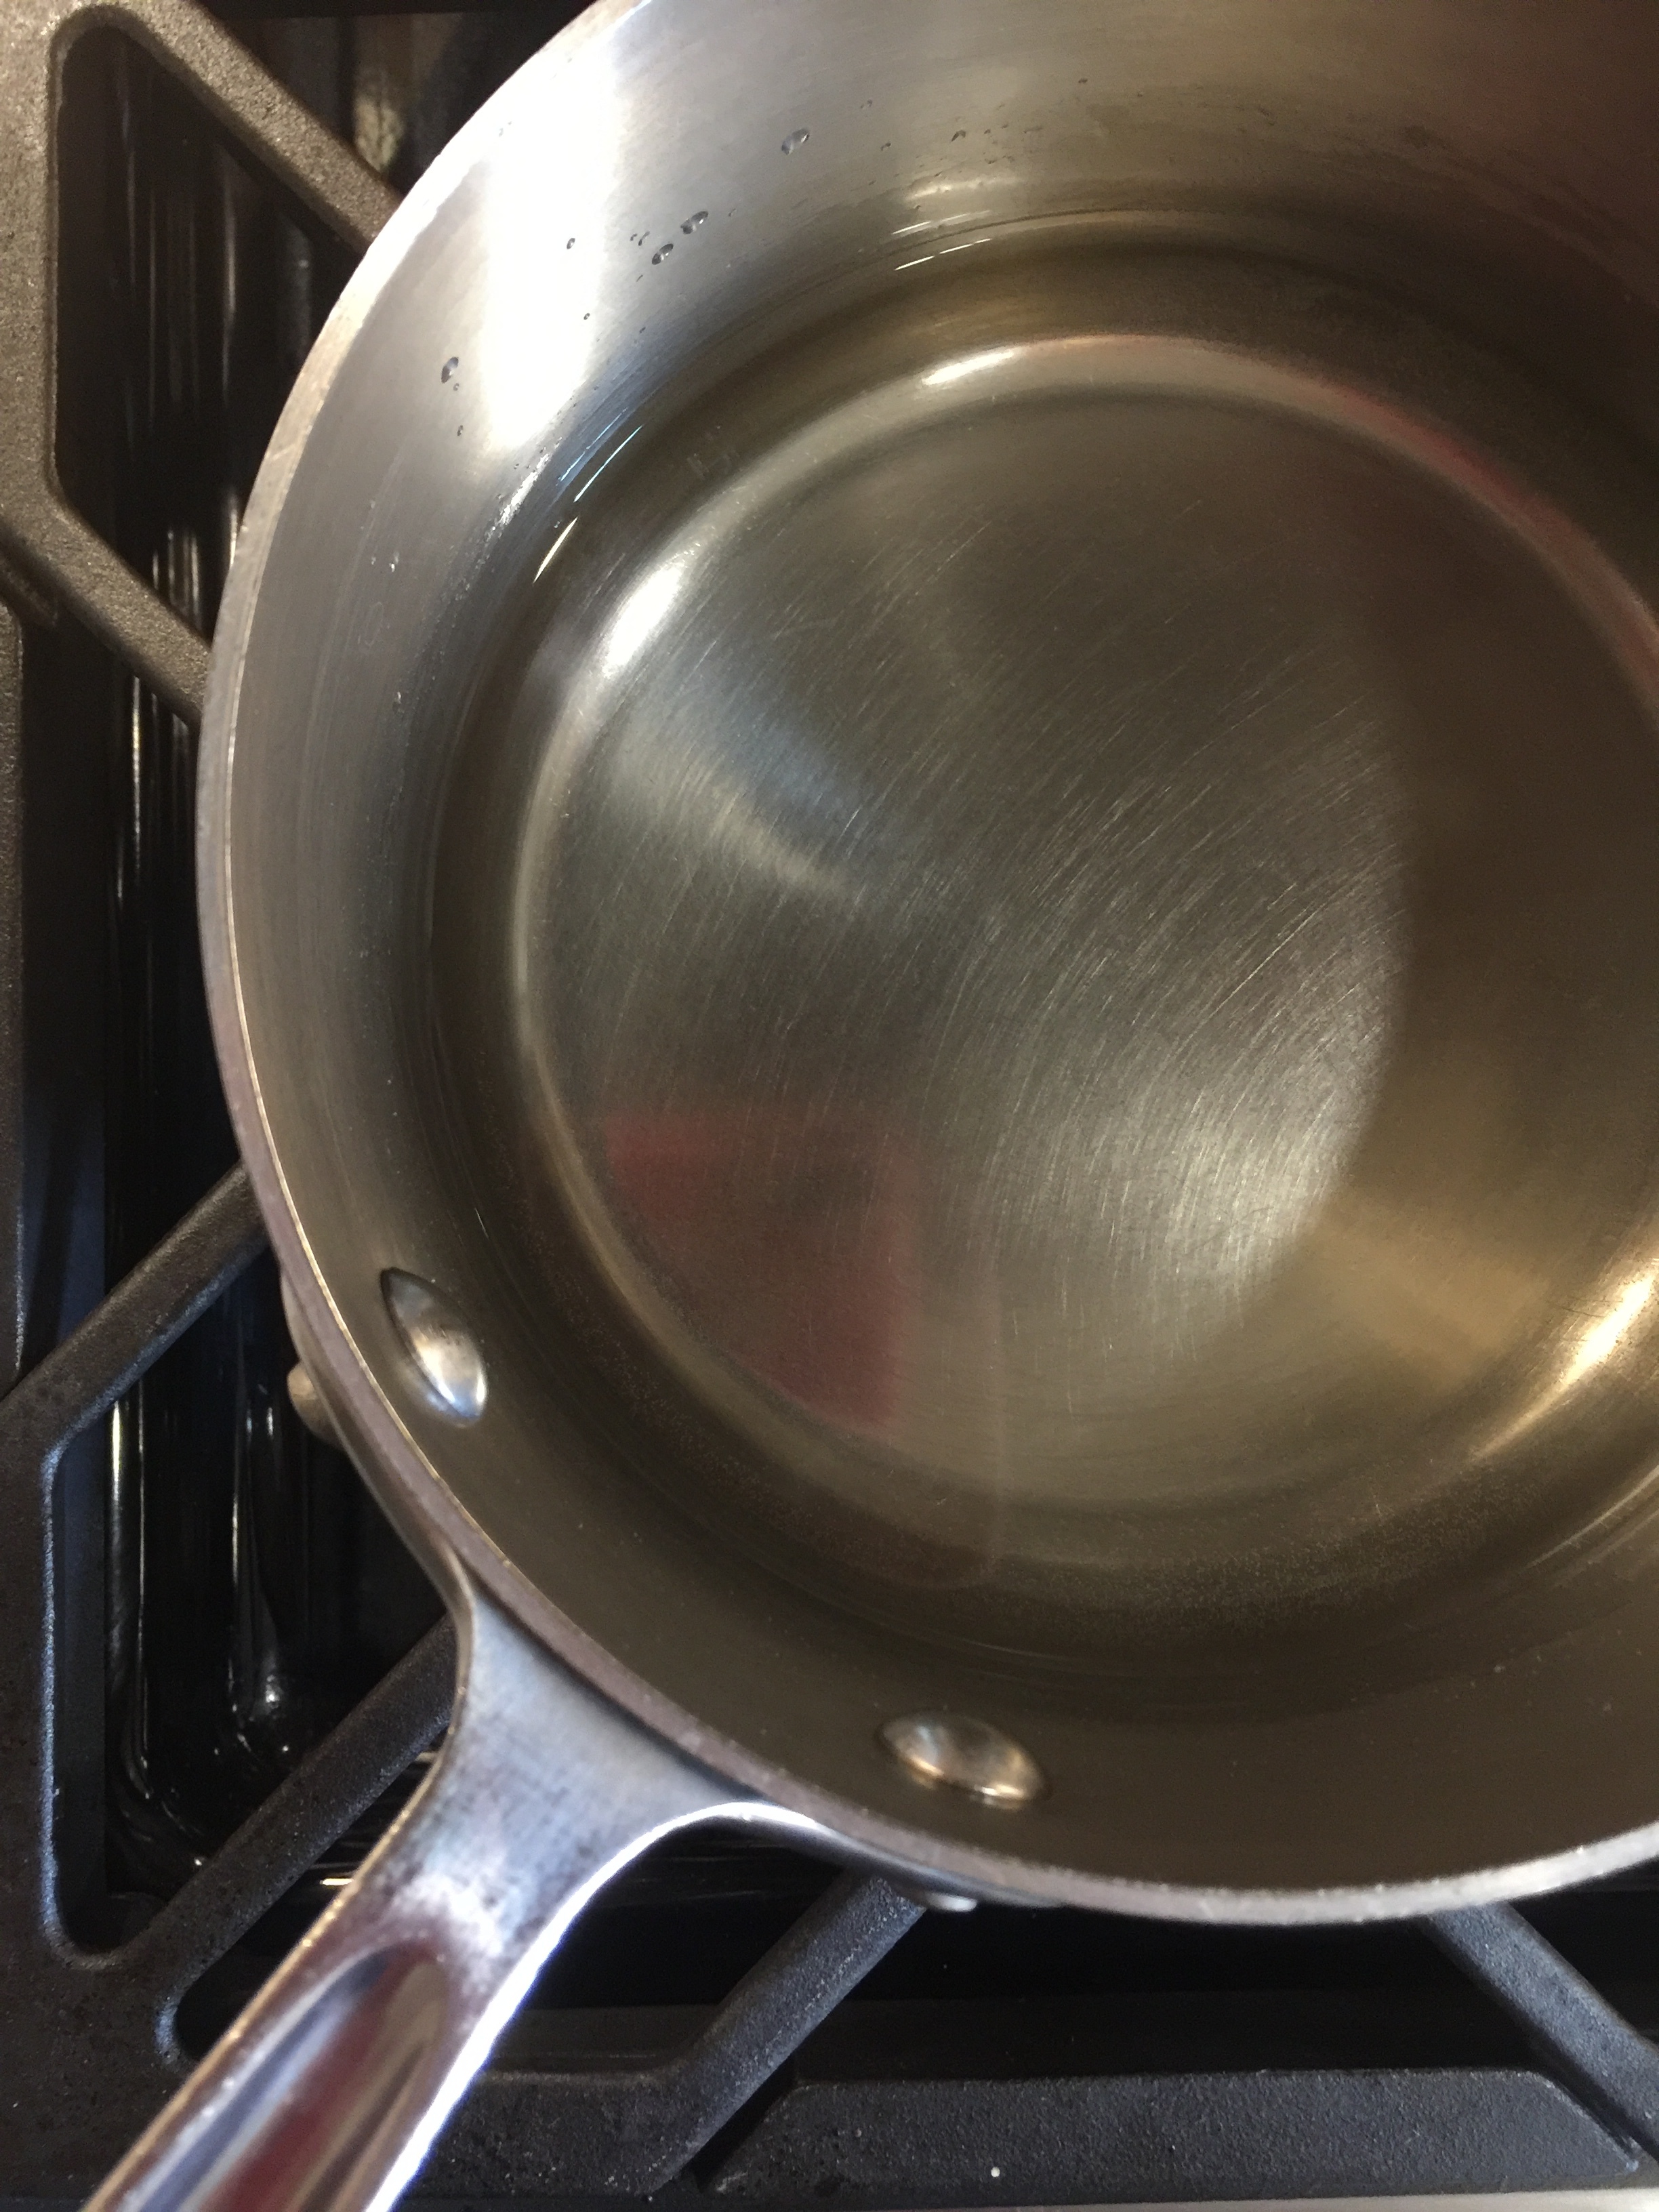
In a small saucepan over medium heat, add 1/2 cup of sugar and 1/2 cup of water. Heat until the sugar has melted and then let the simple syrup cool.
PREPARATION TIP: The simple syrup can be stored in the refrigerator for up to a week.
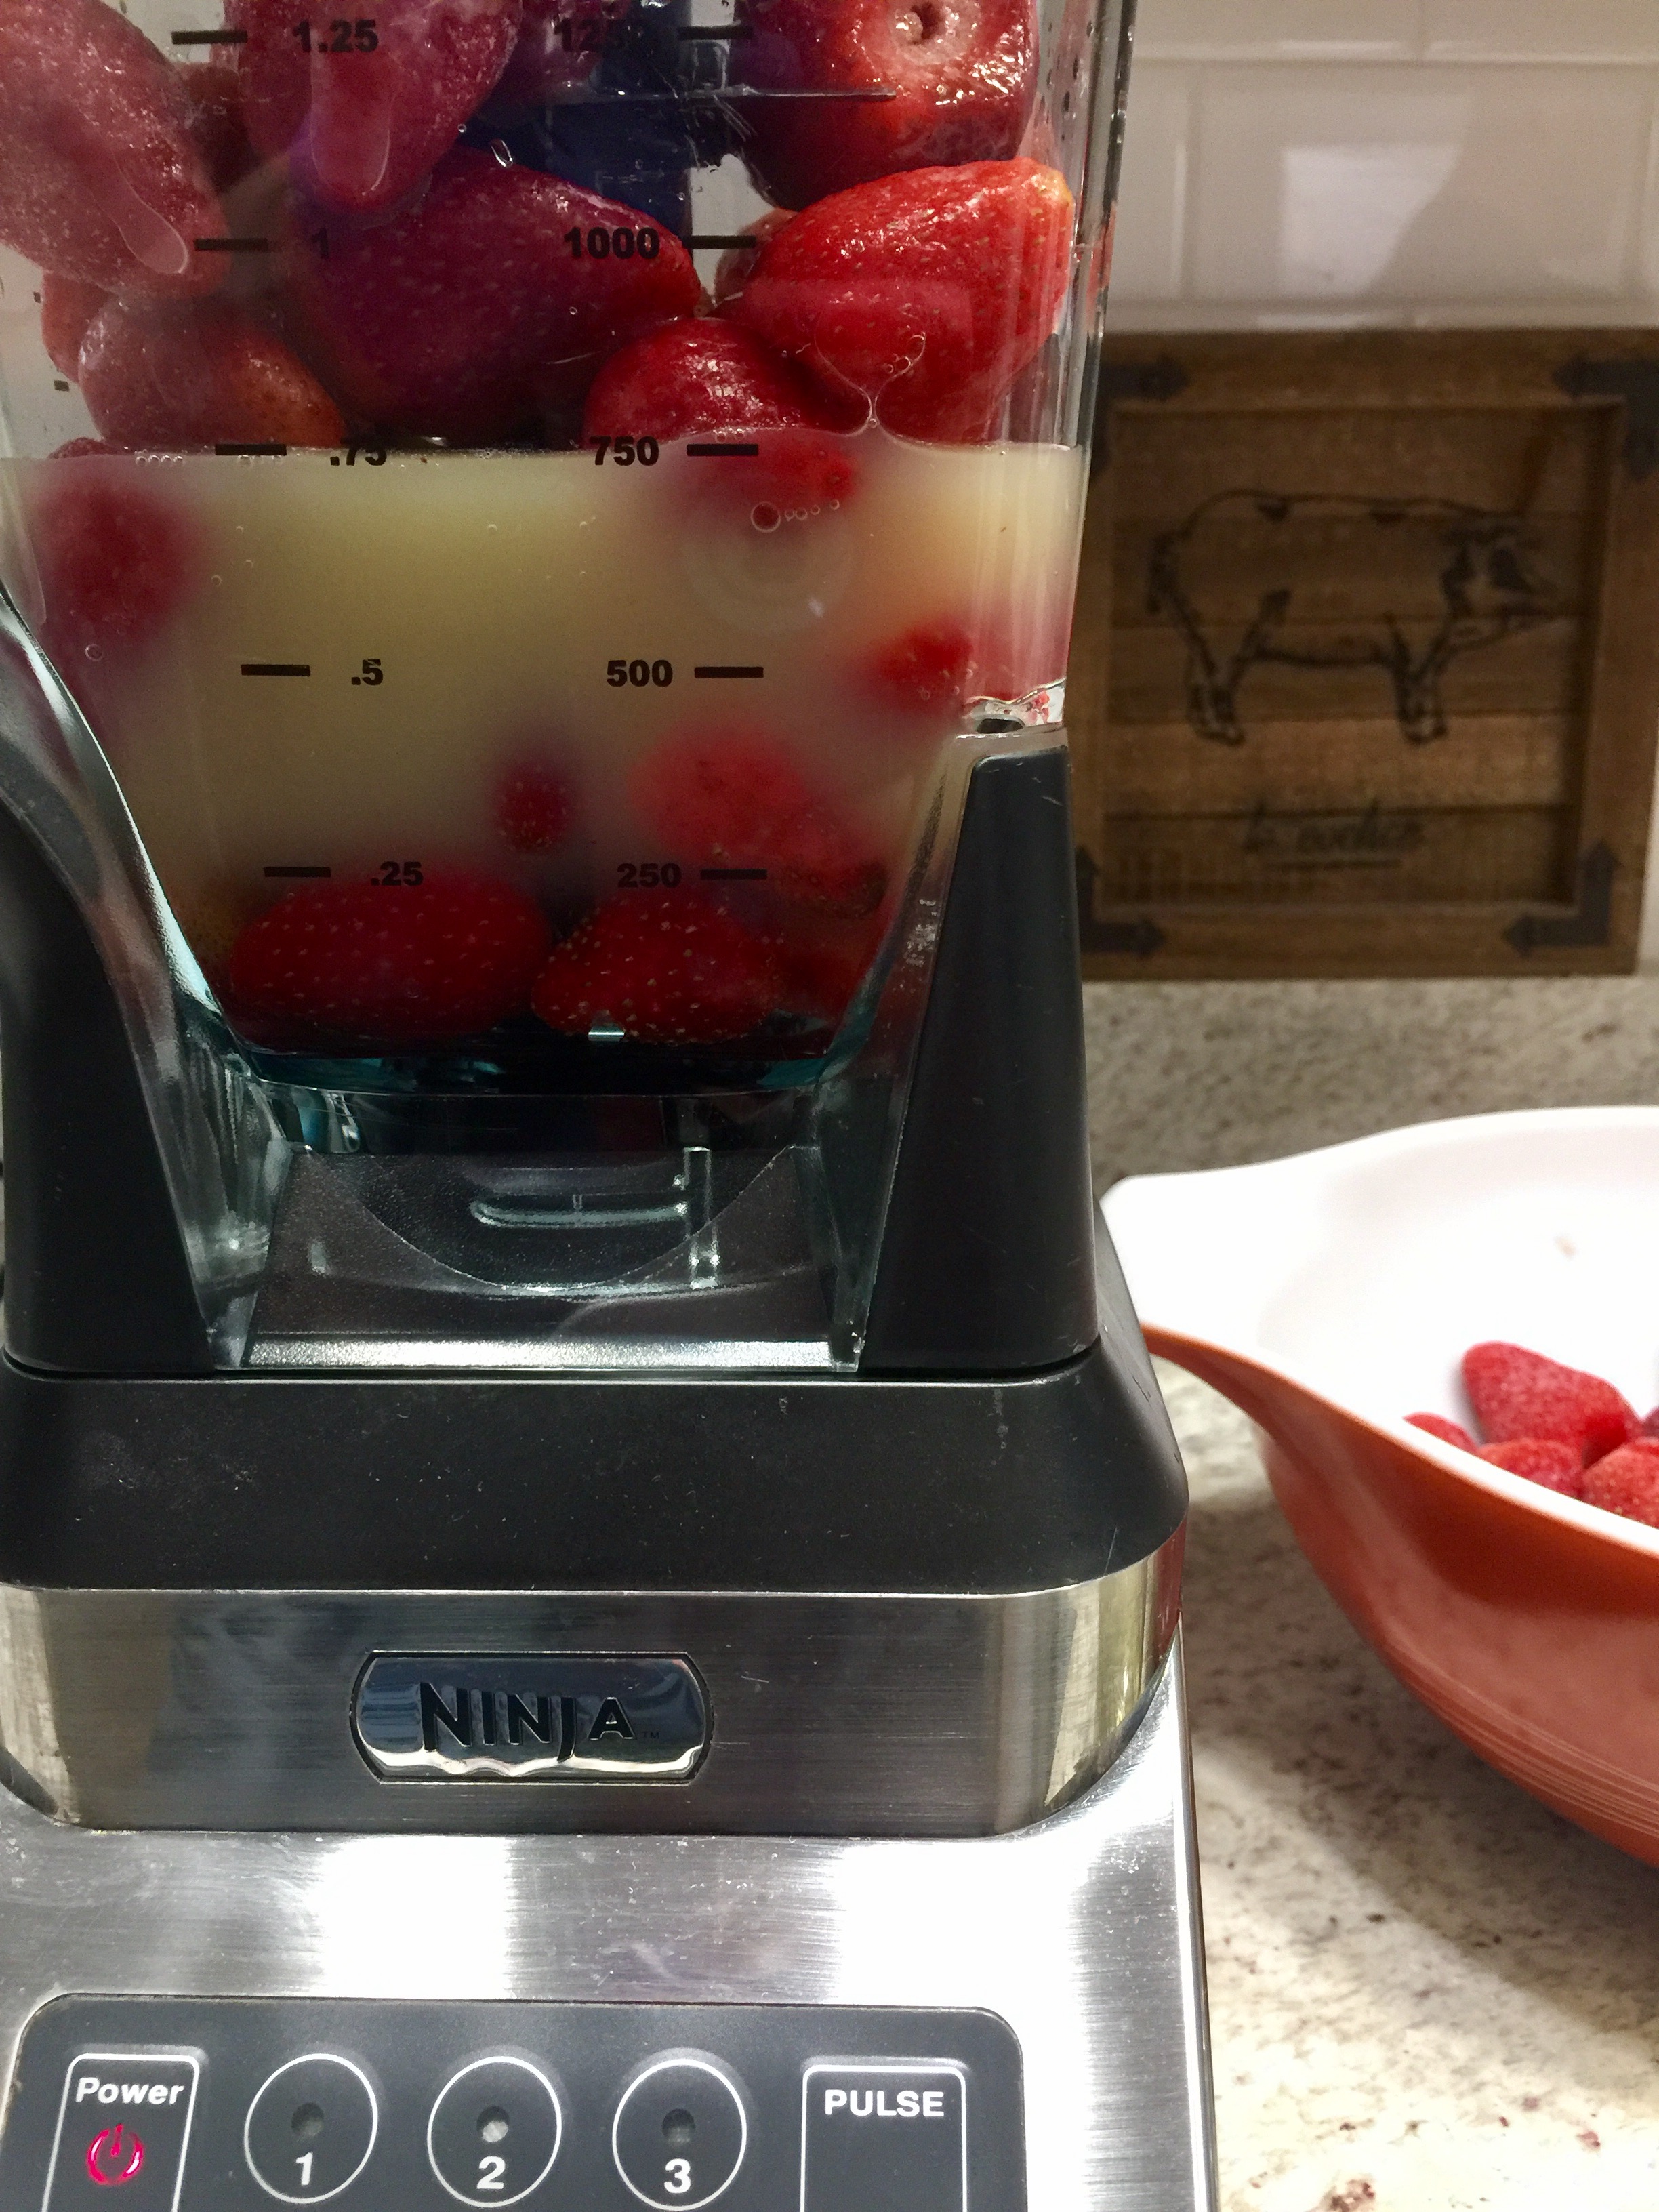
After the simple syrup has cooled, throw it in the blender with the key lime juice and strawberries. Blast that sucker until it has pulverized all the bits of strawberry. Pour in one cup of water and blend again. Take a taste, if you think it is too strong or too thick, add another cup of water.
This limeade is delicious on its own, but for our party, we will use it as a mixer for the mocktails and cocktails. A thicker version will be best when using other liquids that will dilute the solution, such as lemon-lime soda and vodka!
KID'S MOCTAIL:
3/4 cup of Strawberry Key Limeade
1/4 cup of Lemon-Lime Soda
Ice
ADULT'S COCKTAIL:
3/4 cup of Strawberry Key Limeade
1.5 ounces of Key Lime Whipped Vodka
Splash of club soda or lemon-lime soda
BLACK BEAN & CORN SALAD:
1 can of black beans, drained and rinsed
1 can of black eyed peas, drained and rinsed
1/2 red onion, diced
1/4 cup of frozen sweet corn, thawed*
1-2 serrano peppers or other hot pepper, diced
1 /2 cup of chopped red/yellow peppers
1/2 cup of heirloom cherry tomatoes, sliced and seeded
1/4-1/2 cup of Italian dressing**
1/2 teaspoon of coriander
3/4 teaspoon of cumin
1/4 cup of cilantro, roughly chopped
1/4 cup of queso fresco or feta cheese crumbles
Salt and pepper to taste
Bunch of leaf lettuce, rinsed and dried
Bag of tortilla chips
In a large bowl, dump in all the ingredients and mix thoroughly. Garnish with queso fresco. Serve with leaf lettuce and tortilla chips. This salad is perfect served as a side dish for tacos or to simply eat with a fork.
PREPARATION TIP: The salad dressing can be made up to a week in advance. The bean and corn salad can be made 1 day in advance. Refrigerate salad and dressing in tightly sealed containers.
*If corn is in season, grill up a cob or two. Cut the corn off the cob and add it to the salad for a true taste of Summer.
**I like making my own salad dressing for many reasons. I get to control what goes in the dressing. Oil and vinegar are always on hand in the Bell House. So why buy a dressing that has all this stuff already in it? I can make fresh dressing when I want and I don't have a multitude of bottles taking up valuable fridge space.
SESAME POPCORN:
Adapted from Food and Wine Magazine (Sesame Glazed Pistachios popcorn)
Make a batch of popcorn following directions on the package(Click here for the caramel popcorn recipe my family refers to as "crack.") 3 tablespoons of extra virgin olive oil 2 tablespoons of sugar 2 tablespoons of toasted sesame seeds 2 teaspoons of soy sauce 1/2 teaspoon of garlic powder 1 cup of peanuts, roughly chopped
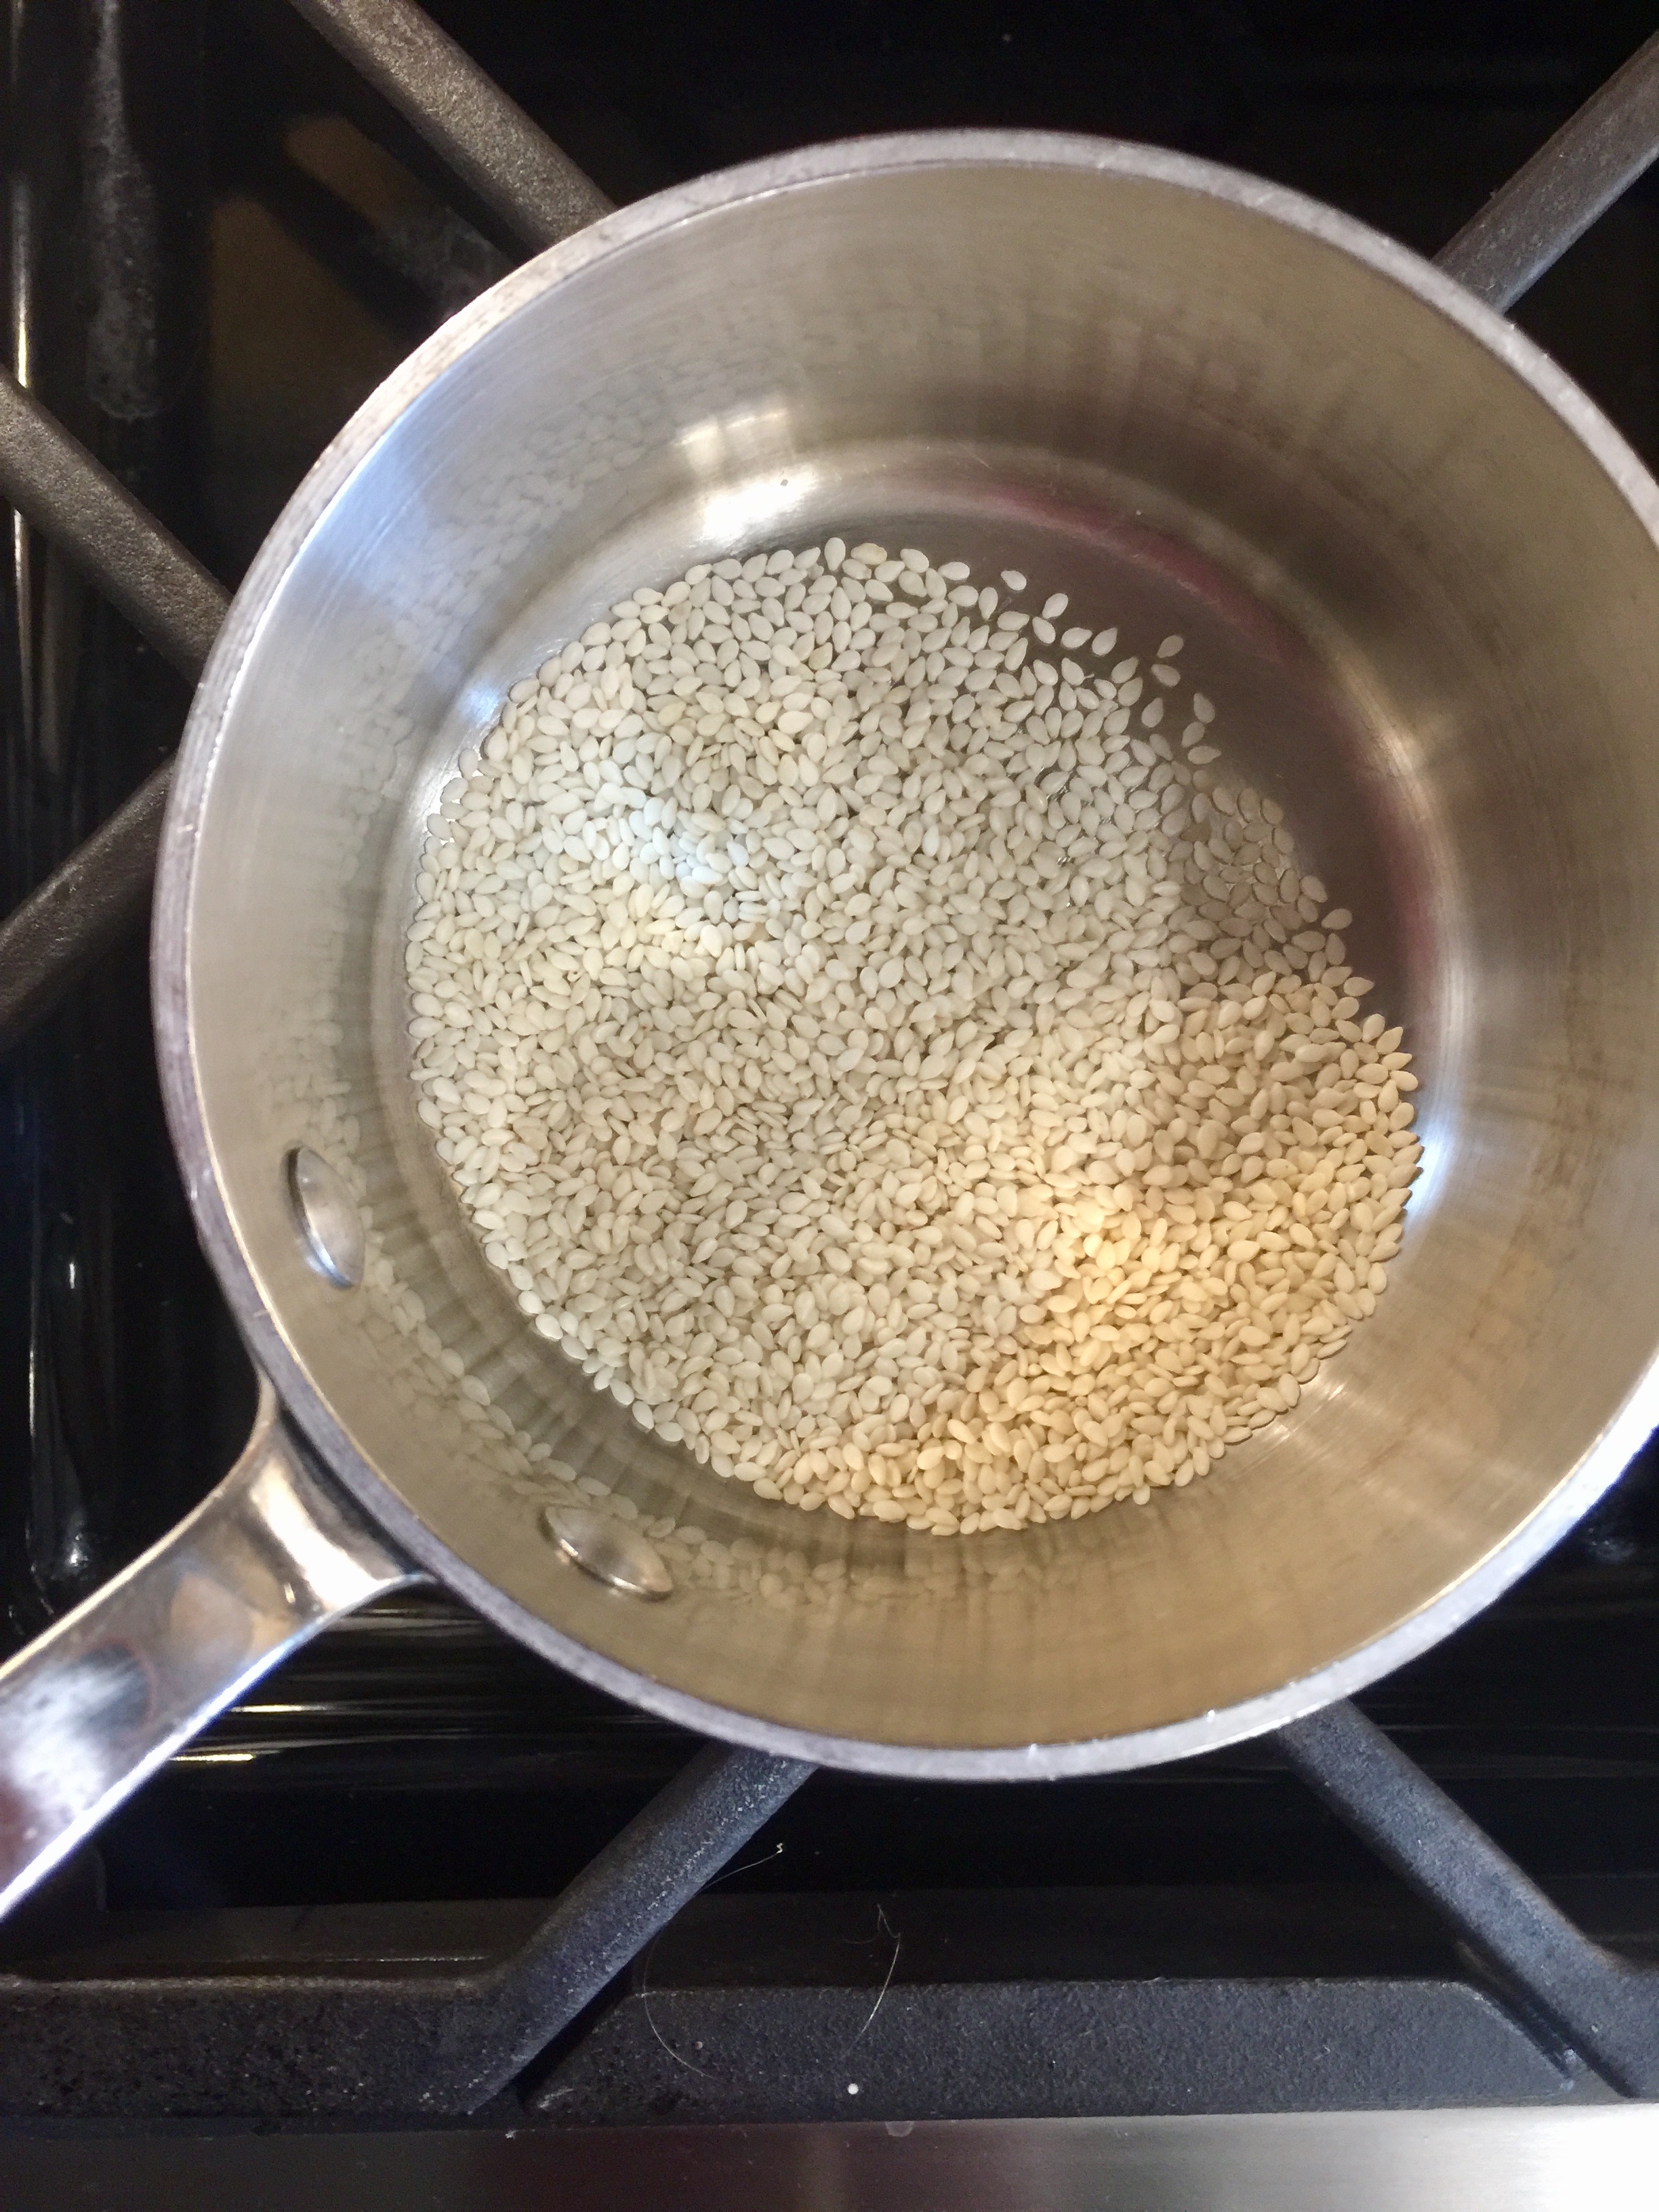
Preheat oven to 350 degrees. Line a baking sheet with parchment paper. In a small saucepan, toast your sesame seeds over medium heat. In a small bowl, combine olive oil, sugar, soy sauce, garlic powder.
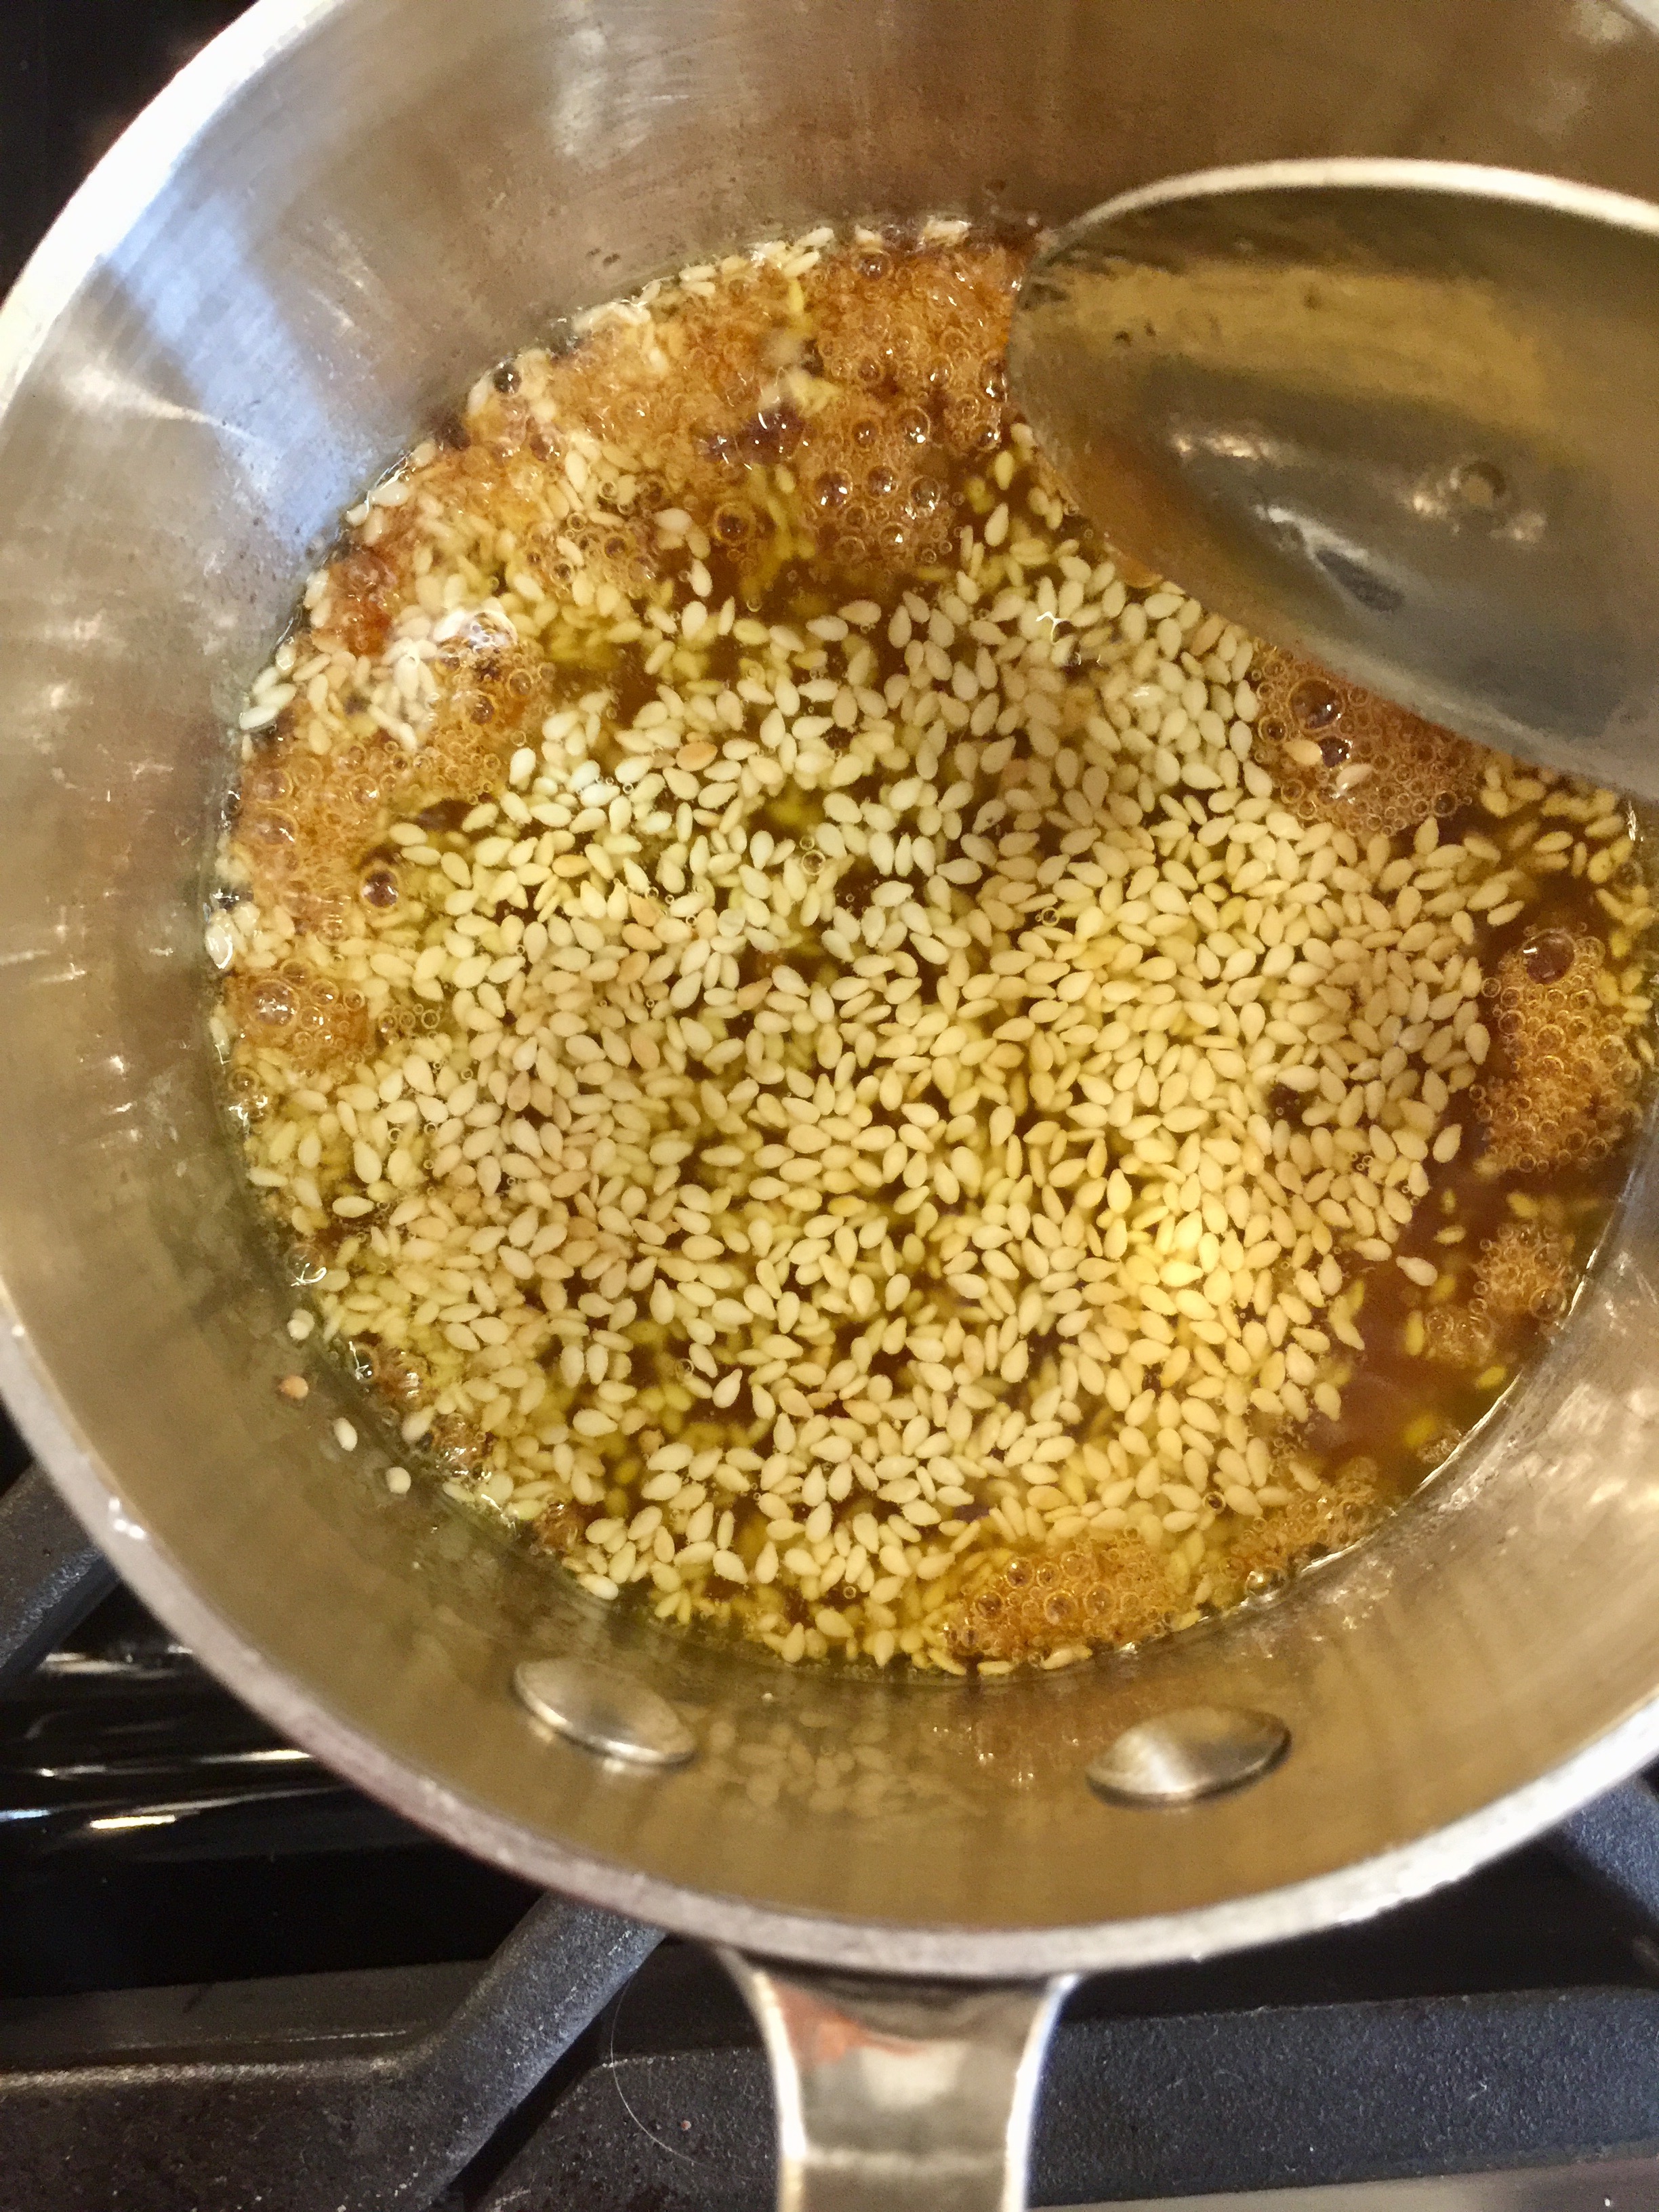
Once sesame is toasted, take off the heat and add the olive oil mixture to the saucepan. Stir until the sugar has dissolved. Add the coarsely chopped peanuts. Place back over heat and cook an additional minute. Scrape peanut mixture into the popcorn and toss well. Dump the popcorn onto the parchment paper and bake for 5 minutes. Give it a good stir and let cool. Once cooled, store in a tightly sealed container.
PREPARATION TIP: The popcorn is best the day you make it. However, if it is stored in a tightly sealed container the popcorn will make great munchies for a couple days.
At 6:00 PM, dinner was served.
GRANNY ANNIE'S SLOPPY JOES:
This is such a crowd pleaser. If you are a Manwhich eater, I challenge you to try this recipe. You will not go back to the canned stuff again! Click on Granny Annie's Sloppy Joes for the recipe. I doubled the batch for 17 people and had plenty left over for lunches the next day.
PREPARATION TIP:The sloppy joes can be made up to 3 days in advance. Bring to a boil before serving. This can also be frozen up to a month in advance. Thaw frozen sloppy joe in the fridge overnight and bring to a boil before service.
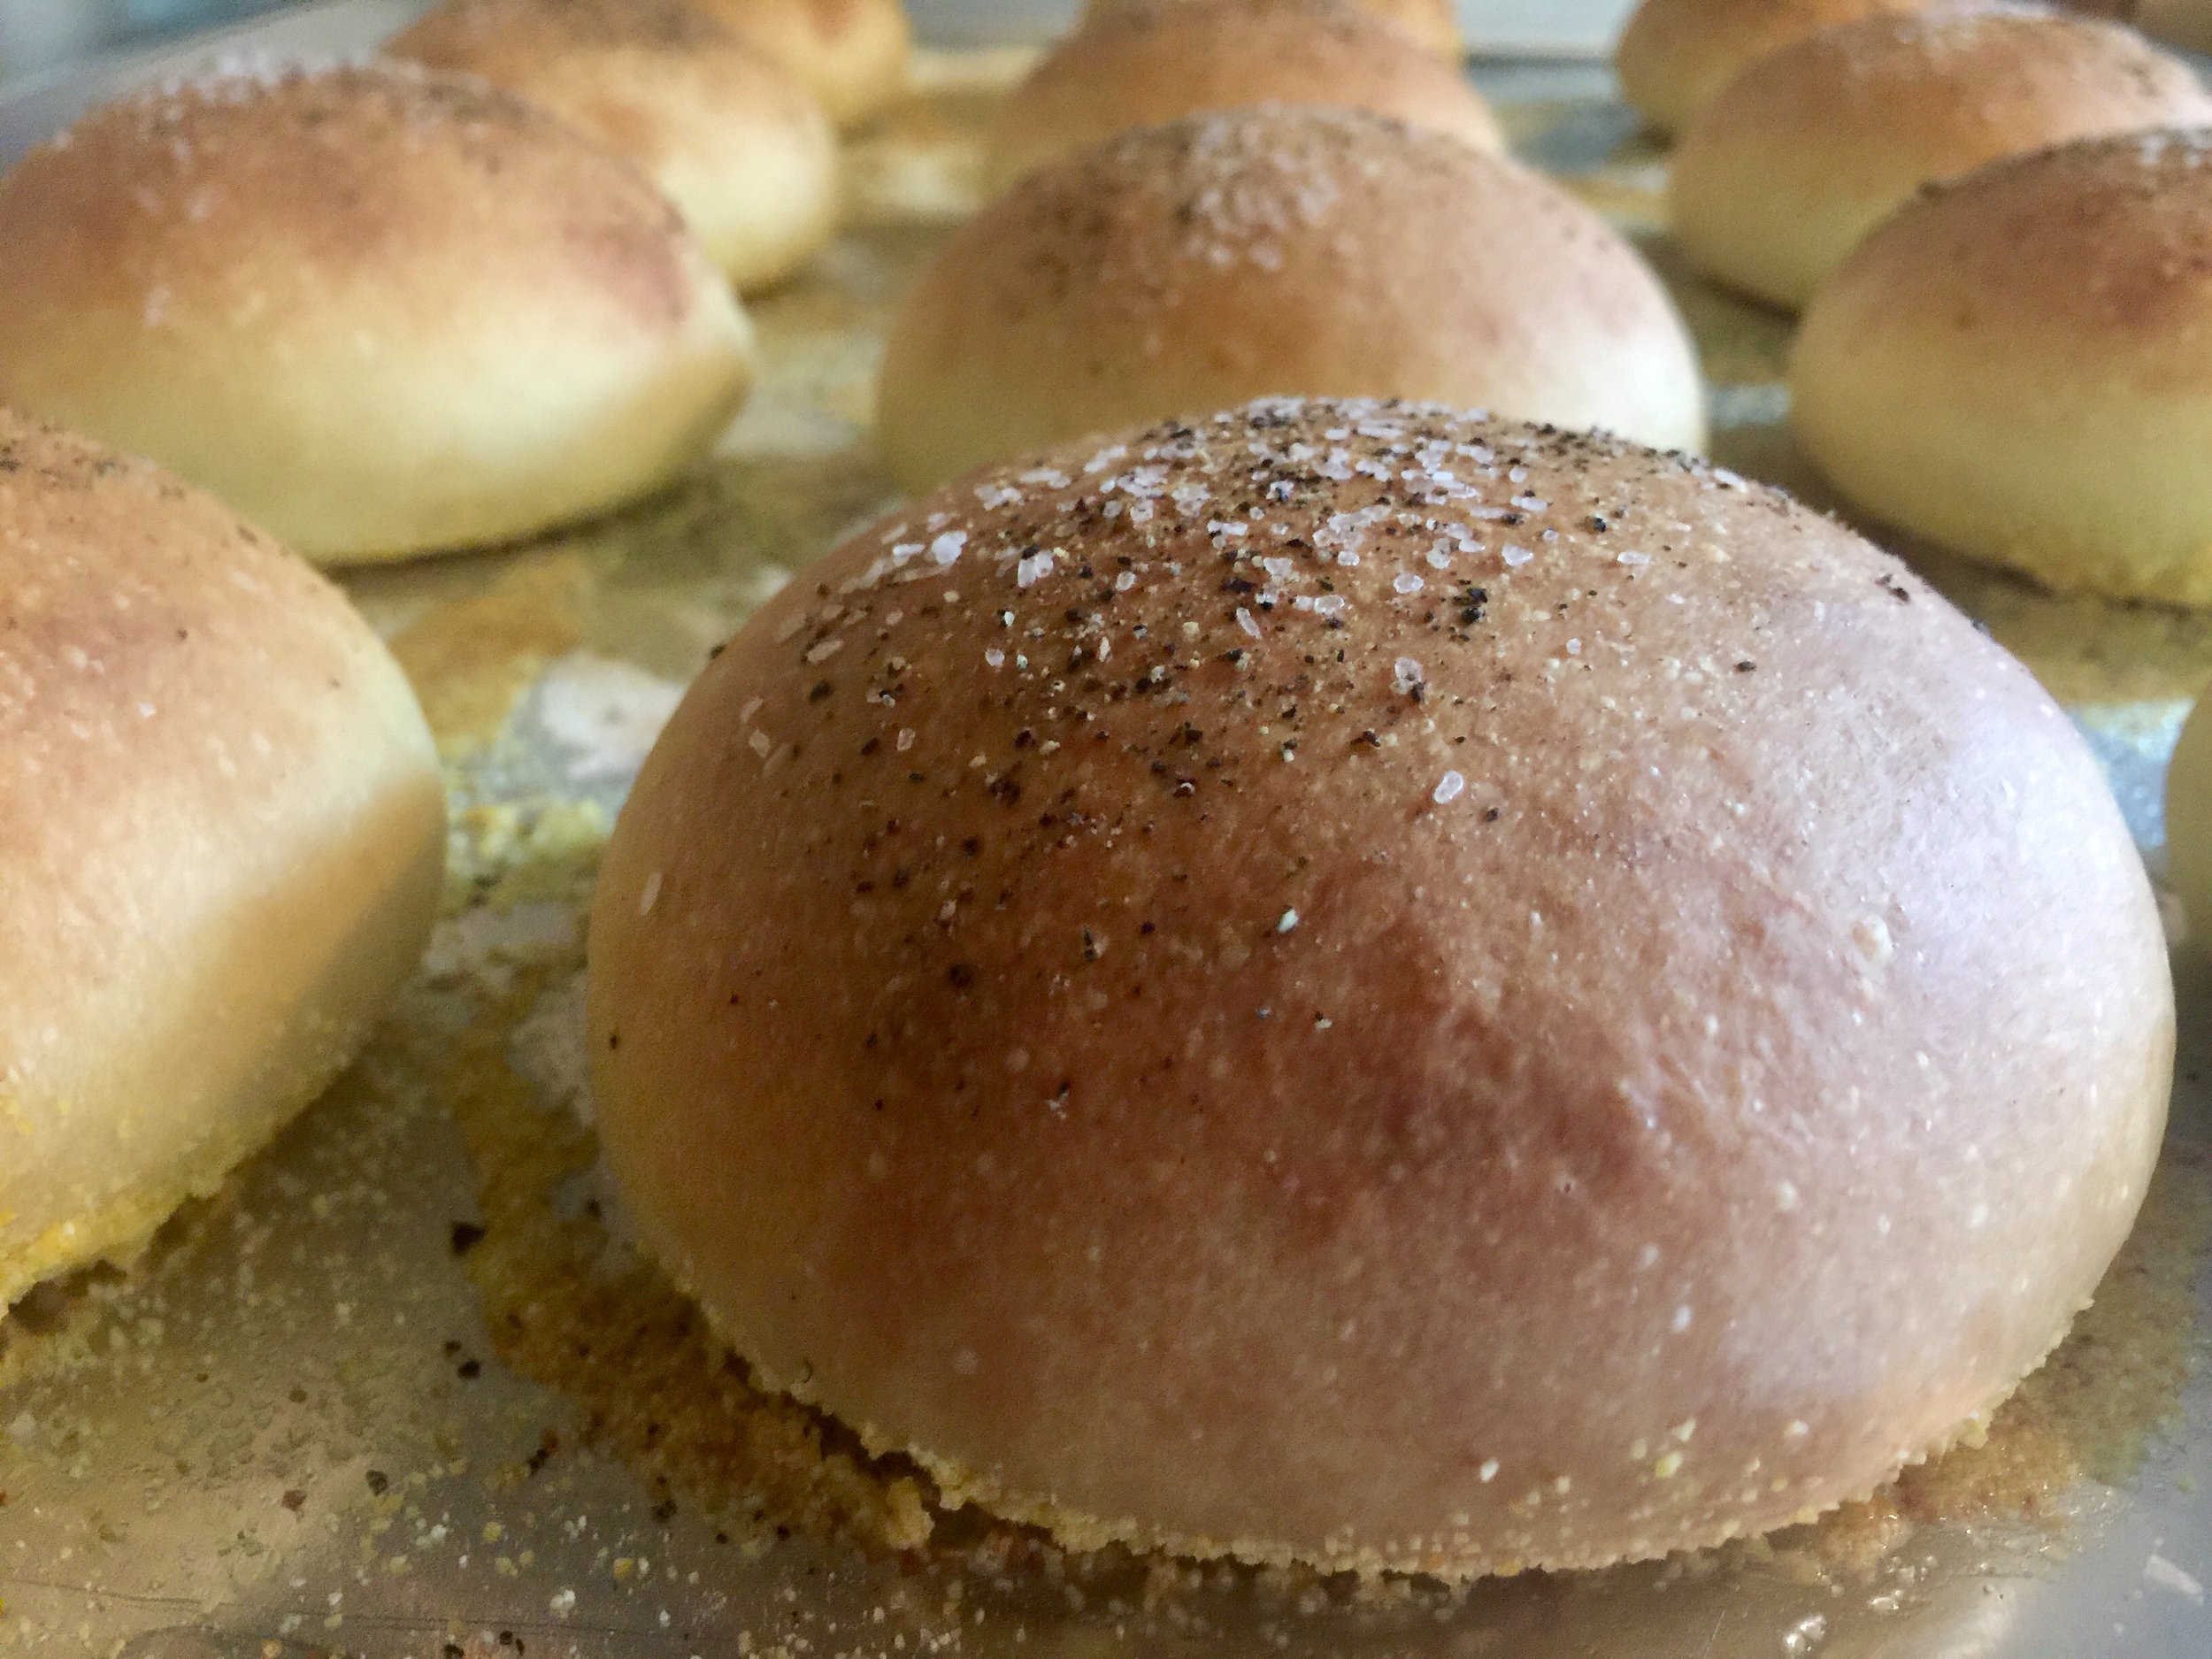
FOCACCIA SLIDER ROLLS:
I learned how to make the most yummy focaccia bread from Joanne Chang's cook book Flour. If you follow my posts, you all ready know she is my unofficial mentor. CLICK HERE for the recipe to bake Salt and Pepper Rolls. They are perfect for any sandwich. They are freezer friendly and may make you think twice about buying packaged hamburger rolls for your next meal.
GREEK PASTA SALAD:
1/2 box of spiral pasta or your favorite shaped pasta
1/2 cup of hierloom cherry tomatoes, sliced and seeded
2/3 cup of feta cheese crumbles
10 kalamata olives, chopped
3-4 jarred roasted red peppers, chopped
1 cucumber, seeded and chopped
1/4 red onion, chopped
3/4 cup of Greek salad dressing*
Salt and pepper to taste
Boil the pasta per the package directions, rinse with cool water. Dump all the prepped ingredients into a large bowl. Mix thoroughly and serve.
*Just like the Italian dressing above, I have repeated that step for this salad but with Greek salad dressing. I followed the directions on the back of the package.
PREPARATION TIP: Cook the pasta up to 3 days in advance. Make the Greek pasta salad 1 day in advance. Refrigerate the pasta salad in a tightly sealed container.
At 7:00 PM, we started S'more assembly. Mother nature decided to give us some pretty rainy weather for this post. That didn't stop us from our S'more experience. I broke out the kitchen torch and we started a S'more assembly line. I like my marshmallows burnt beyond recognition please!
THE EXTRA MILE S'MORES:
Ok, so I may have gone a bit overboard with these S'mores but I think it was worth it. I always make homemade marshmallows for any recipe that calls for them. They taste so fresh in comparison to store bought and they are easy to make. However, this was the first time I've ever made the graham crackers.
Ladies and Gentlemen, I loved it! Taking the extra step in making food from scratch makes me feel happy. My heart warms when I see people eating with a smile on their face.
Oh, and if you've never had a S'more with a peanut butter cup, get your ass in the car and get the fixings for S'mores. It's S'more changing. I have to thank our neighbor L.J for this tantalizing tidbit.
In case you didn't already know what goes on a S'more:
Graham Crackers, see recipe below (adapted from Joanne Chang's Flour cookbook)
Marshmallows, see recipe below
Hershey's chocolate, Reese's Peanut Butter Cups, Kit Kats, Butterfingers or any other flavor candy bar of your liking. Trust me when I say these items will shake up your S'more experience.
Torch the marshmallows, open the candy and make a sandwich. The graham crackers are like your bread.
Make your own GRAHAM CRACKERS:
1 stick unsalted butter, at room temperature
1/2 cup of sugar
2 tablespoons of unsulfured dark molasses
1 egg
2 tablespoons of heavy cream
1 3/4 cup of whole-wheat flour (I used whole-wheat pastry flour and this worked well)
1/4 cup of unbleached all purpose flour
2 tablespoons of medium coarse yellow cornmeal
1 teaspoon of baking powder
1 teaspoon of cinnamon
1/4 teaspoon of kosher salt
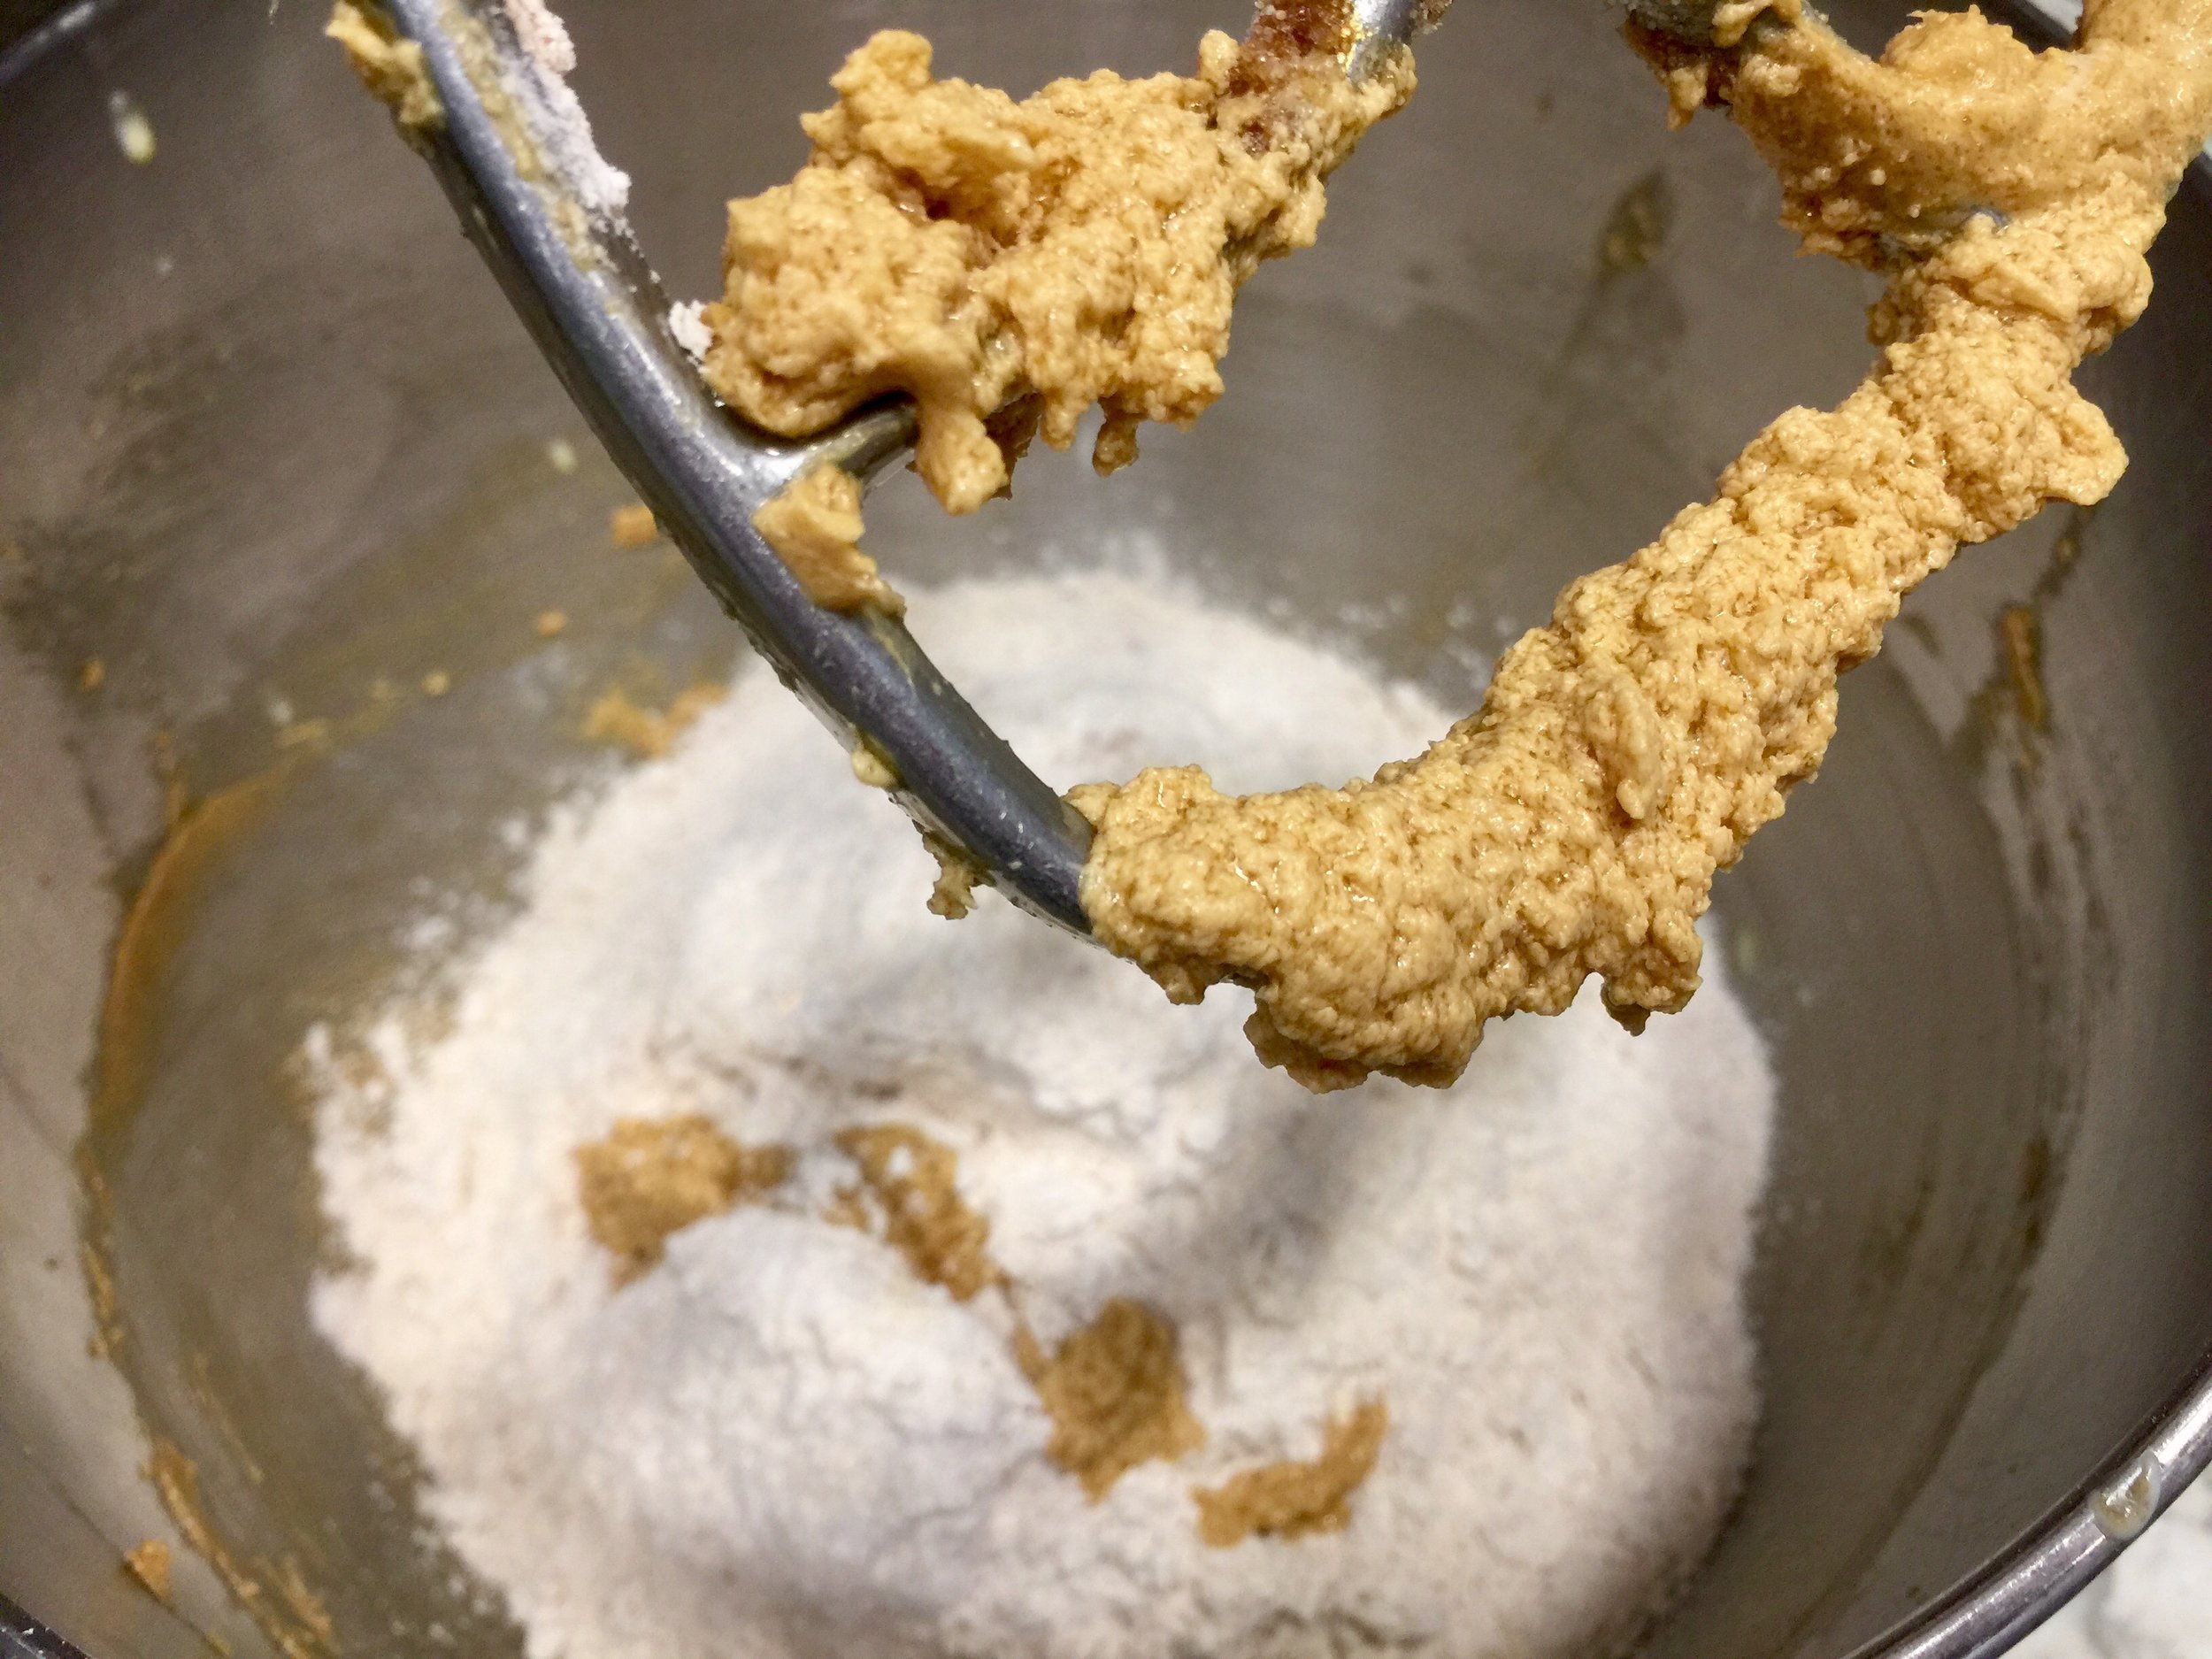
Cream the butter, sugar and molasses until light and fluffy, about 3 minutes. Scrape the sides of the bowl a few times during mixing. Add the egg and cream and continue to beat for about 1 minute or until thoroughly combined.
In a medium bowl, whisk together the whole-wheat flour, unbleached flour, cornmeal, baking powder, cinnamon and salt. Add this mixture to the butter and beat on low speed for about a minute. Scrape the sides of the bowl and mix until thoroughly incorporated.
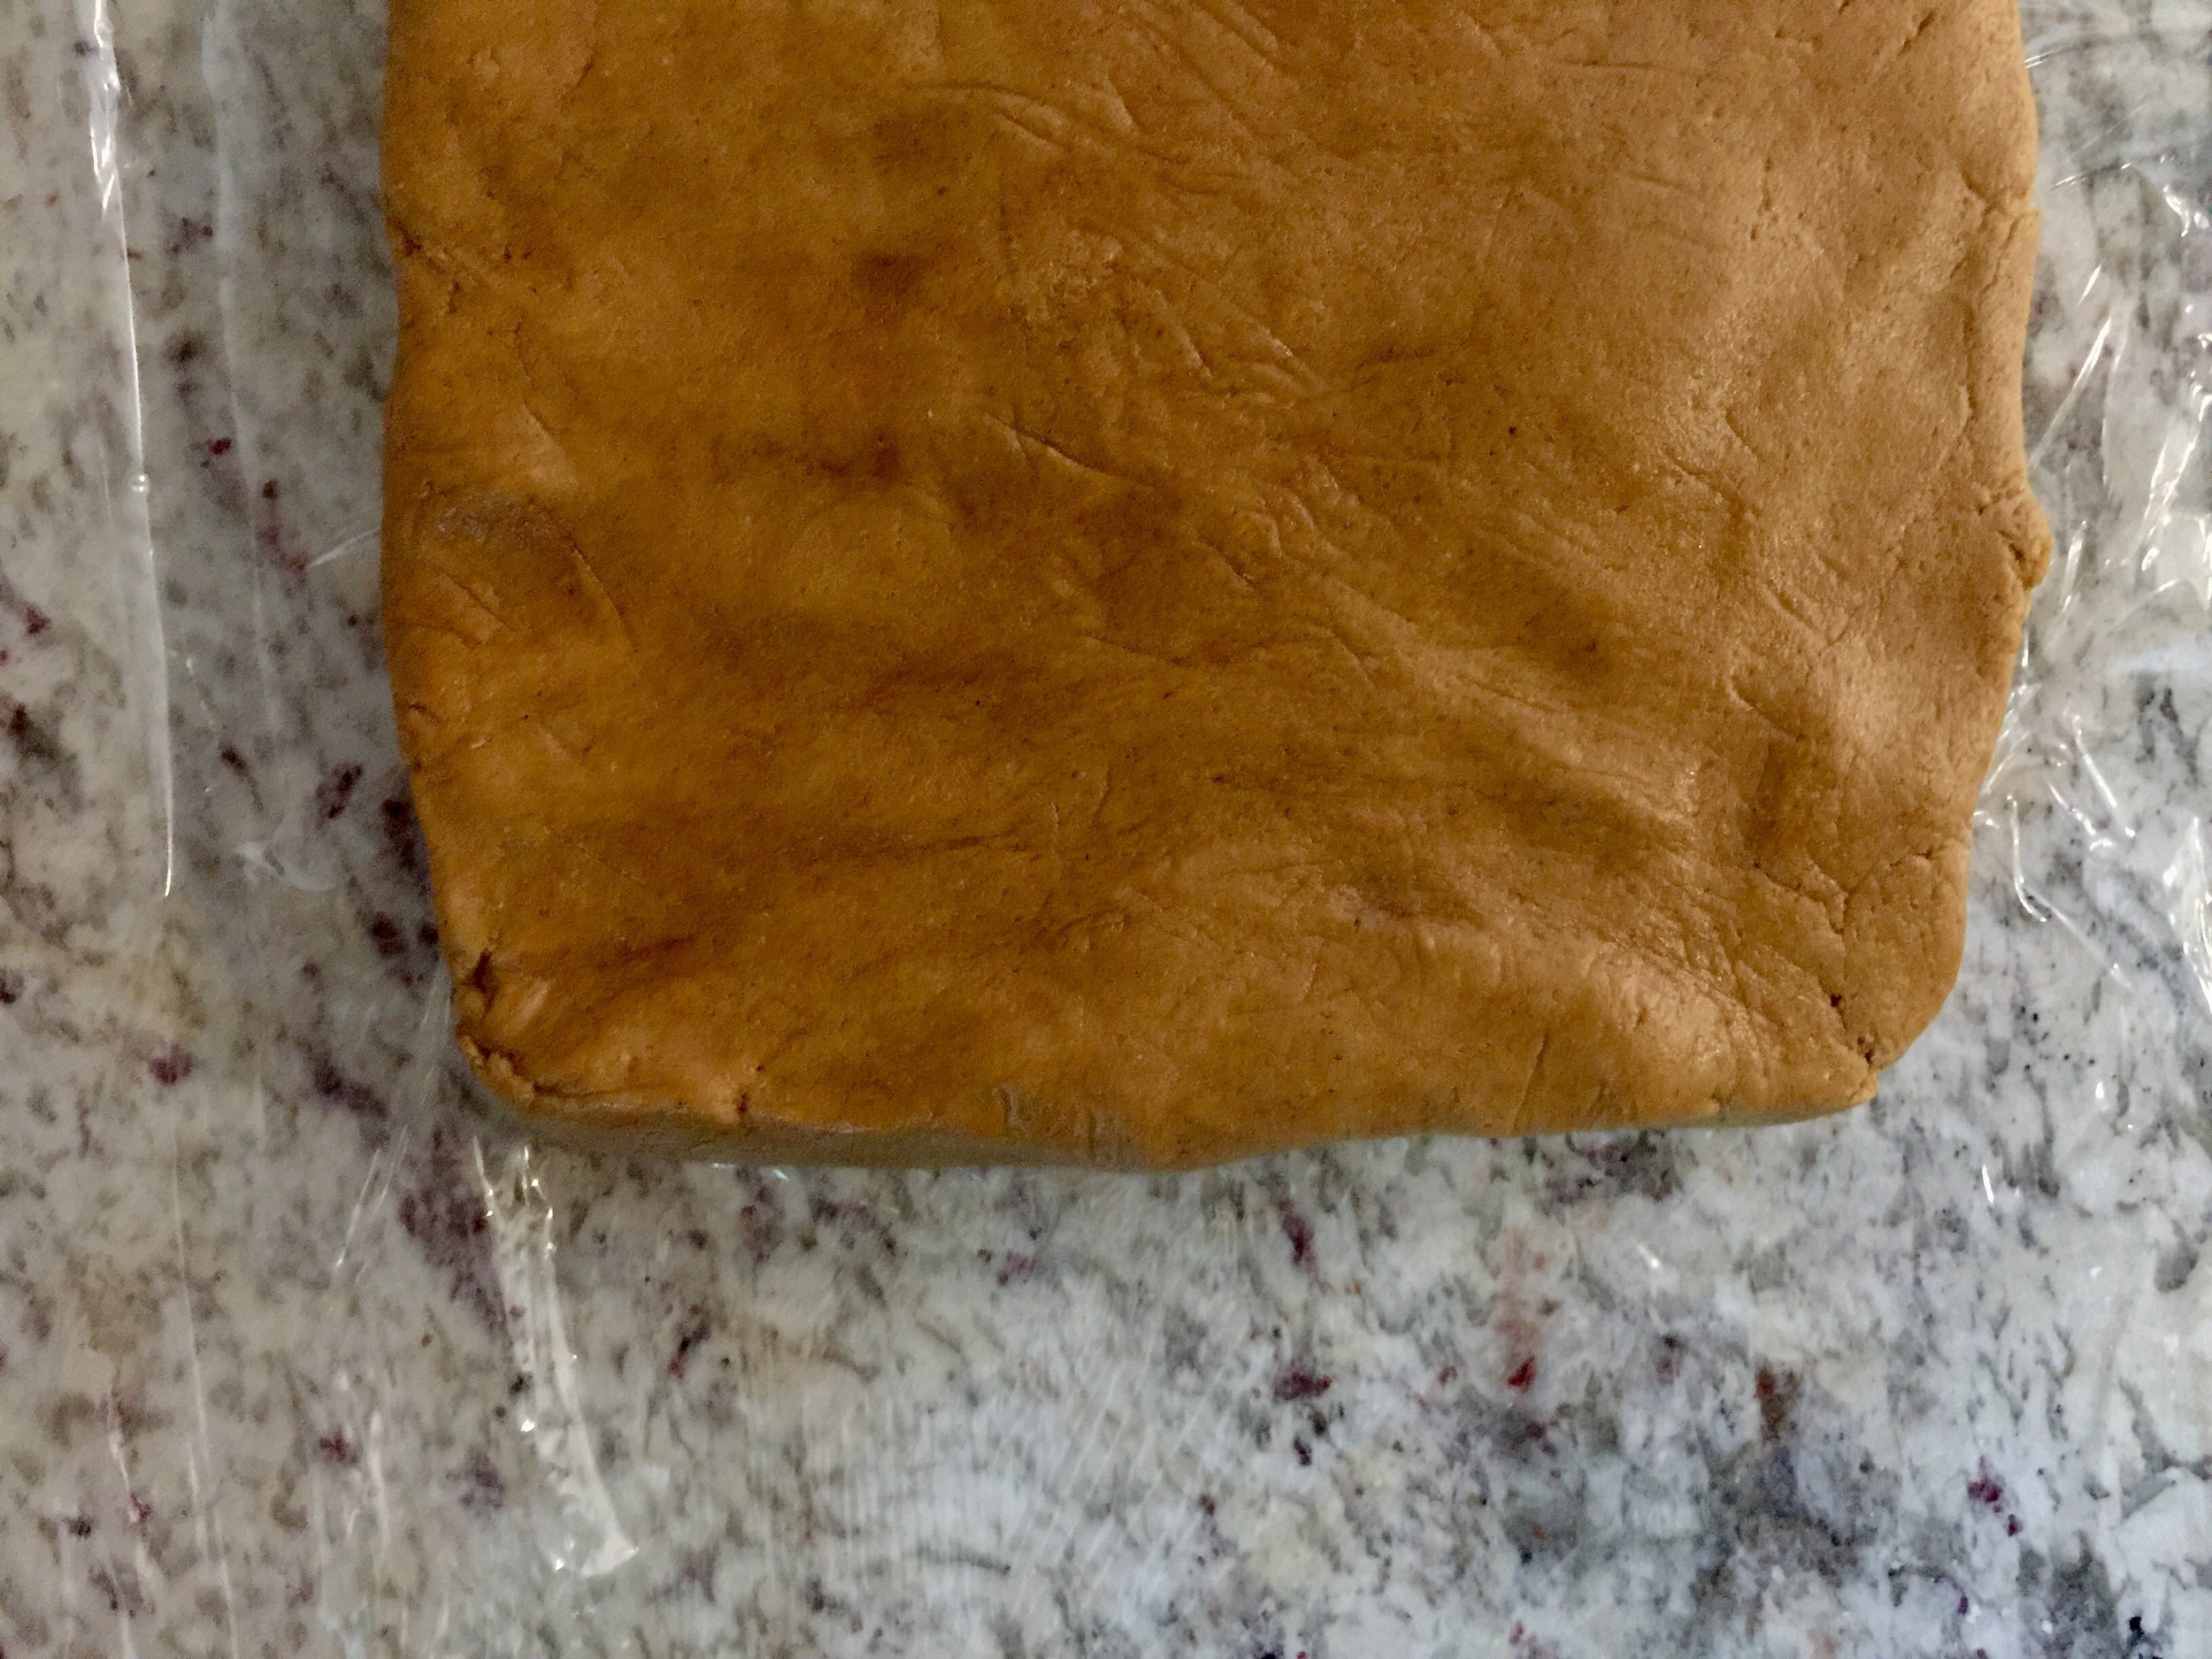
Scrape the dough onto a sheet of plastic wrap and mold into a 1 inch thick square. Wrap tightly with plastic wrap and refrigerate for at least 30 minutes up to 3 days.
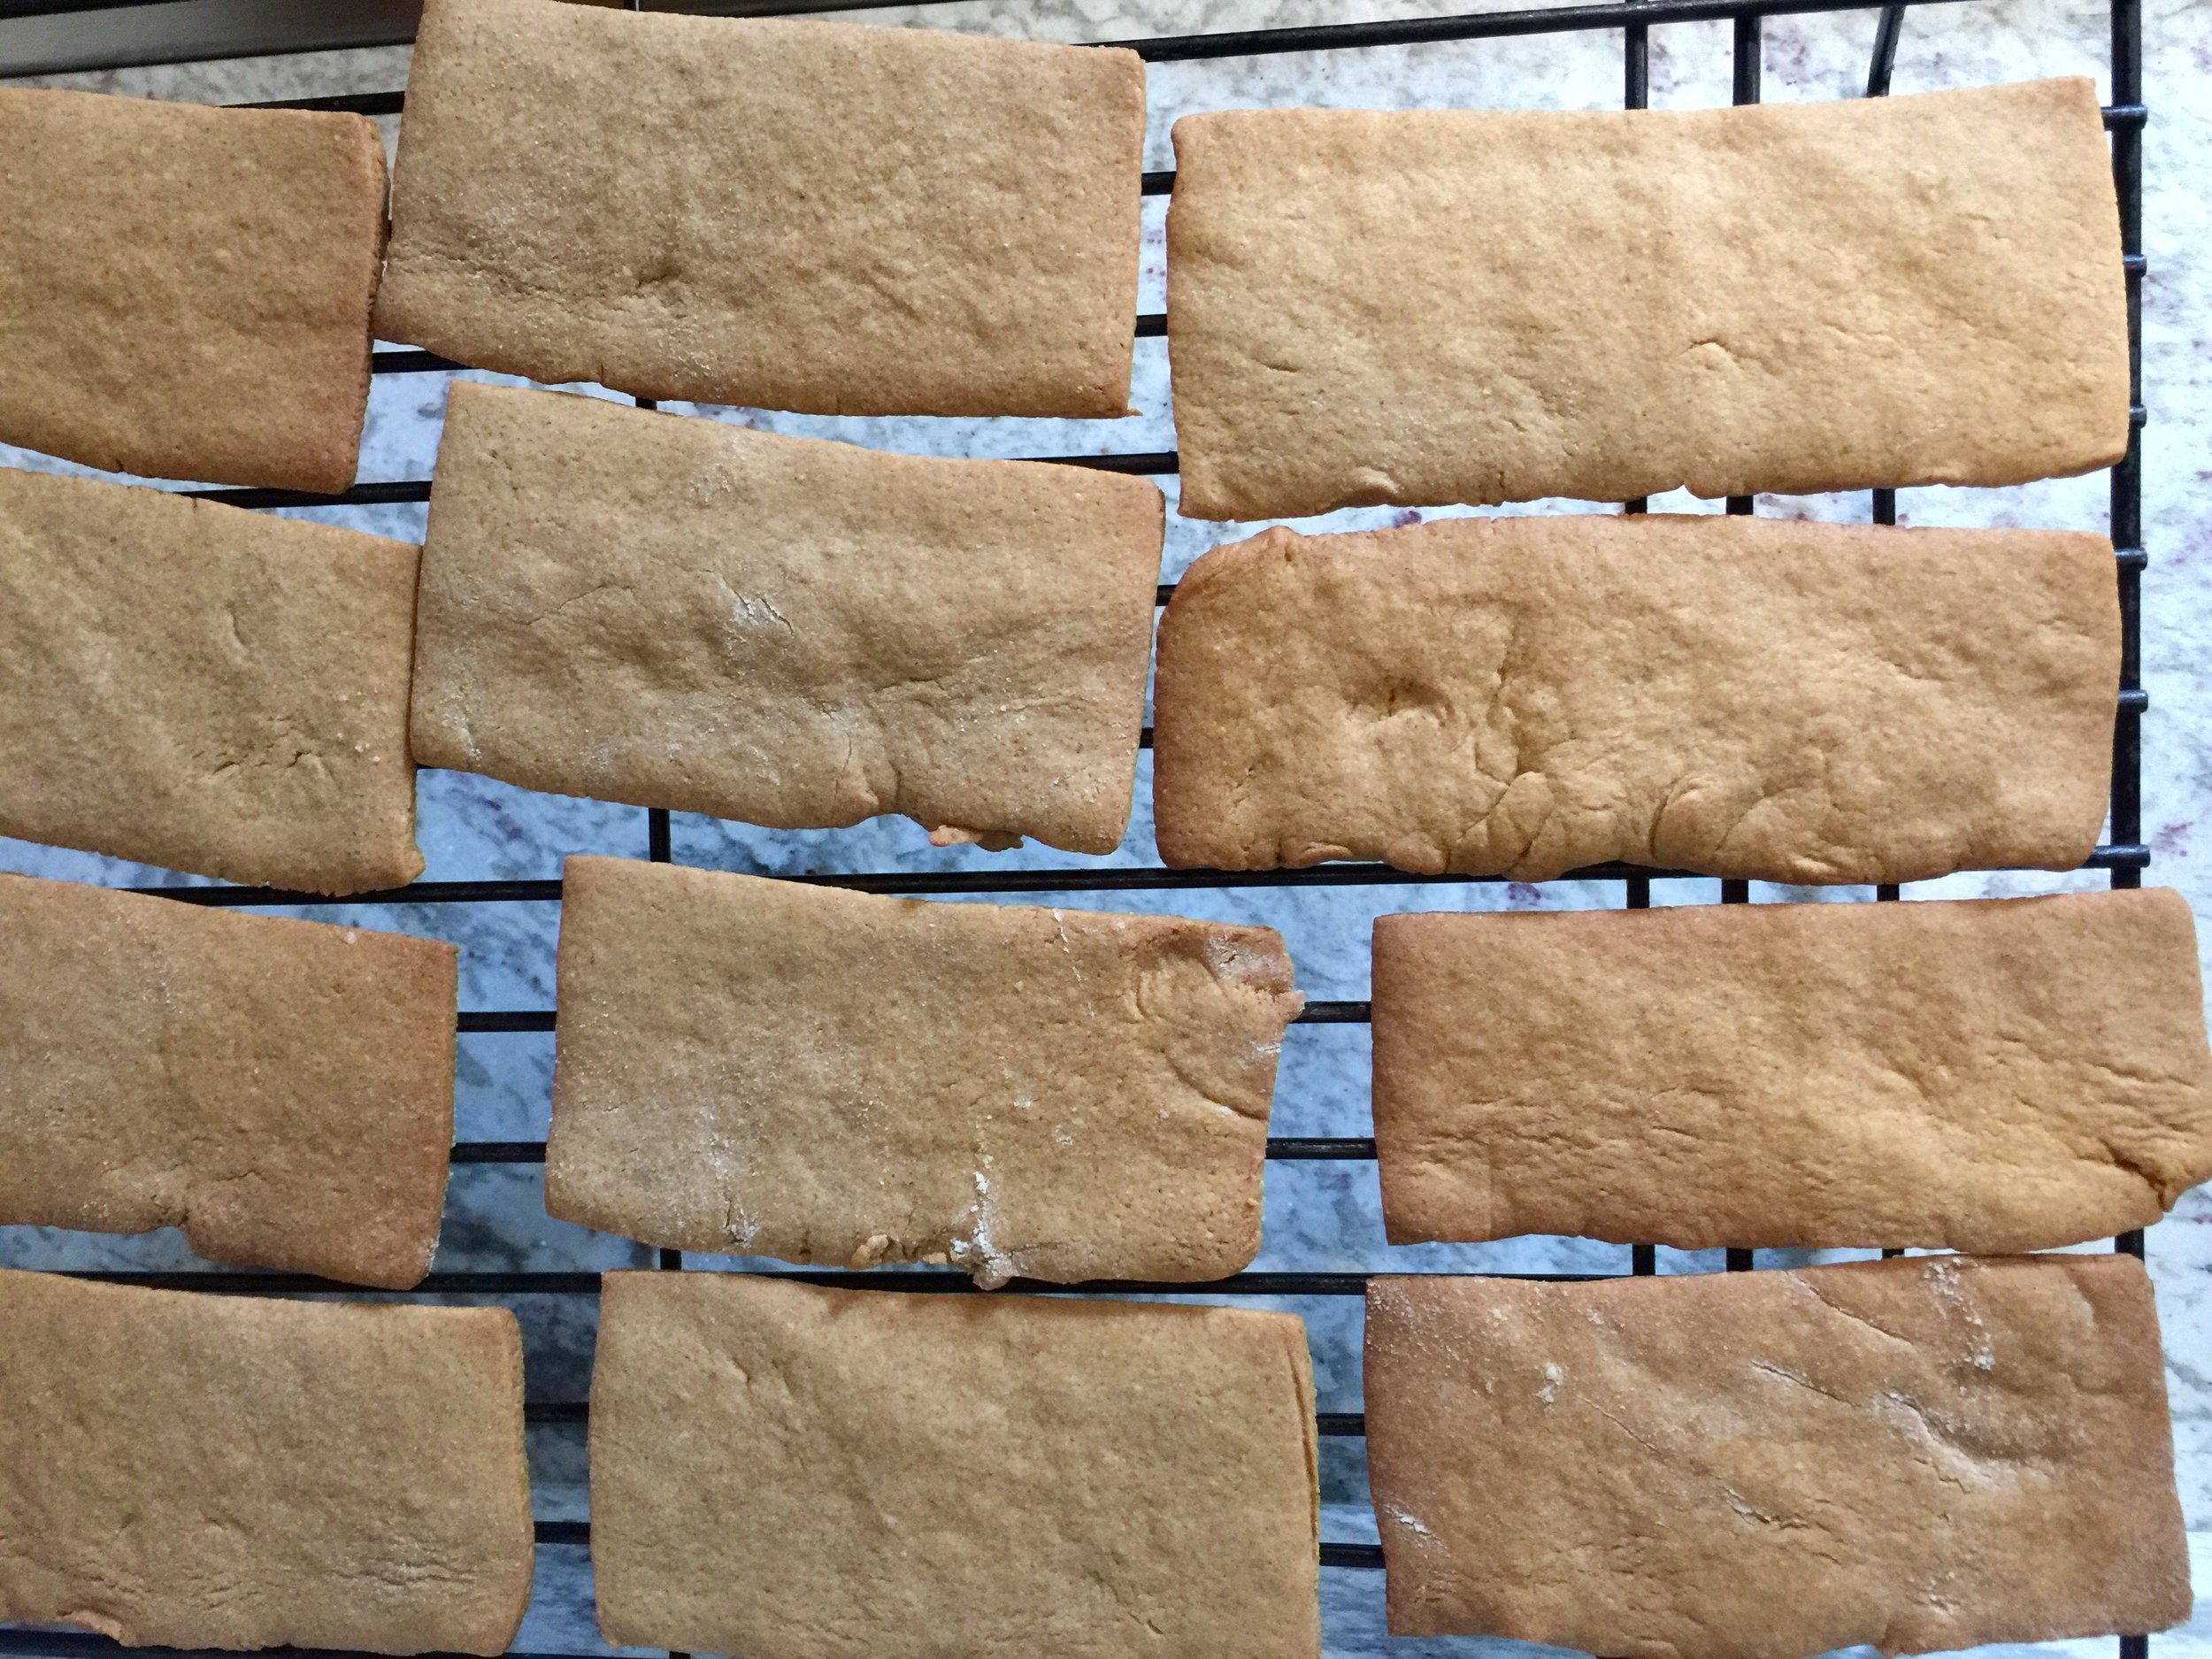
When ready to bake, preheat oven to 350 degrees and roll out the dough on a well floured surface into a 16 x 16 inch square. Cut the dough into 2 x 4 inch rectangles. The dough will be thin and that is ok.
Place each rectangle onto a parchment lined baking sheet about 1 inch apart. You can lightly score the rectangles in half for easy breaking apart during S'more construction. Bake for 15-20 minutes until the cookies are golden brown. Cool on a wire rack and store in a closed container for up to five days.
Make your own MARSHMALLOWS:
Several years ago I wanted to make homemade chocolate dipped marshmallows as a parting gift for the guests at my daughters birthday party. I found a recipe from Ina Garden for marshmallows, took the leap and use this recipe often when I want marshmallows.
3 packages of unflavored gelatin
1/2 cup of cold water, for the gelatin
1 1/2 cups of granulated sugar
1 cup of light corn syrup
1/4 teaspoon of kosher salt
1/2 cup of water, for the syrup
1 tablespoon of pure vanilla extract
Confectioners' sugar, for dusting
In a stand mixer with a whip attachment, add 1/2 cup of cold water and the 3 packages of gelatin into the bowl.
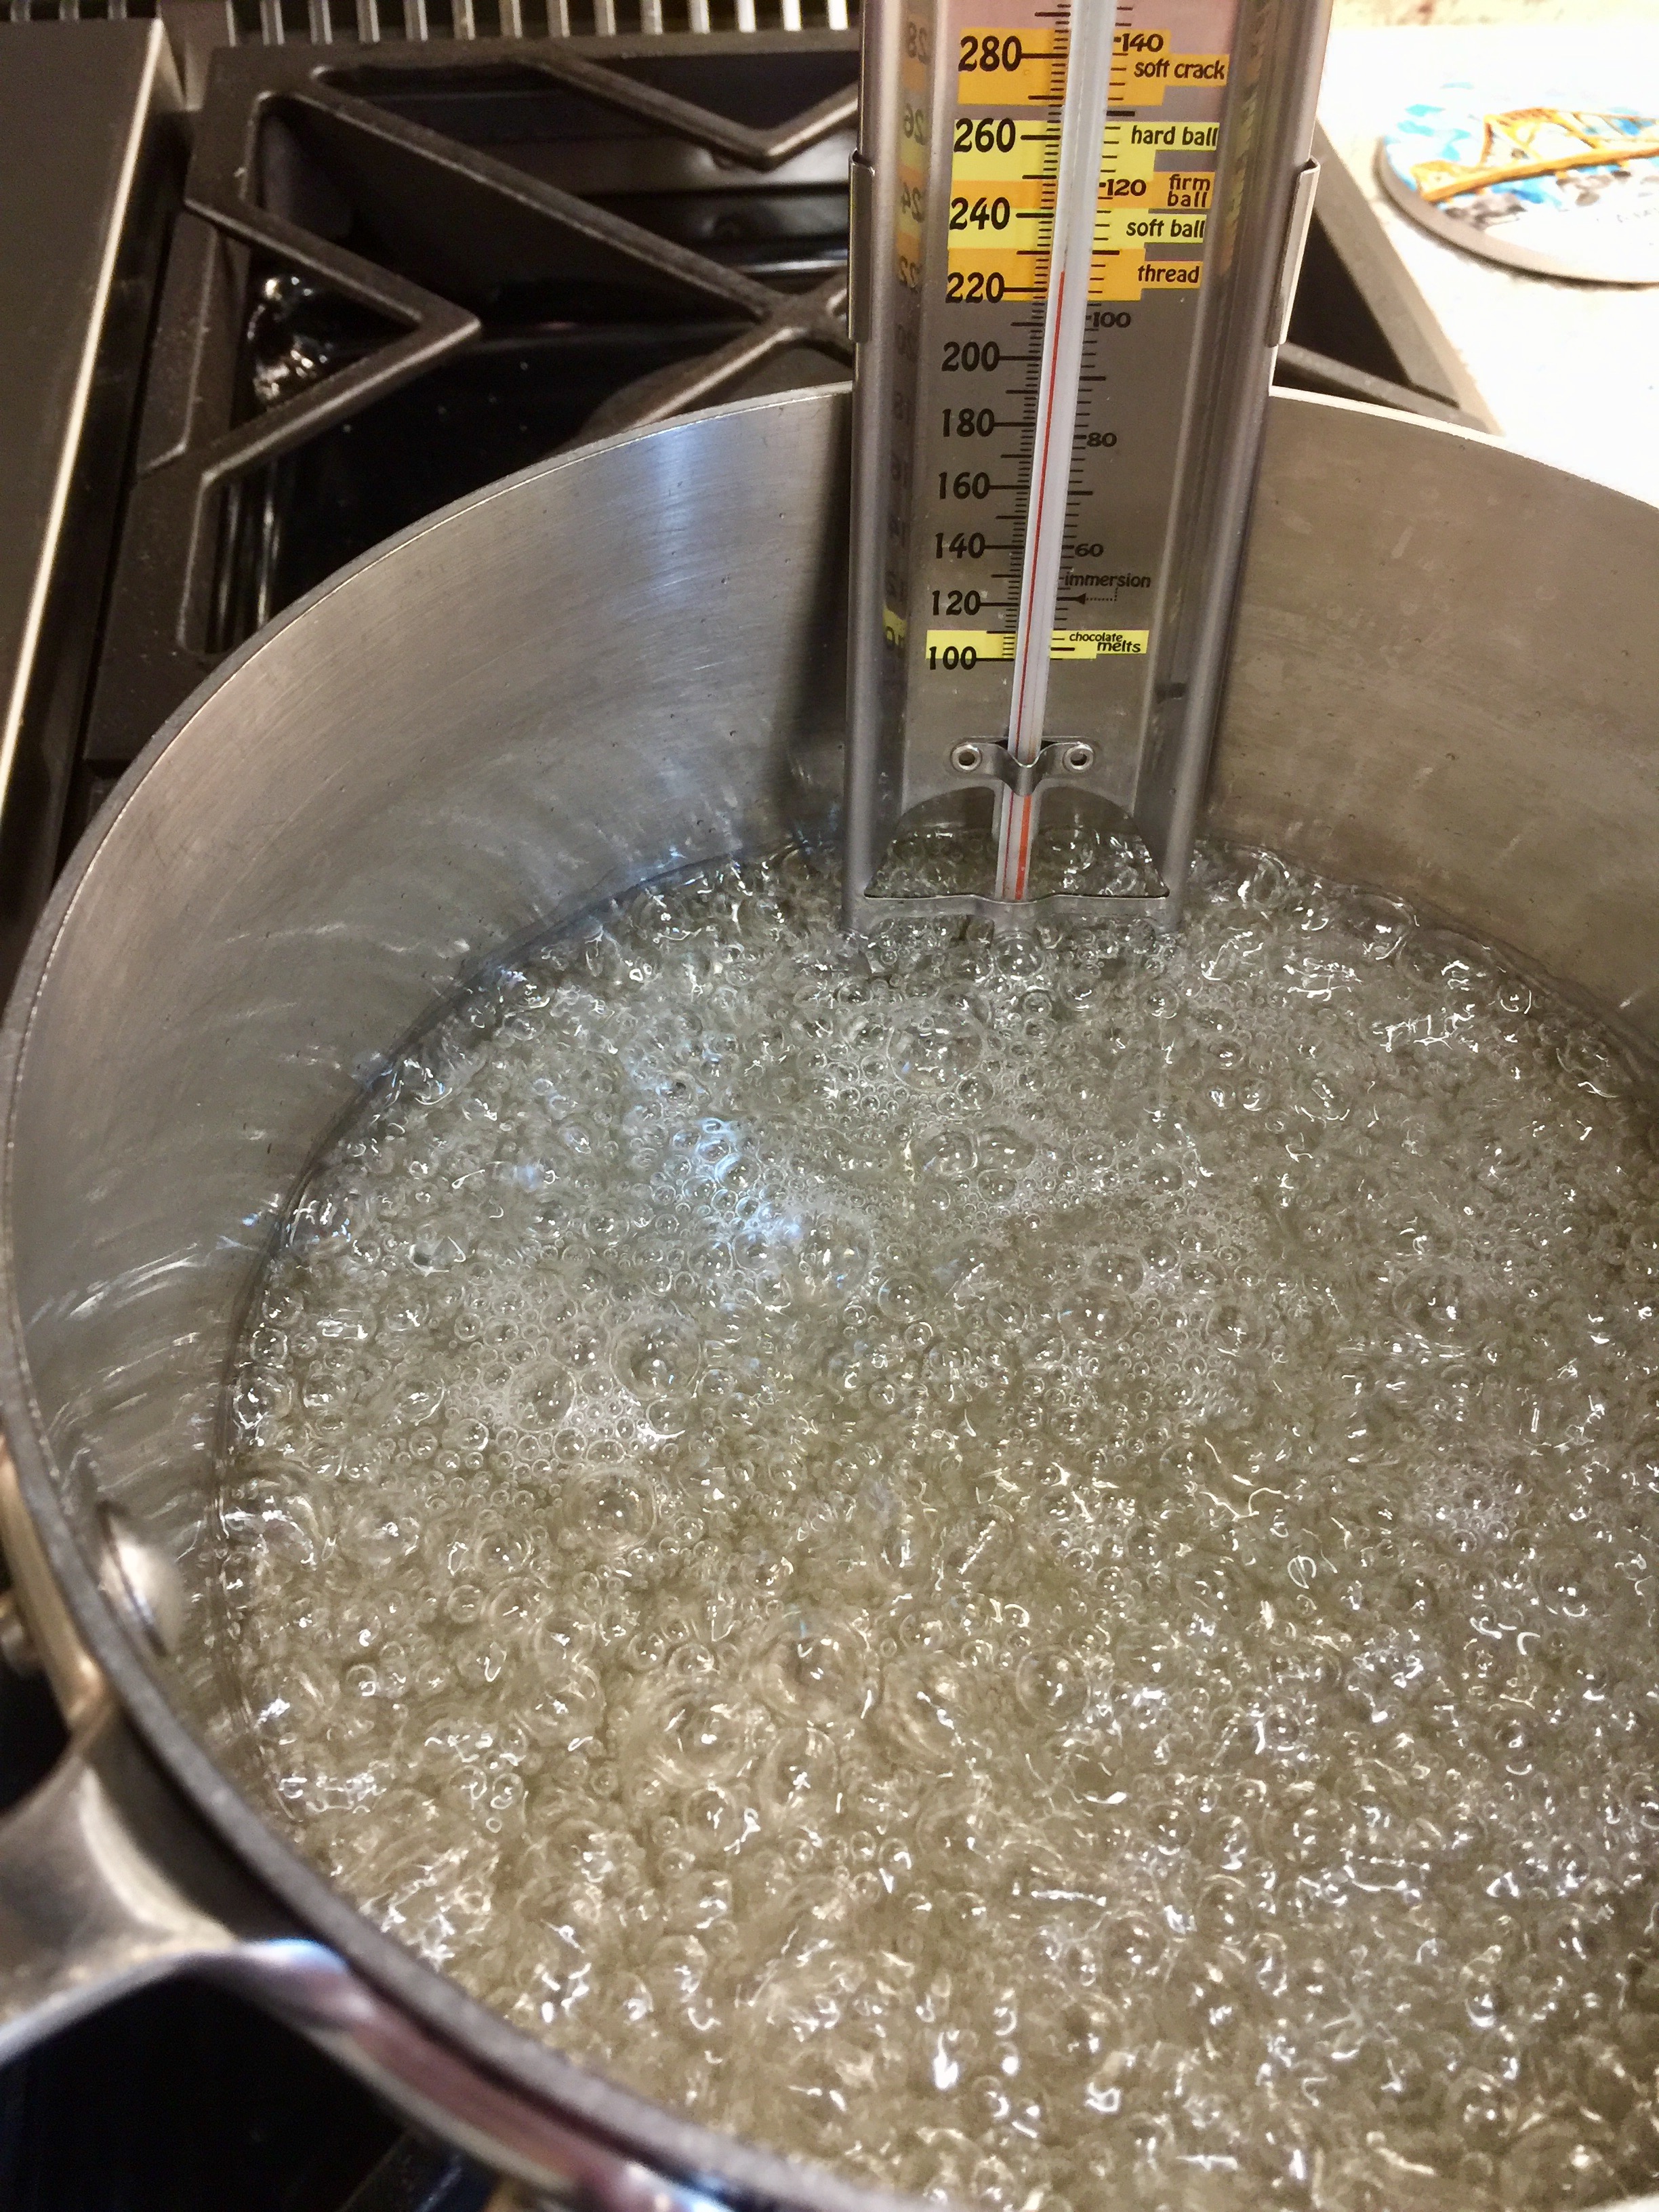
In a large saucepan, combine the sugar, corn syrup, salt, and 1/2 cup of water. Do not stir. Set the pan over medium high heat and use a thermometer to watch for the syrup to reach 240 degrees.
Remove the syrup from the heat and while the mixer is on medium speed, slowly pour the syrup into the mixing bowl. Once all the syrup has been added, turn the mixer on high and walk away for about 15 minutes.
Meanwhile, dust a 9 x 13 inch glass pan with confectioners sugar.
Add a tablespoon of vanilla extract to the marshmallow and beat for another 1-2 minutes.
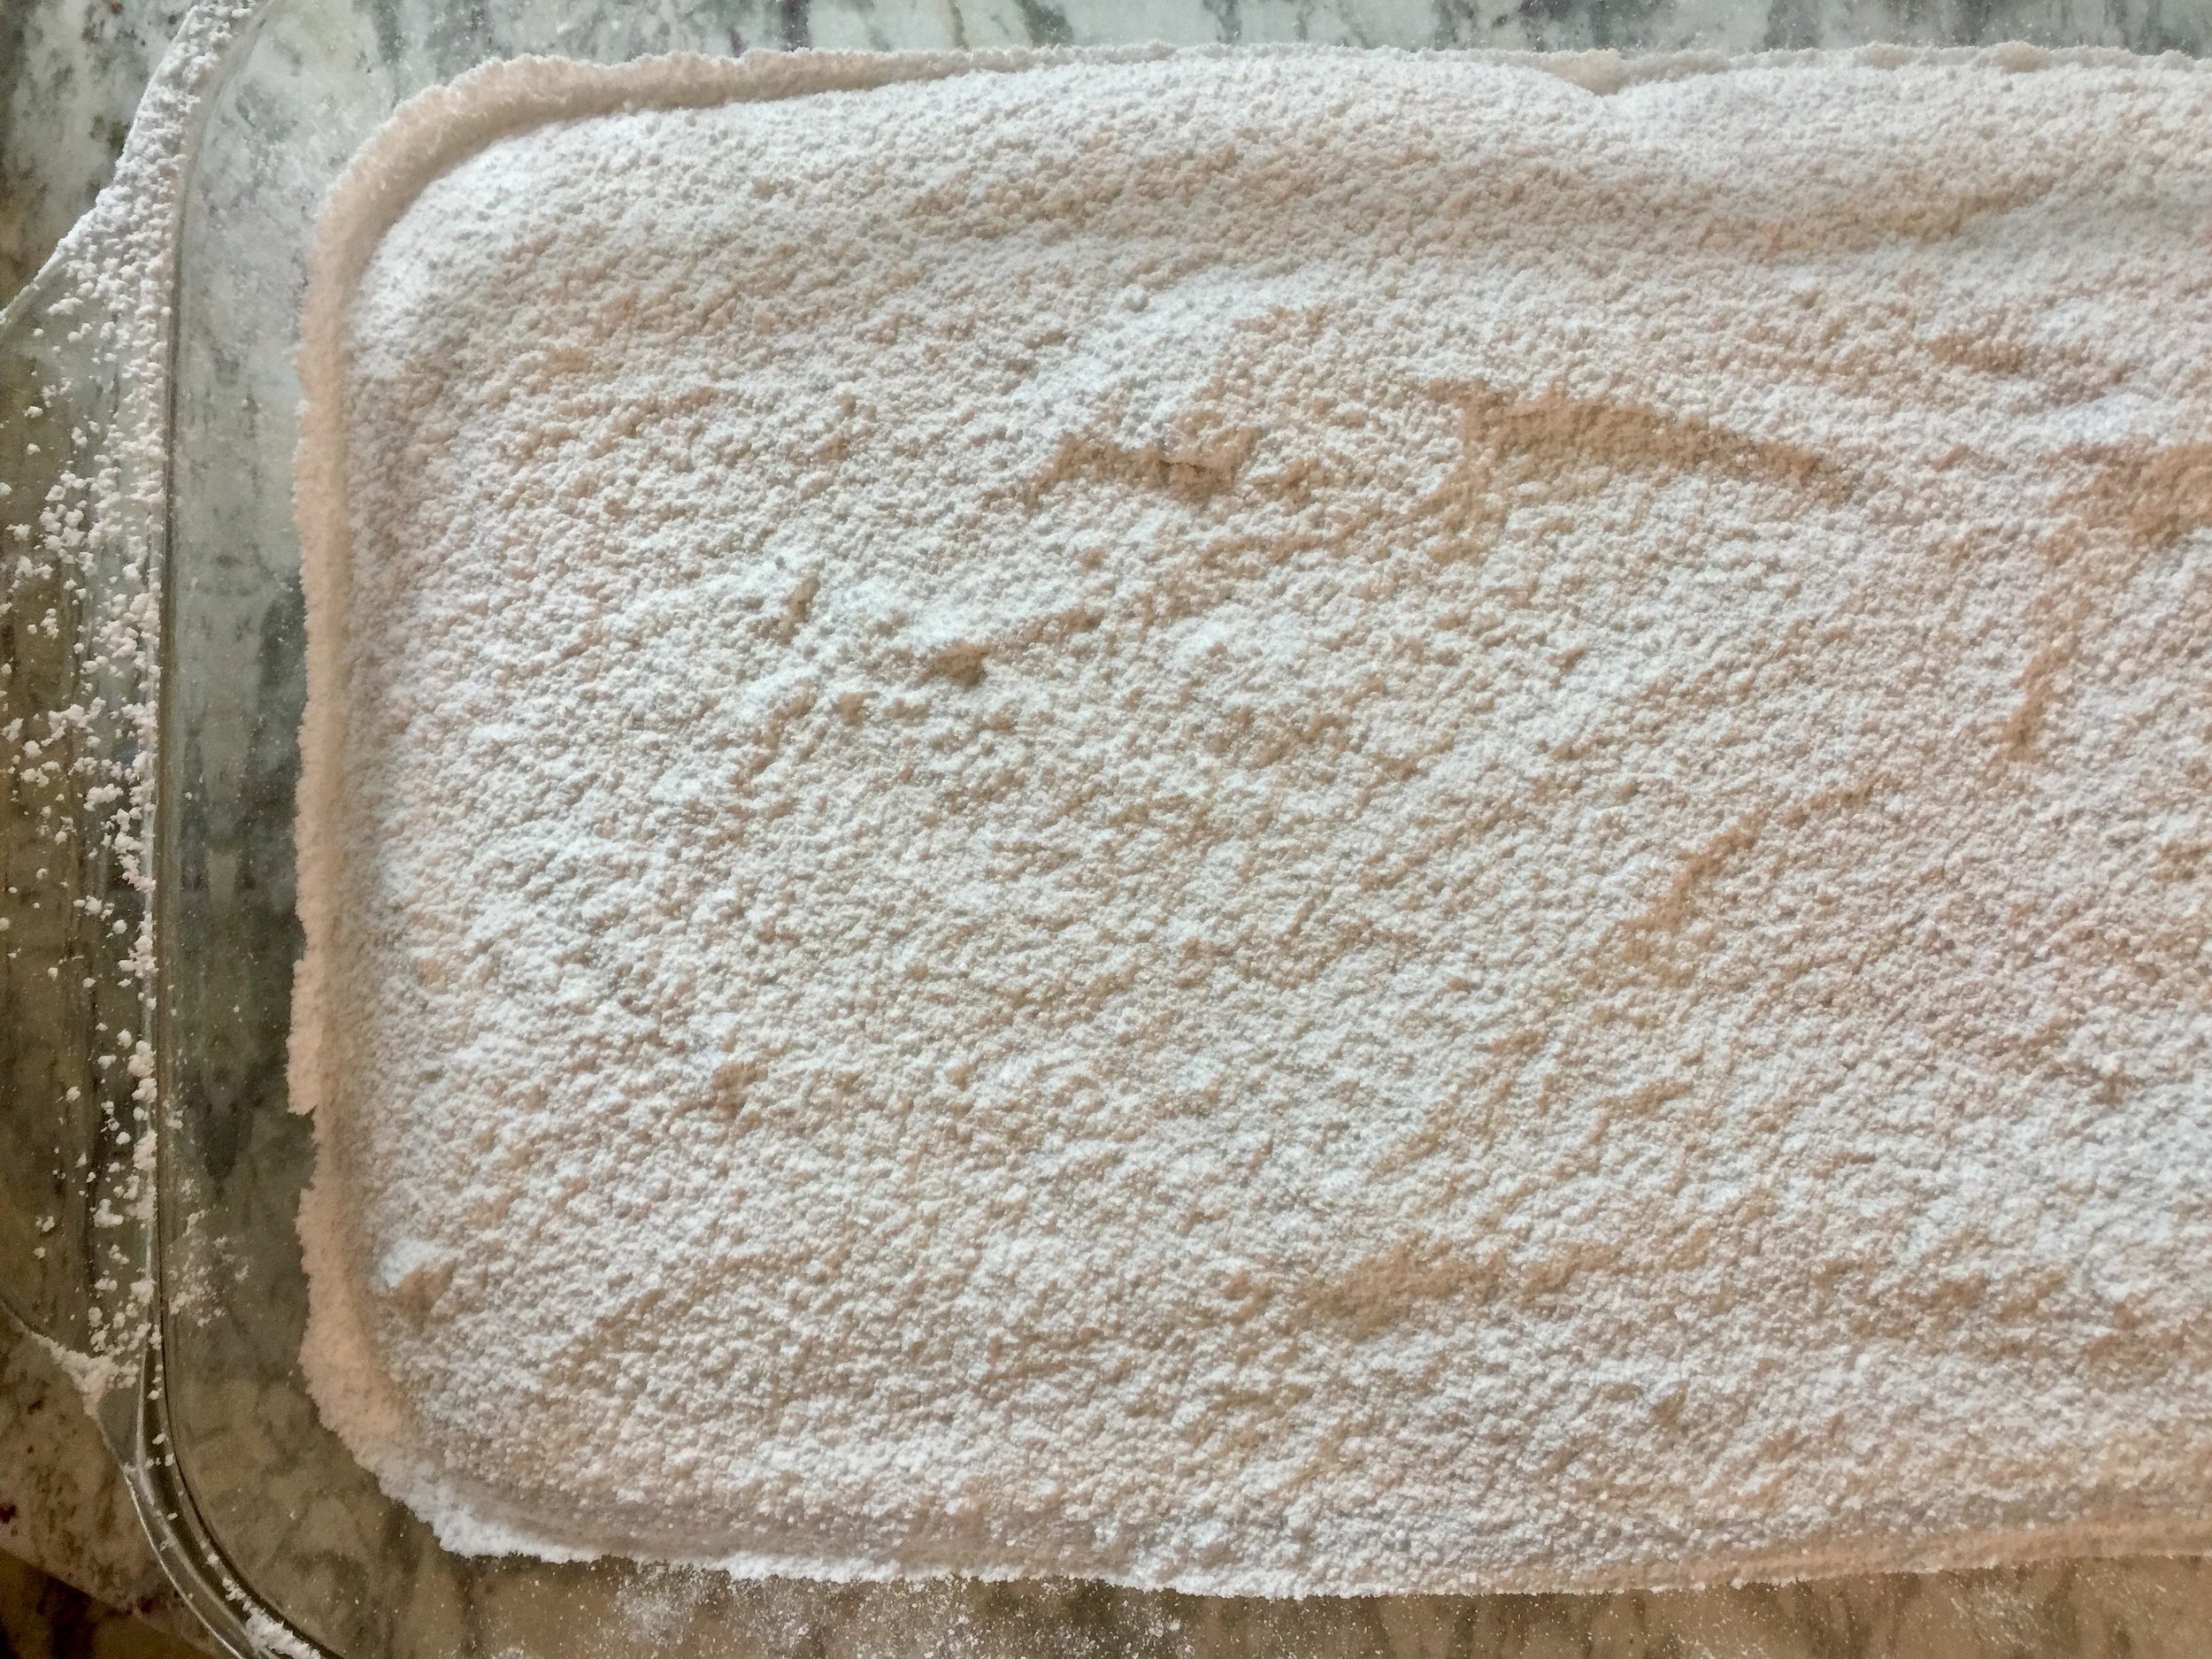
Immediately pour the marshmallow into the prepared glass pan and dust with more confectioners sugar. Let the marshmallow set overnight, uncovered.
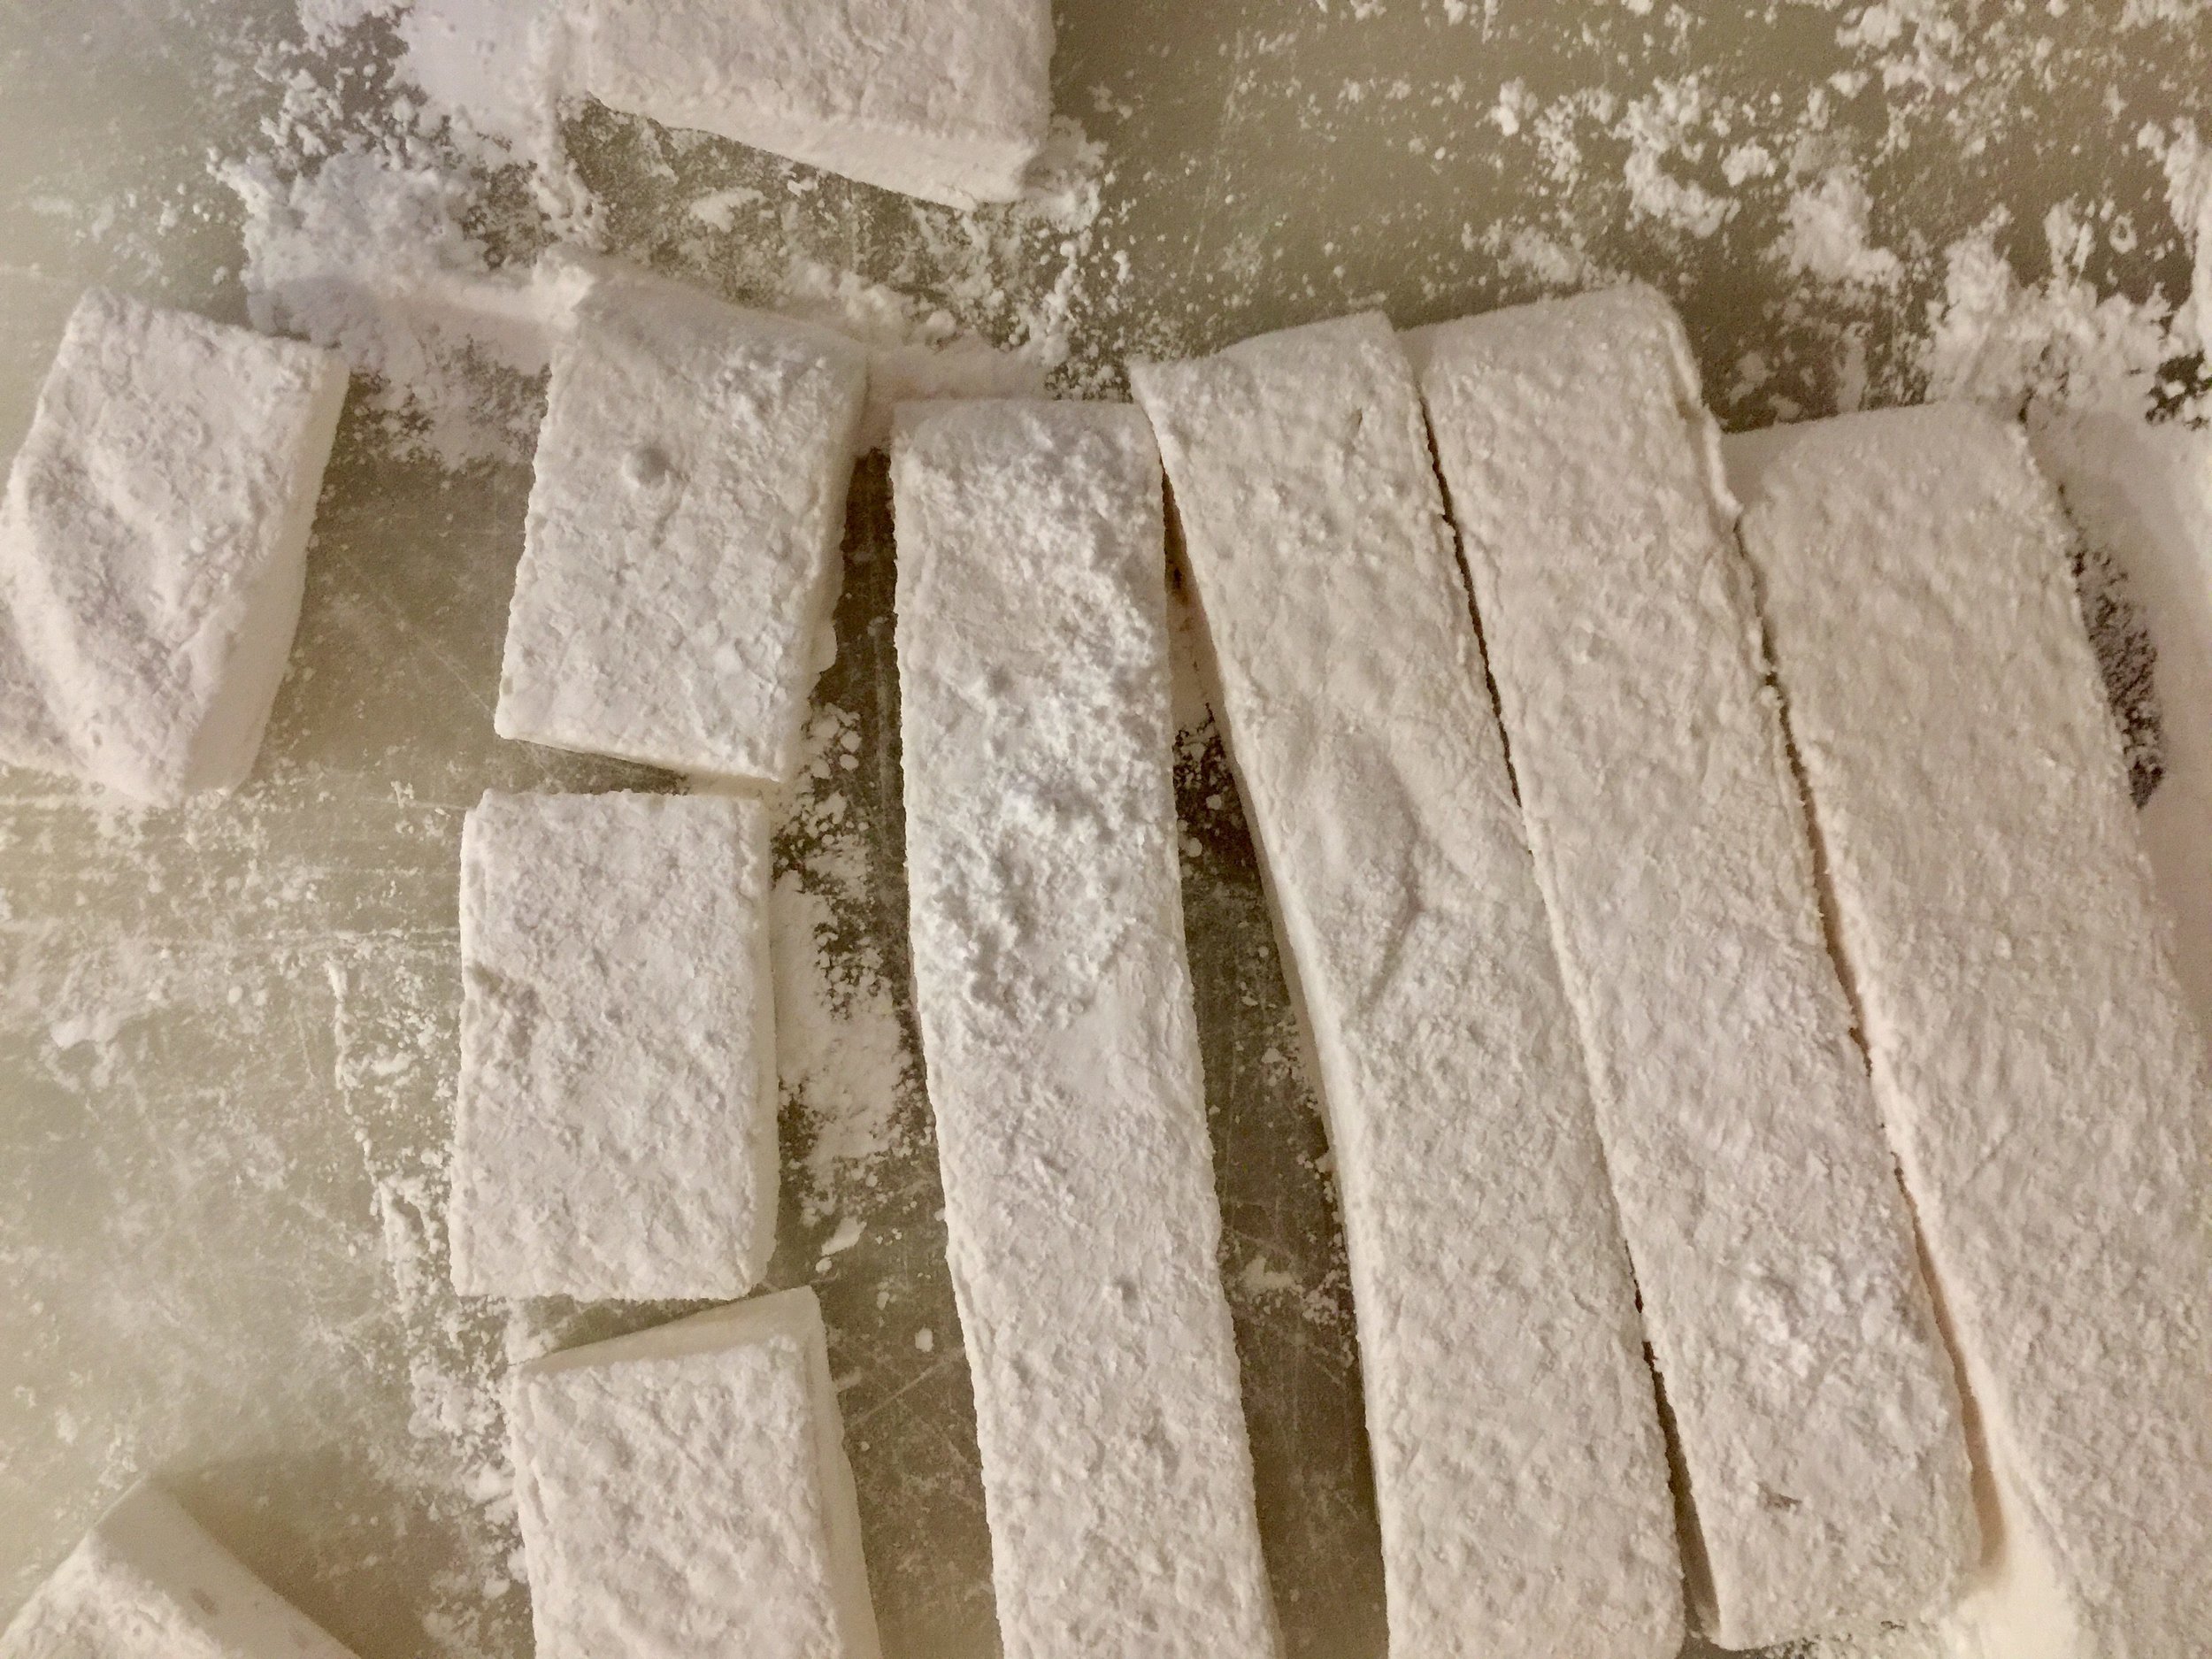
Dump the marshmallow onto a cutting board the next day and cut into squares. Dust the marshmallows all over with confectioners sugar and store in a tightly sealed container for up to a week.
Ok, Guys! You don't have to go home but you can't stay here. Until next time!
