Popovers
My first popover experience was at a BLT Steaks nestled in a Ritz Carlton on the beautiful island of Puerto Rico. The restaurant serves them to you as soon as you hit the table, like getting chips and salsa in a Mexican restaurant. I was five weeks post partim and enjoying the alone time with my hubby.
Before you judge, it took me over a year to leave my first born son and I cried for the first hour of my trip. My daughter was not exactly the easiest of babies, although the grandparents that took care of my children for the weekend will tell you otherwise. We flew down the weekend before my husband had to start a business trip on the island. It was sort of a Valentine's day Gift and my heart still ached to see my babes. We talked on the phone everyday.
I had to fly back all by myself which was super uncomfortable for the poor people who sat beside me. The couple was sweet and kept trying to offer me food. However, this may have been my second or third commercial flight and I'm not all that crazy about being on commercial flights. I cried for the first hour until I fell asleep. Just FYI, I am much better about airplanes now.
I fell in love with popovers and decided I needed to learn how to make them. I even bought the popover pan. It is one of the few non-versatile kitchen utensils I own, but I make popovers a lot. You can use a standard muffin tin, not a cupcake tin. Cupcake tins are too tiny.
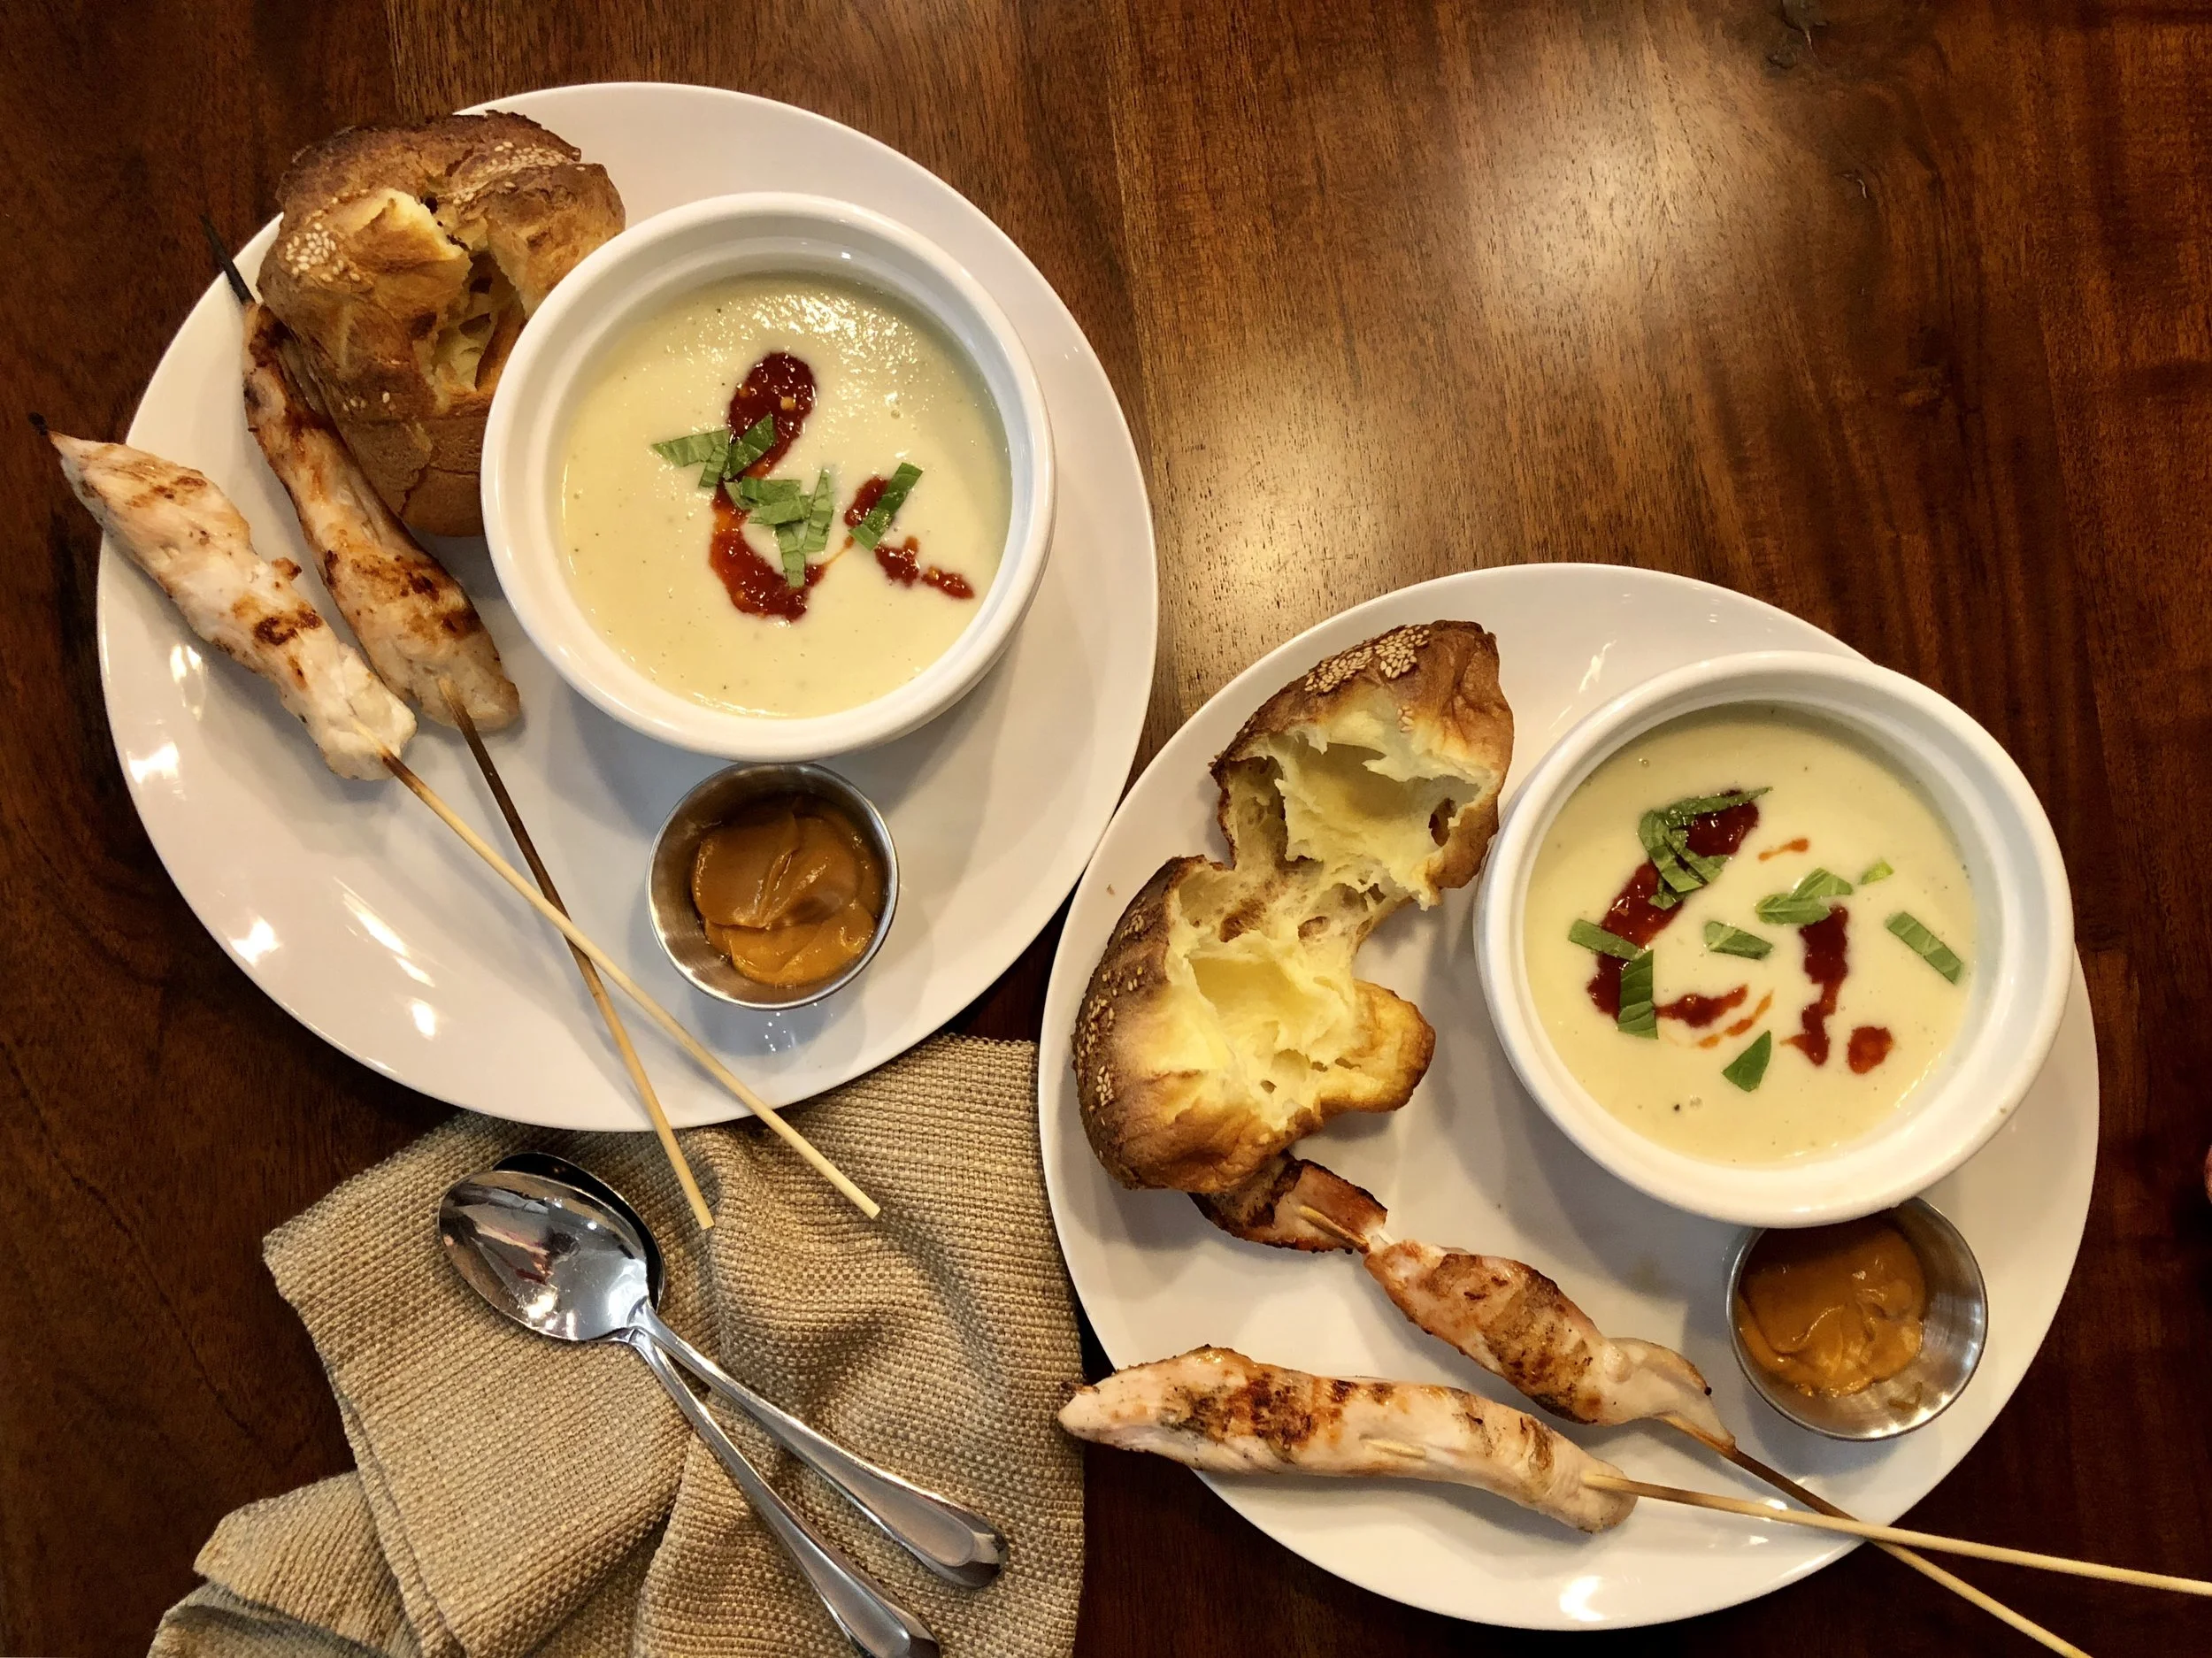
Popovers pair nicely with soups and are definitely dip worthy.
They bake up hollow in the center because the batter is very liquidy. The hot oven releases all the moisture and creates a puffy, eggy pastry with a fillable center.
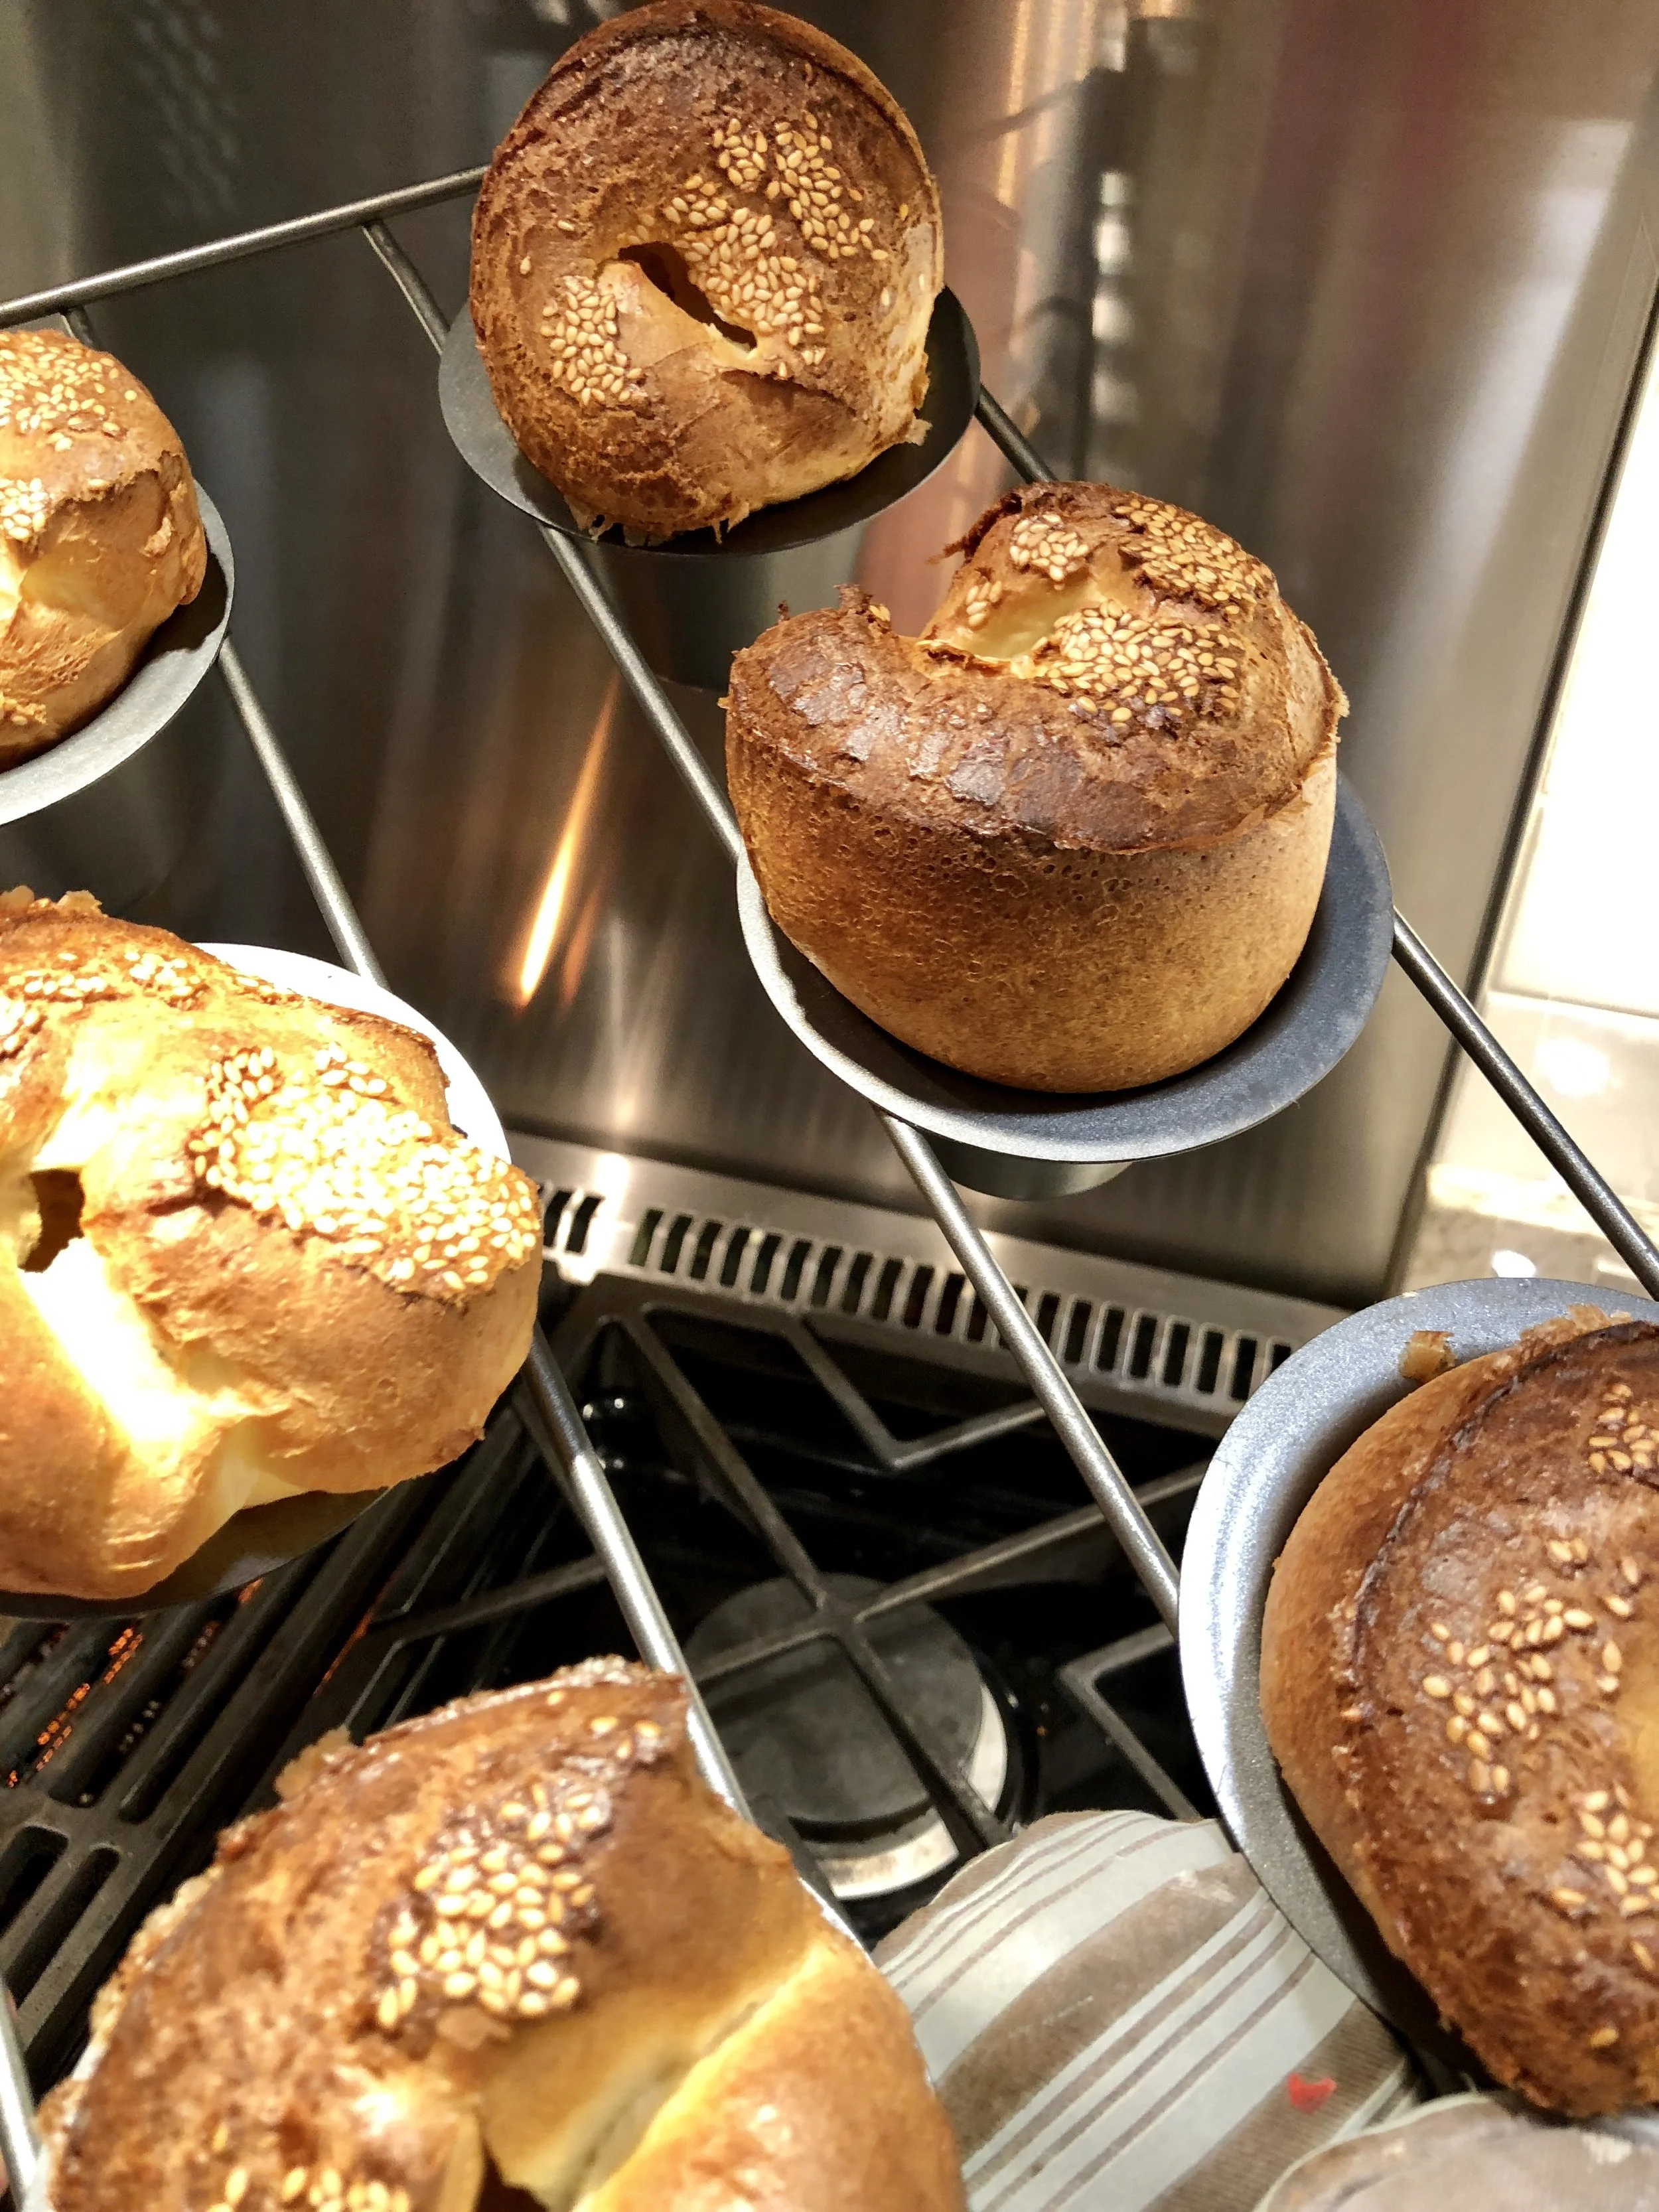
Popovers make great desserts too. Baking a cinamon and sugar popover and filling it with a whipped pastry cream and sliced bananas is delicious. Below is a picture of sesame seed popovers.
POPOVERS:
1 cup of whole milk, room temperature
2 eggs, room temperature
1 tablespoon of unsalted butter, melted
1 1/2 teaspoon of kosher salt
1 cup of flour
Sesame seeds, Parmesan cheese, Cinnamon & Sugar, or whatever else your little heart desires for a topping
At least 30 minutes to 1 hour before you want to pop your popovers in the oven, set the milk and eggs out on the counter. Especially, if you want big, puffy popovers instead of small, ugly unpopovers.
After about 30 minutes, preheat your oven to 400 degrees. Your oven should be right toasty if you are looking for the perfect popovers!
I use a mason jar and an immersion blender for the mixing step. You can also use a food processor. Once your oven is to temperature, pour in all the ingredients into the mason jar or food processor and blend until smooth, about 30 seconds or less.
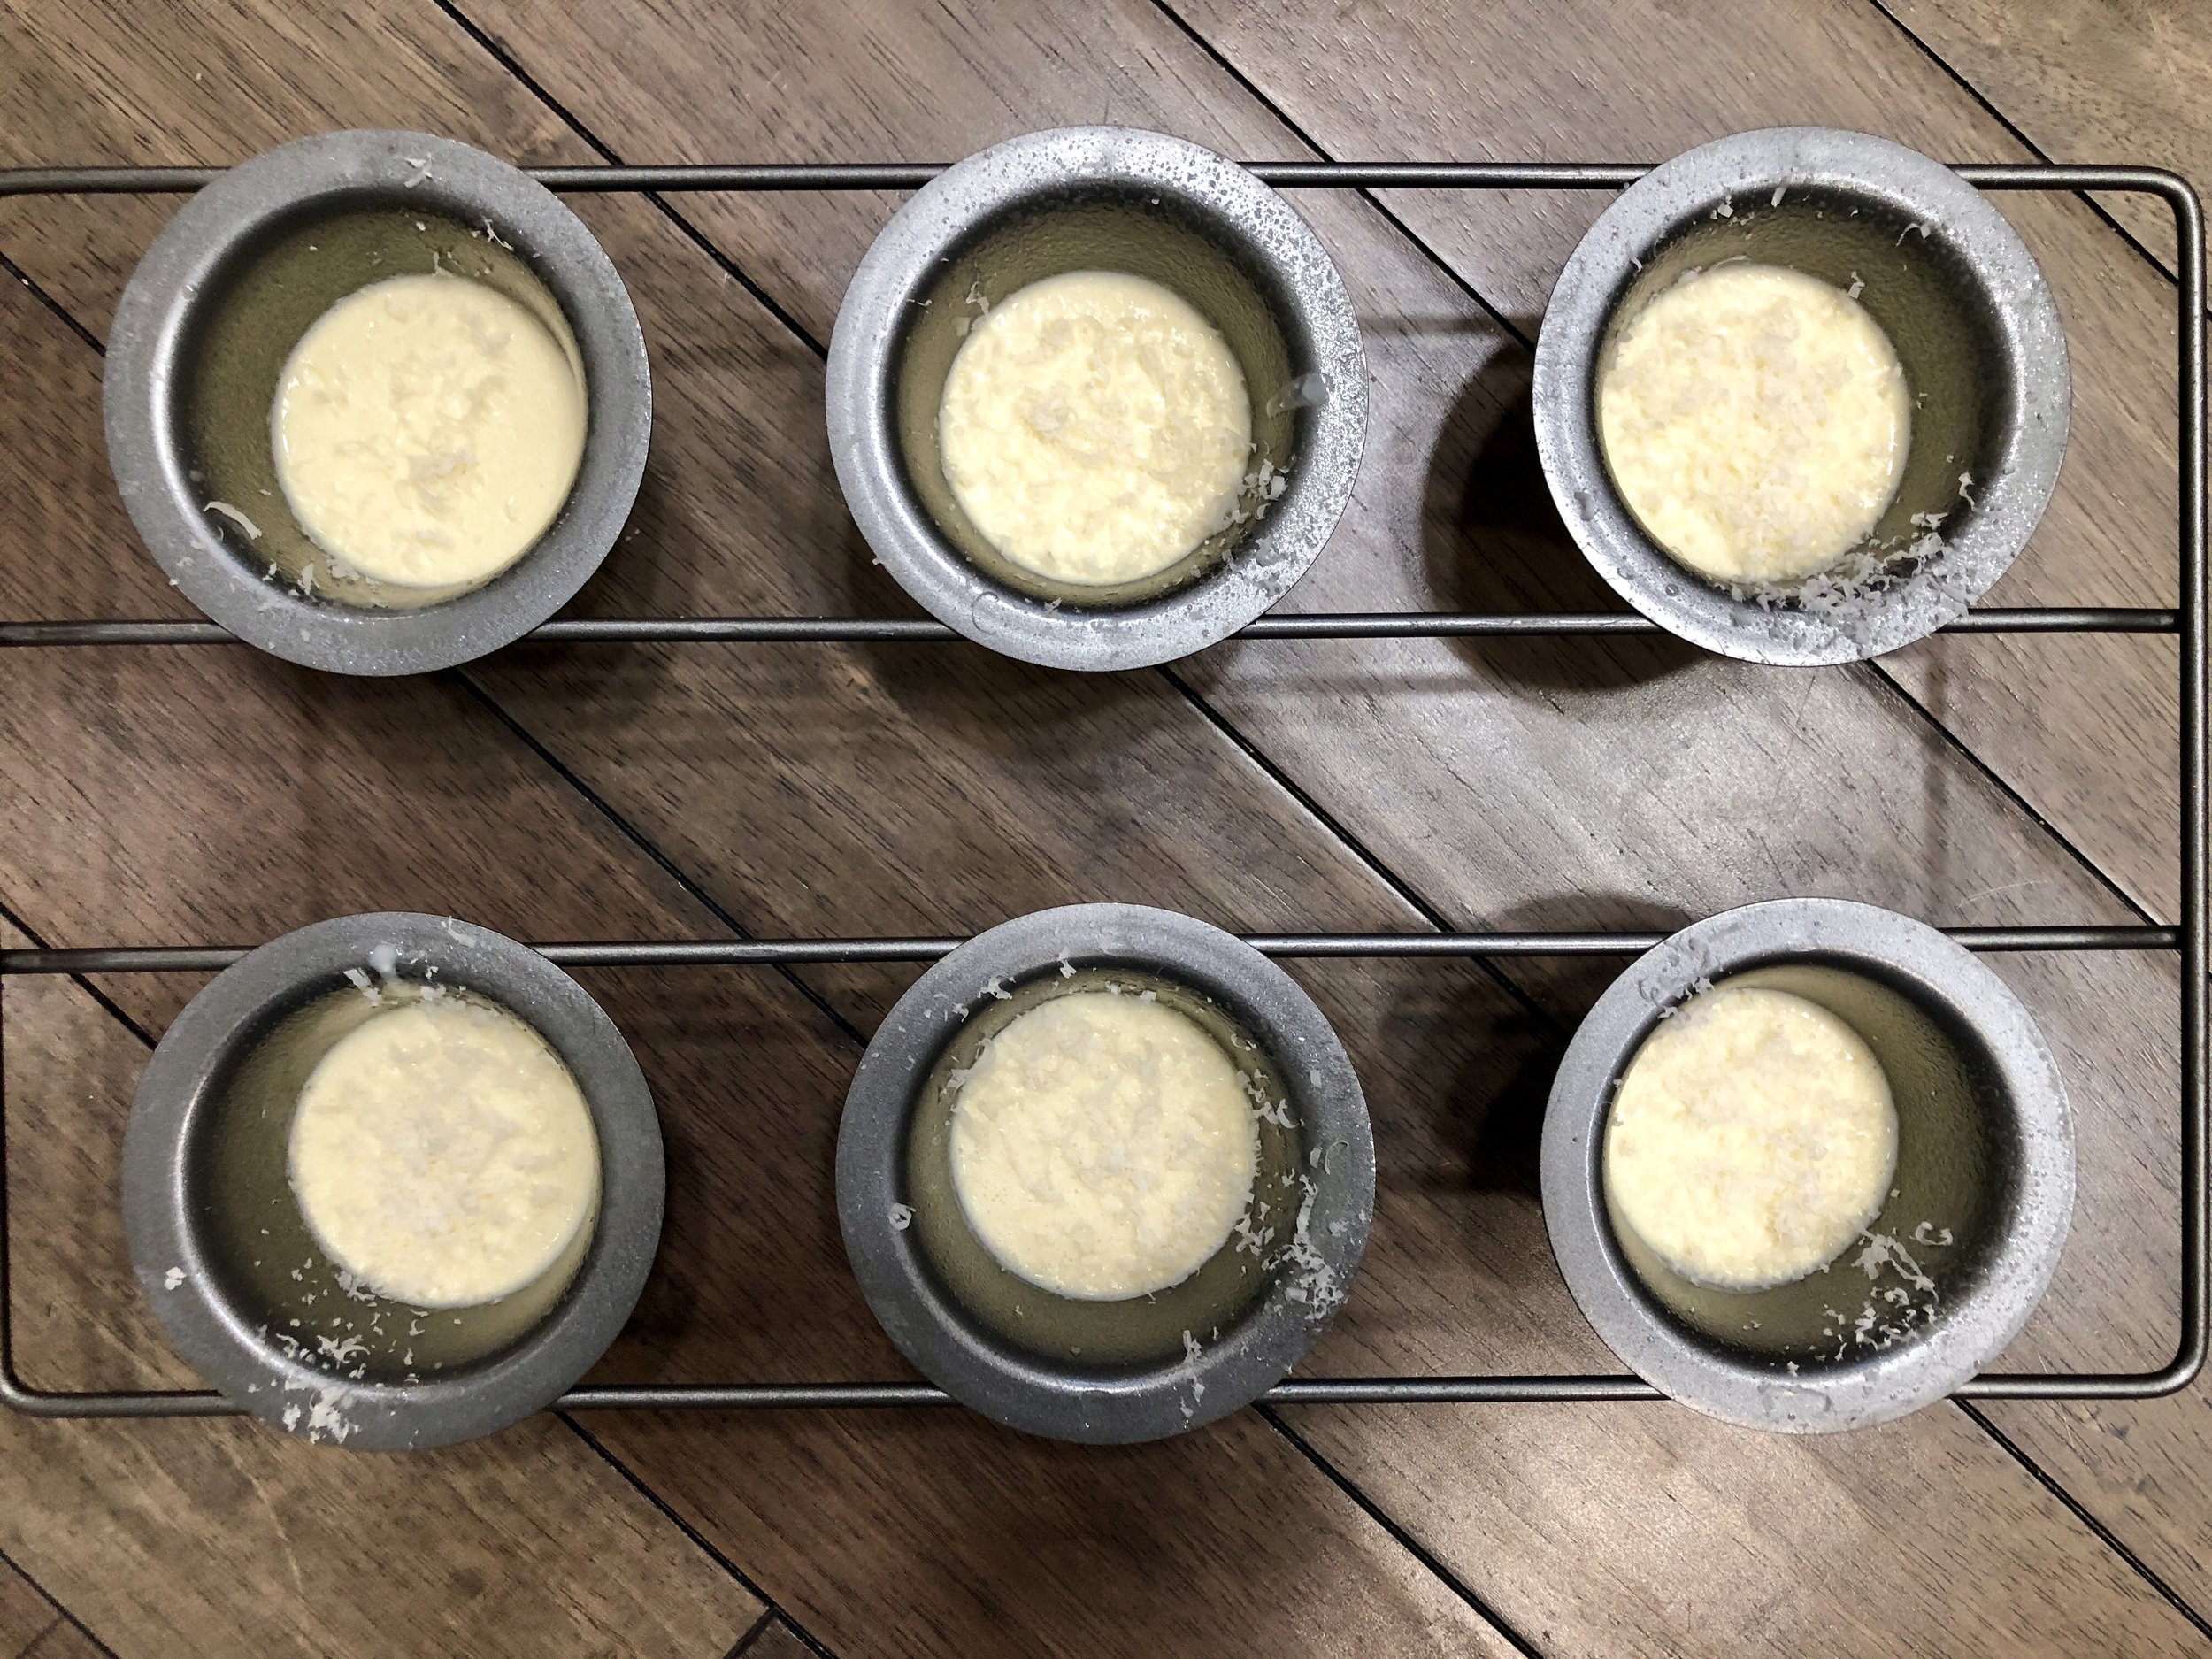
I spray a popover pan with nonstick cooking spray and fill each cup 2/3 full of batter.
This is where you can have fun. I will sprinkle on a healthy pinch of any type of hard cheese I have in the fridge or sesame seeds or cinnamon and sugar. It depends on my mood and what I happen to be serving for dinner.
Now, pop these puppies into the 400 degree oven and set the time for 40 minutes. DON'T open the oven door while the popovers are baking. You want to keep in the heat and moisture to produce the perfect popover. Hopefully, the window on your oven is clean enough for you to look through.
As soon as they come out of the oven, stick a sharp knife in the center to help with ventilation. You want the steam to come out and keep those popovers from getting soggy. Dump them on a cooling rack and have your way with one.
I serve popovers a lot during the fall and winter months. They are a light alternative to bread and take a fraction of the time. I will warn you, they are best eaten within 2-3 hours of baking them.
My family of four will eat three (my daughter doesn't like them) and I send the rest over to the neighbors to have with their dinner. If you do decide to keep them for the next day, store in an airtight container and preheat an oven to 400 degrees. Refresh the popovers in the oven for 4-5 minutes.


