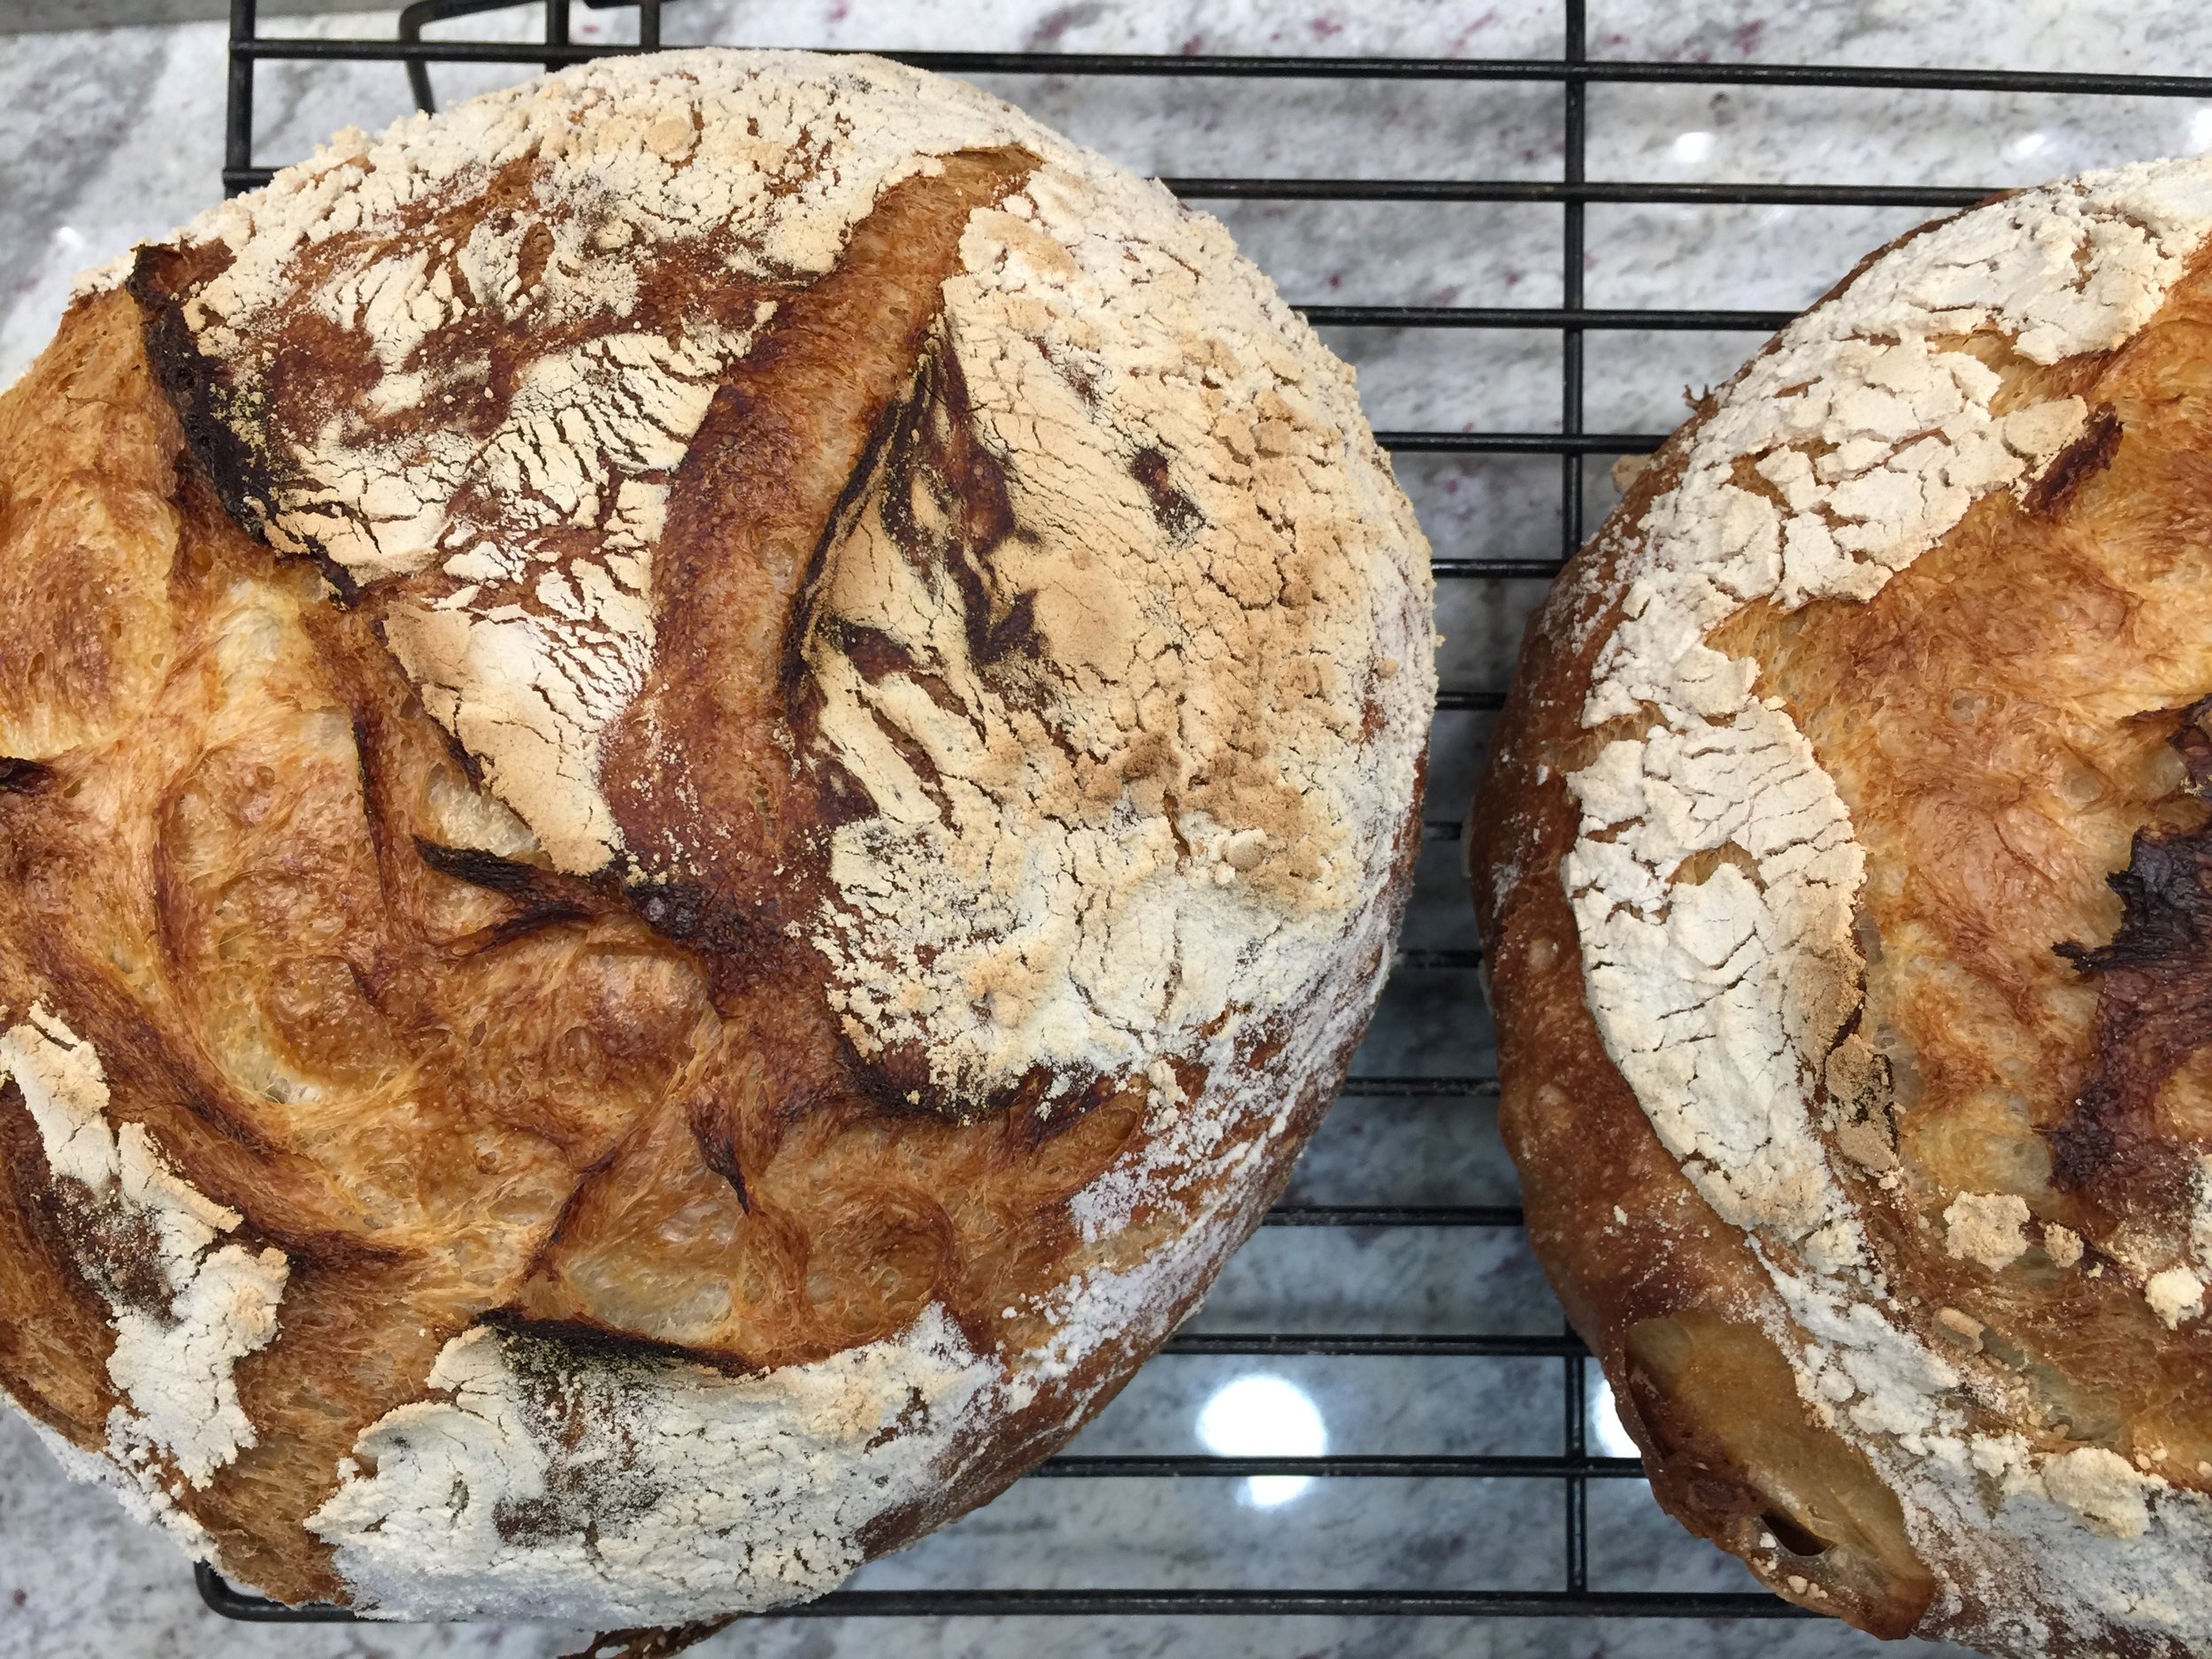
Dutch Oven Crusty Bread
Flour, water, salt and yeast are all you need to make amazing fresh baked bread. Which is probably why Ken Forkish named his book just that,Flour Water Salt Yeast: The Fundamentals of Artisan Bread and Pizza. My husband gave me this book and a cast iron dutch oven for Christmas about three years ago. Believe it or not, it took me almost a year before I baked bread from this book.
Ken Forkish does a stellar job explaining the bread making process and why temperature, types of leavening agents and accurate measurements are important. I learned a lot but just couldn’t bring myself to try making the bread. I had made bread before but I felt I lacked skill to tackle the bread in this book.
Boy, was I wrong! One morning I got a bread bug up my butt and decided to to do it. I made the bread he calls, “The Saturday White Bread.”
Then BOOM! By dinner time Saturday I had the most beautiful and most delicious bread that I've ever served with dinner and I made it all by myself.
You may remember this bread made an appearance on Double Date Night: Cocktails, Carbonara and Creme Brulee.
This bread doesn’t take a lot of active time. Much of the time spent is waiting for the dough to rest and do its THANG.
Don’t get intimidated or think you don't have time to make this bread. I promise you the little effort it takes to make this bread will be worth the time you invest in it. Even more so because you get to taste what good fresh baked bread should taste like.
There are two pieces of special equipment that you need for this bread; a cast iron Dutch oven and a kitchen scale. The Dutch oven acts as a bread baking oven. This provides the dough with the perfect environment to use its own steam and form a fabulous crust. The cast iron also holds the optimal temperature for the dough so it can rise to its full potential.
I have included the measurements for each ingredient in terms of cups and teaspoons. However, I highly suggest making the leap to purchase a kitchen scale. Baking is very specific in terms of measurements and a kitchen scale can help you make every one of your baked goods come out perfect.
Unlike A Little Science Breaducation post, you don't need to prepare a sponge the night before. You can just wake up one morning and decide that you are going to bake bread.
Without further adieu, let’s start baking some bread. Thank you Ken Forkish for your expert instructions for bread baking.
THE SATURDAY WHITE BREAD:
Suggested start time: 9 am
Completion of mixing and folding: 10:30 am
End of first rise: 3:30 pm
End of the final rise: 4-4:30 pm
Bread has been baked: 5:30 pm
1,000 grams of All Purpose Flour (7 3/4 cups)
720 grams of 90-95 degree water (3 1/8 cups)*
21 grams of kosher salt (1 tablespoon + 1 scant teaspoon)
4 grams of instant dry yeast (1 teaspoon)
*The temperature of your water is important to activating the yeast. If the water is too hot, you could kill off the yeast. The temperature above will provide the best environment for your yeast to reproduce and produce the gases needed to make your bread amazing.
In a large bowl, mix together the flour and the water just until combined. Cover the bowl with plastic wrap and let the dough sit for 20-30 minutes. This allows the flour to absorb the water and makes it easier to mix the dough later down the road.
When the time is up, sprinkle the top of the dough with the salt and yeast. Set a glass of warm water next to your bowl. Use the water to wet your hands and reduce the amount of dough that sticks to your hand.
Start stretching the dough from the bottom by pulling some dough over the top to the other side. Repeat with the other side of the dough. Repeat this step 3 more times to incorporate the yeast and salt into the flour mixture.
Watch the video to see how I pinch the dough and then fold the dough to fully incorporate all the salt and yeast. You will do this about 4 times and then let the dough rest for about 3 minutes. Come back and repeat the folding of the dough for another 30 seconds.
Cover the dough with plastic wrap and set the timer for 10 minutes.
When the time is up, fold the dough 3 times and then recover the dough for about 45 minutes to an hour. Then repeat the folding process 3 more times.
Cover the dough with plastic wrap and set the dough in a warm draft free location for the next 5 hours.
https://youtu.be/sETL6tS9-SU
When time is up, cut the dough into two. For this post, I actually cut the dough into thirds. I baked off three smaller loaves of bread. They don't end up looking as pretty as two large loaves but the taste is still heavenly.
Whether you bake two large loaves or three small loaves, fold each dough into a ball and place the dough balls in their own well floured bowl. Cover each with plastic wrap and place one/two dough balls in the refrigerator. Leave one dough ball on the counter in a warm draft free place.
I only have one Dutch oven and I put the dough balls in the refrigerator to slow down the proofing process.
Proofing is the process through which the dough rises and undergoes fermentation. You can over proof your bread. Under proofing loaves can lead to flavorless bread and over proofing can lead to collapsing of the bread during baking. No worries though, I promise you will like your results if you follow this post. I haven't had a loaf fail me yet!
Preheat your oven and lidded Dutch oven to 475 degrees.
After about 45 minutes, depending on how warm your house is, it will be time to bake your bread. You can check your dough to ensure it has not over proofed by poking your finger into the dough. If the dough slowly bounces back but not fully returns to its original position, you are ready for baking. You can give your dough 15 more minutes of proofing time if the hole you poked in the dough bounces back quickly.
Getting the dough into the Dutch oven is the tricky part and unfortunately I couldn't record myself at the same time. Just be very careful because that cast iron will be 475 degrees HOT!
Pull open your oven and take the lid off the Dutch oven. Loosen the dough around the edges of the bowl and carefully turn the dough out onto a well floured area near your oven. Carefully life the dough ball and place it into the Dutch oven with the dough's seam facing up. Close the lid and slide the Dutch oven back into the oven.
For large loaves, bake the bread for 30 minutes, remove the lid to the Dutch oven and bake the bread for an additional 15-20 minutes more or until your bread is medium dark brown.
For three smaller loaves, bake for 20 minutes and then additional 10-15 minutes or until your bread is medium dark brown.
Once the first loaf goes into the Dutch oven, take the second loaf out of the fridge. Let the dough sit on the counter until the first loaf is done baking.
When the first loaf is done, remove it from the Dutch oven and onto a cooling rack. Please use caution when removing the bread from the Dutch oven! Place the lid back onto the Dutch oven and slide it back in the oven for about 10 minutes to reheat.
When the time is up, repeat the same steps with the second/third loaf.
PREPARATION TIP:If you don't have time to bake off the second bread that same day, keep the dough in the sealed container overnight. Reshape the dough into a ball 1 hour before baking and preheat your Dutch oven to 475 degrees. Leave the dough ball in a well floured covered bowl for 45 minutes and check to see if the dough is ready for baking. Then proceed with the baking instructions above.
If you want to freeze your bread for later enjoyment, cool the bread completely and wrap tightly with plastic wrap and store in a freezer bag. Don't forget to label you bag with the date.
When you are ready to eat your frozen bread, remove it from the freezer and thaw between a kitchen towel for several hours. You can also defrost your bread in the microwave if it has not fully thawed. Preheat your oven to 350 and refresh your bread in the oven for about 5 minutes.


